Making the CutsOnce you have the materials and the tools necessary. It's time to get started. First things first. This design uses 3 boards. Two are birch, and one is Oak (all are plywood). I picked the oak because it looked the best, and so it will be the racetrack. Here's a break down of what each of the 3 boards will be used for:
|
|
|
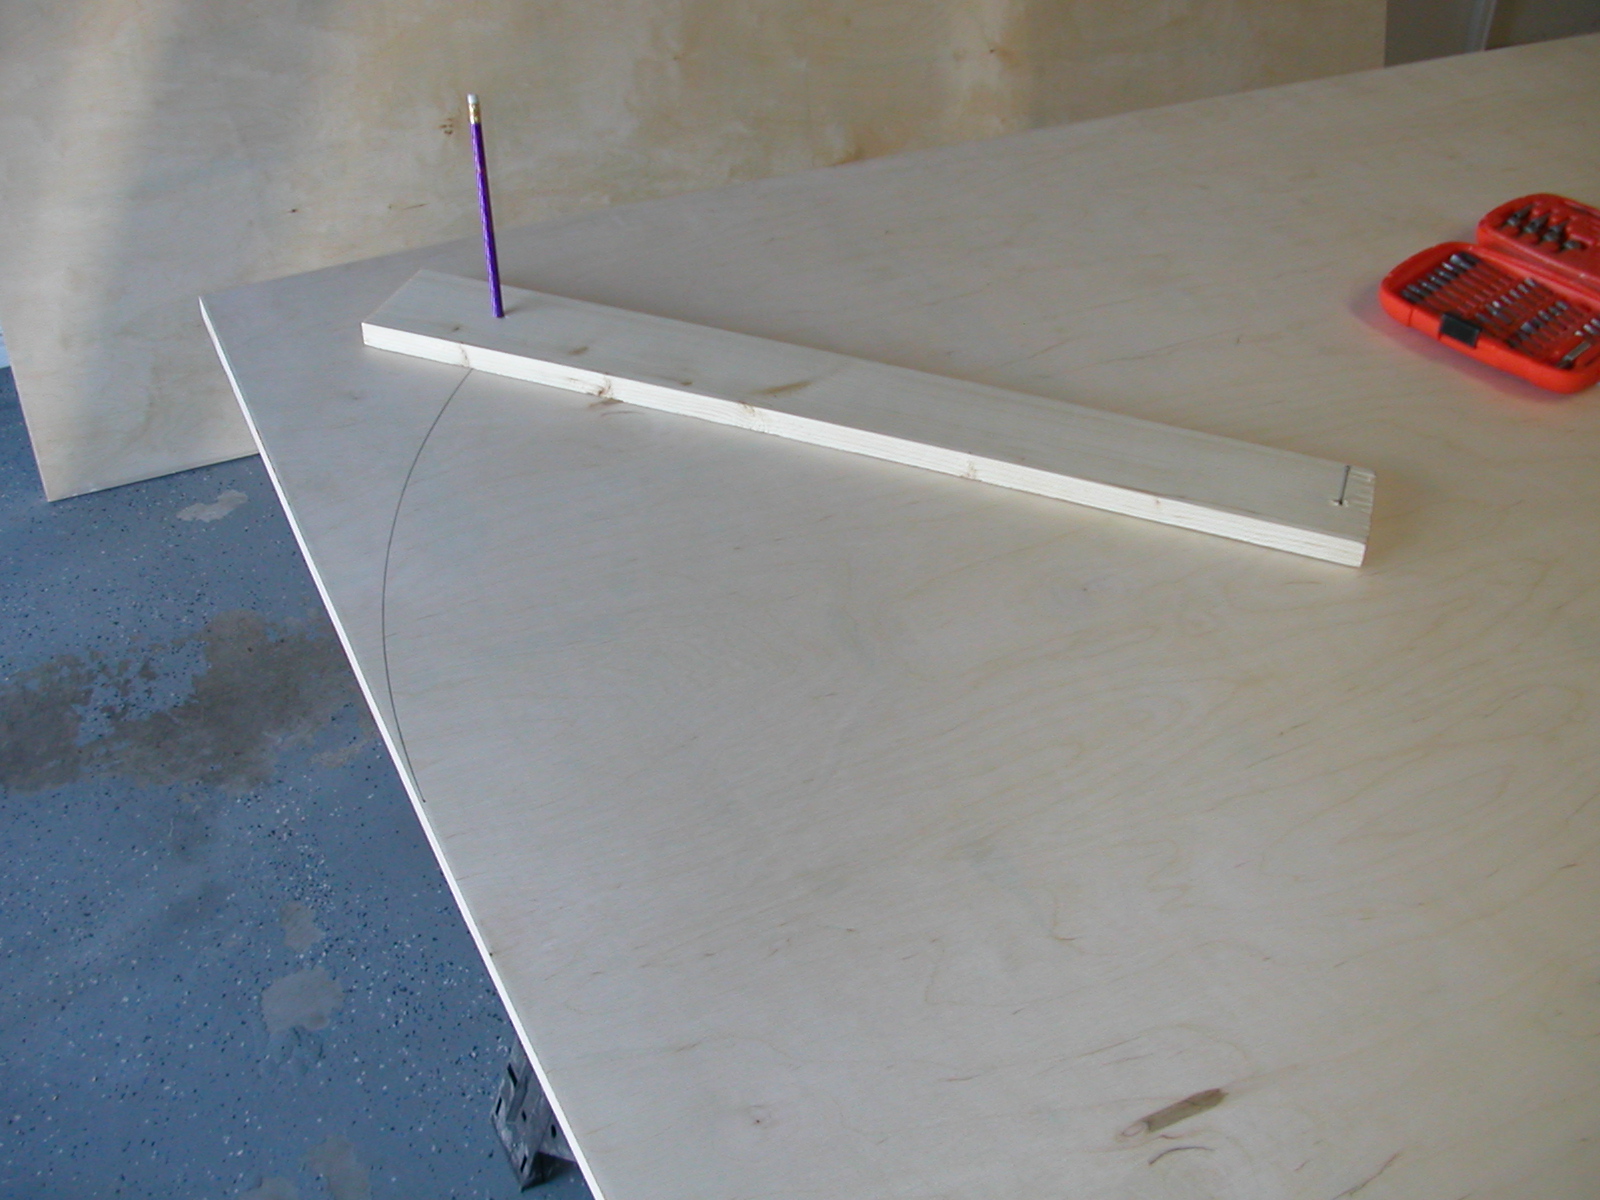
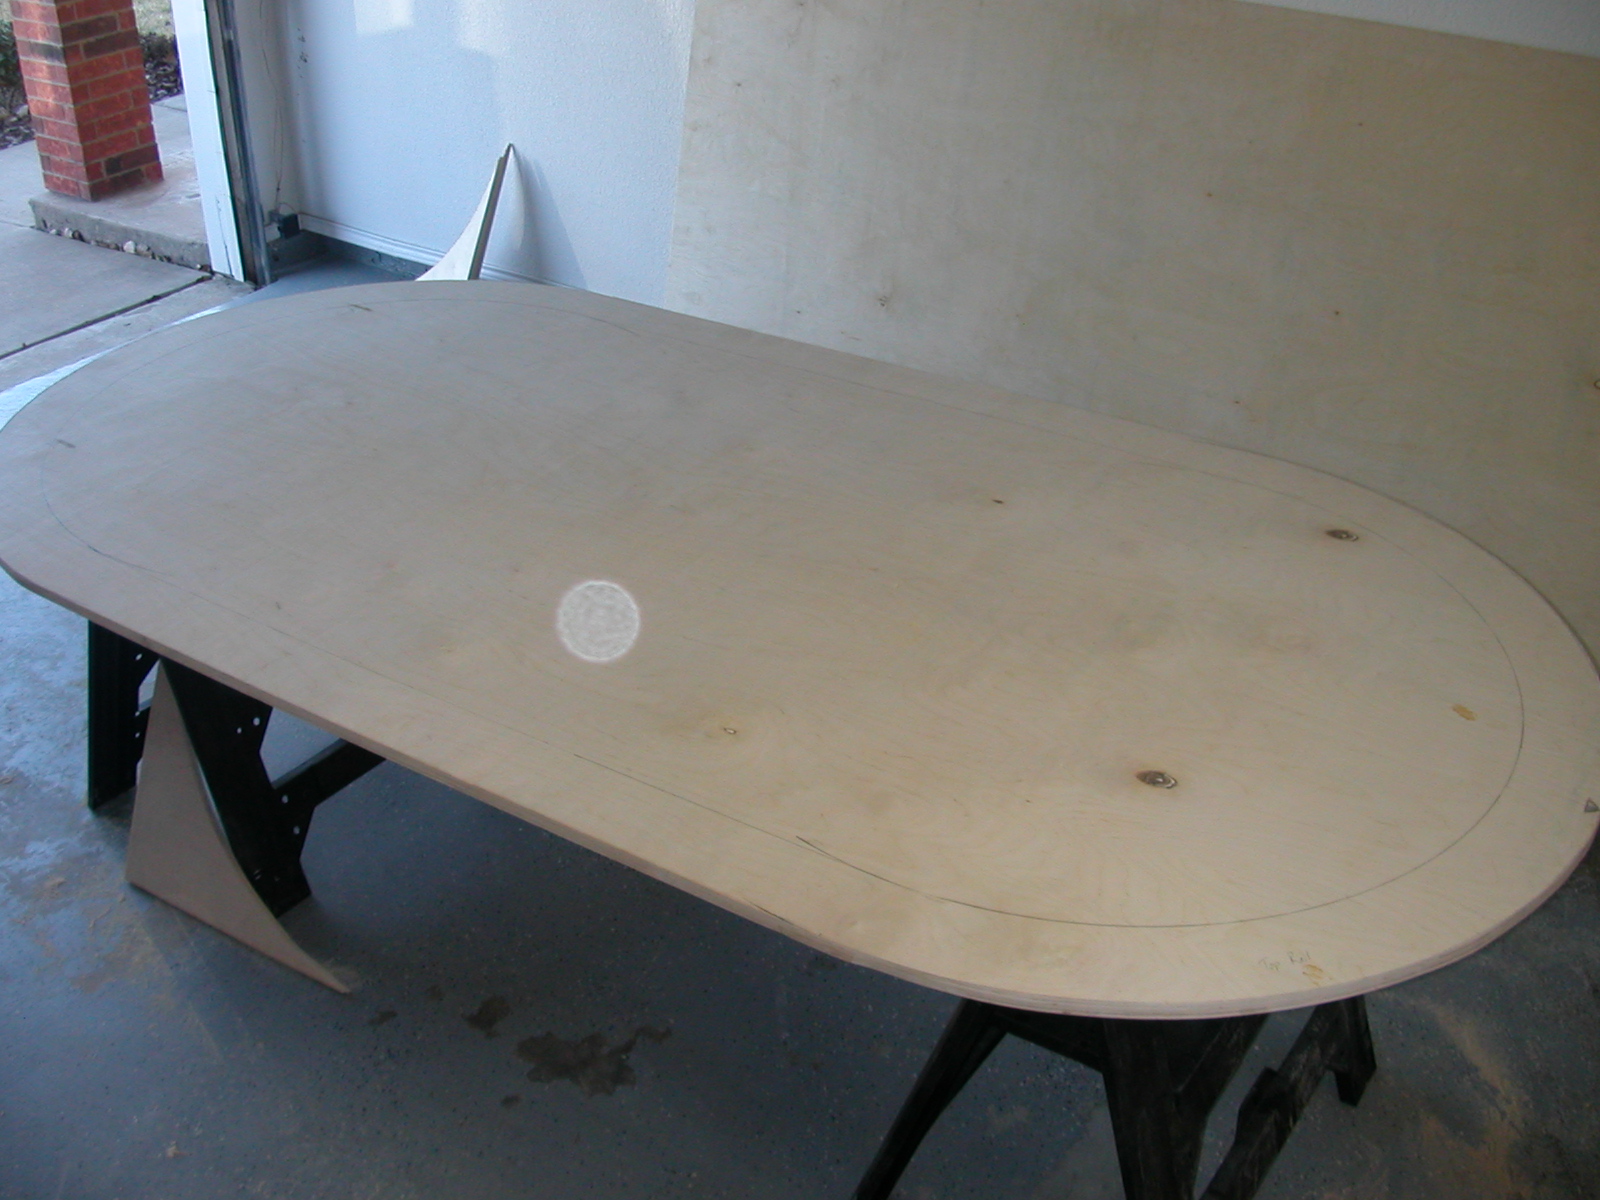
The first thing to do is cut the arcs for the round part of your table.
I used 8' x 4' boards, so measure 24" from both the end and side and make a mark.
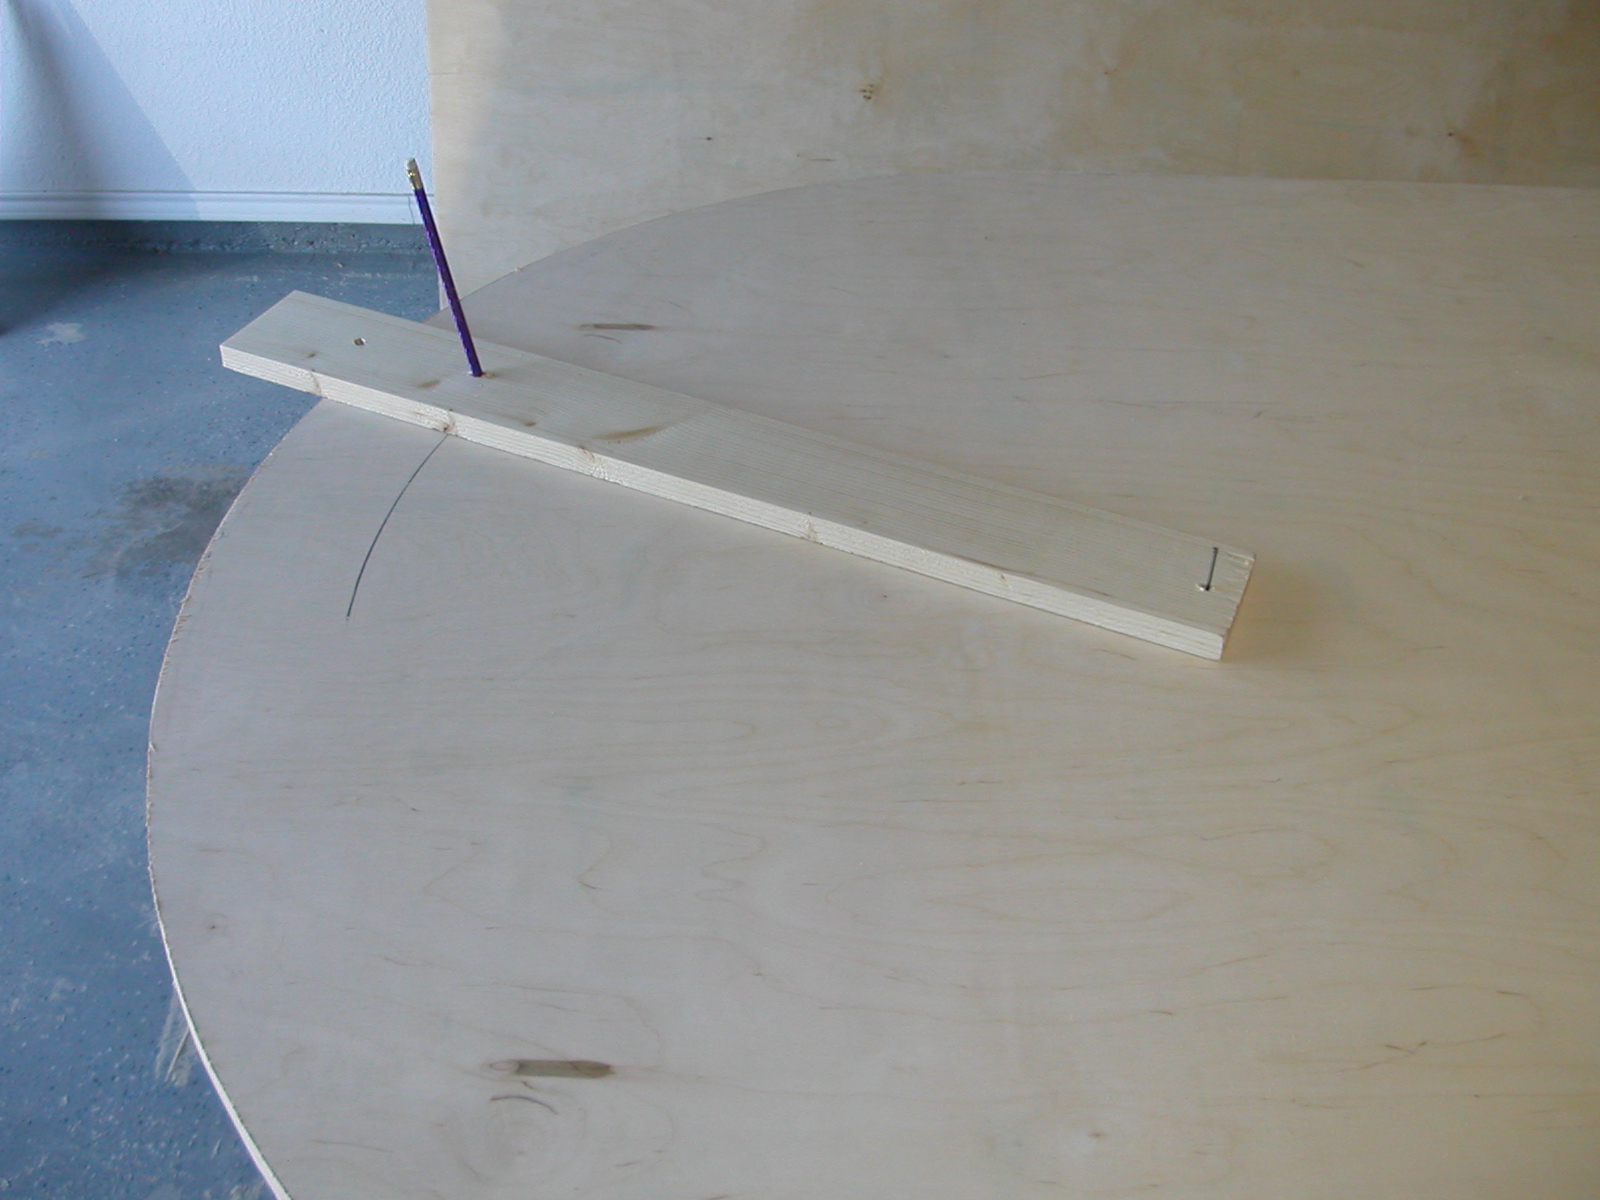
Several techniques can be used to make an even arch. For this portion, I chose to use a
board with a holes drilled in two places. On one end a nail is used as a piviot point,
and the other a pencil draws the arch. A wire or metal ruler will do the same thing for you.
I chose to start with board #2. |
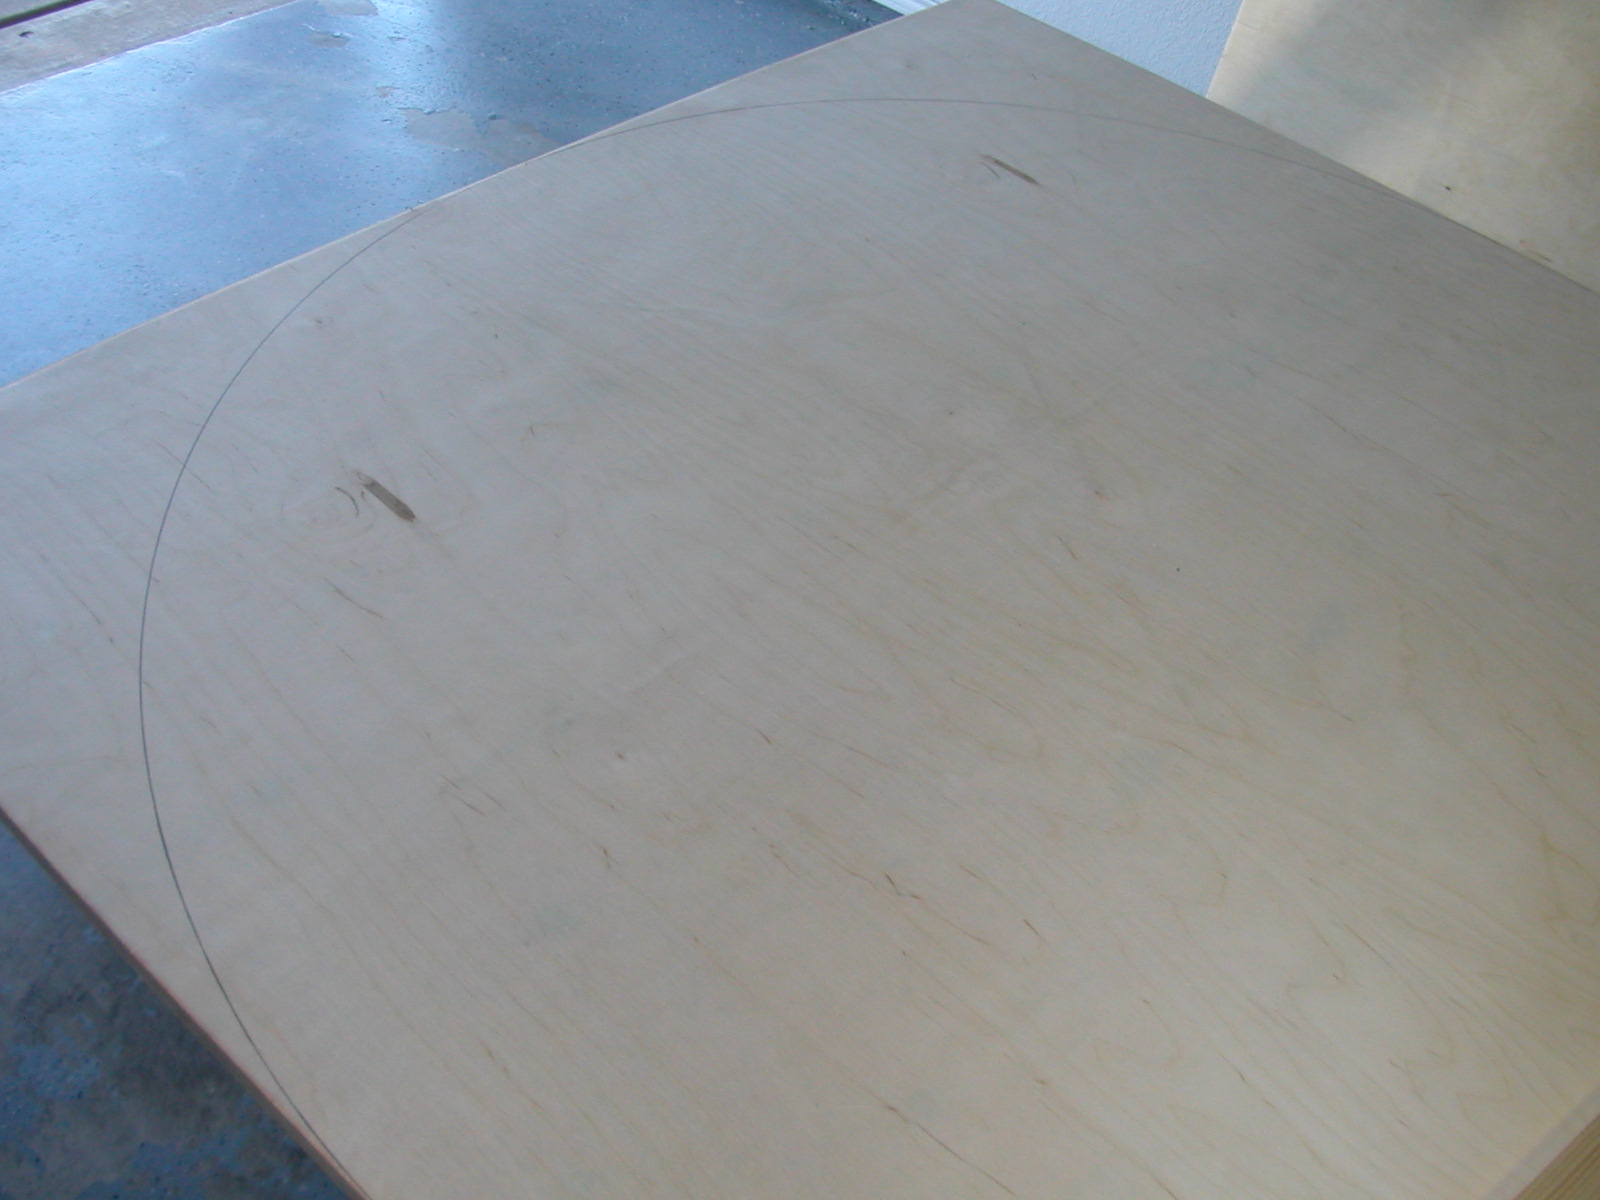
| You're going to want to draw the arc on both ends using the same technique. |
|
|
Here's a look at the first cut. Don't get in any hurry with the jig saw. Take your time and make your cuts right, you'll be happy you did later. The jig saw is prone to error, and you have to stay on top of it. |
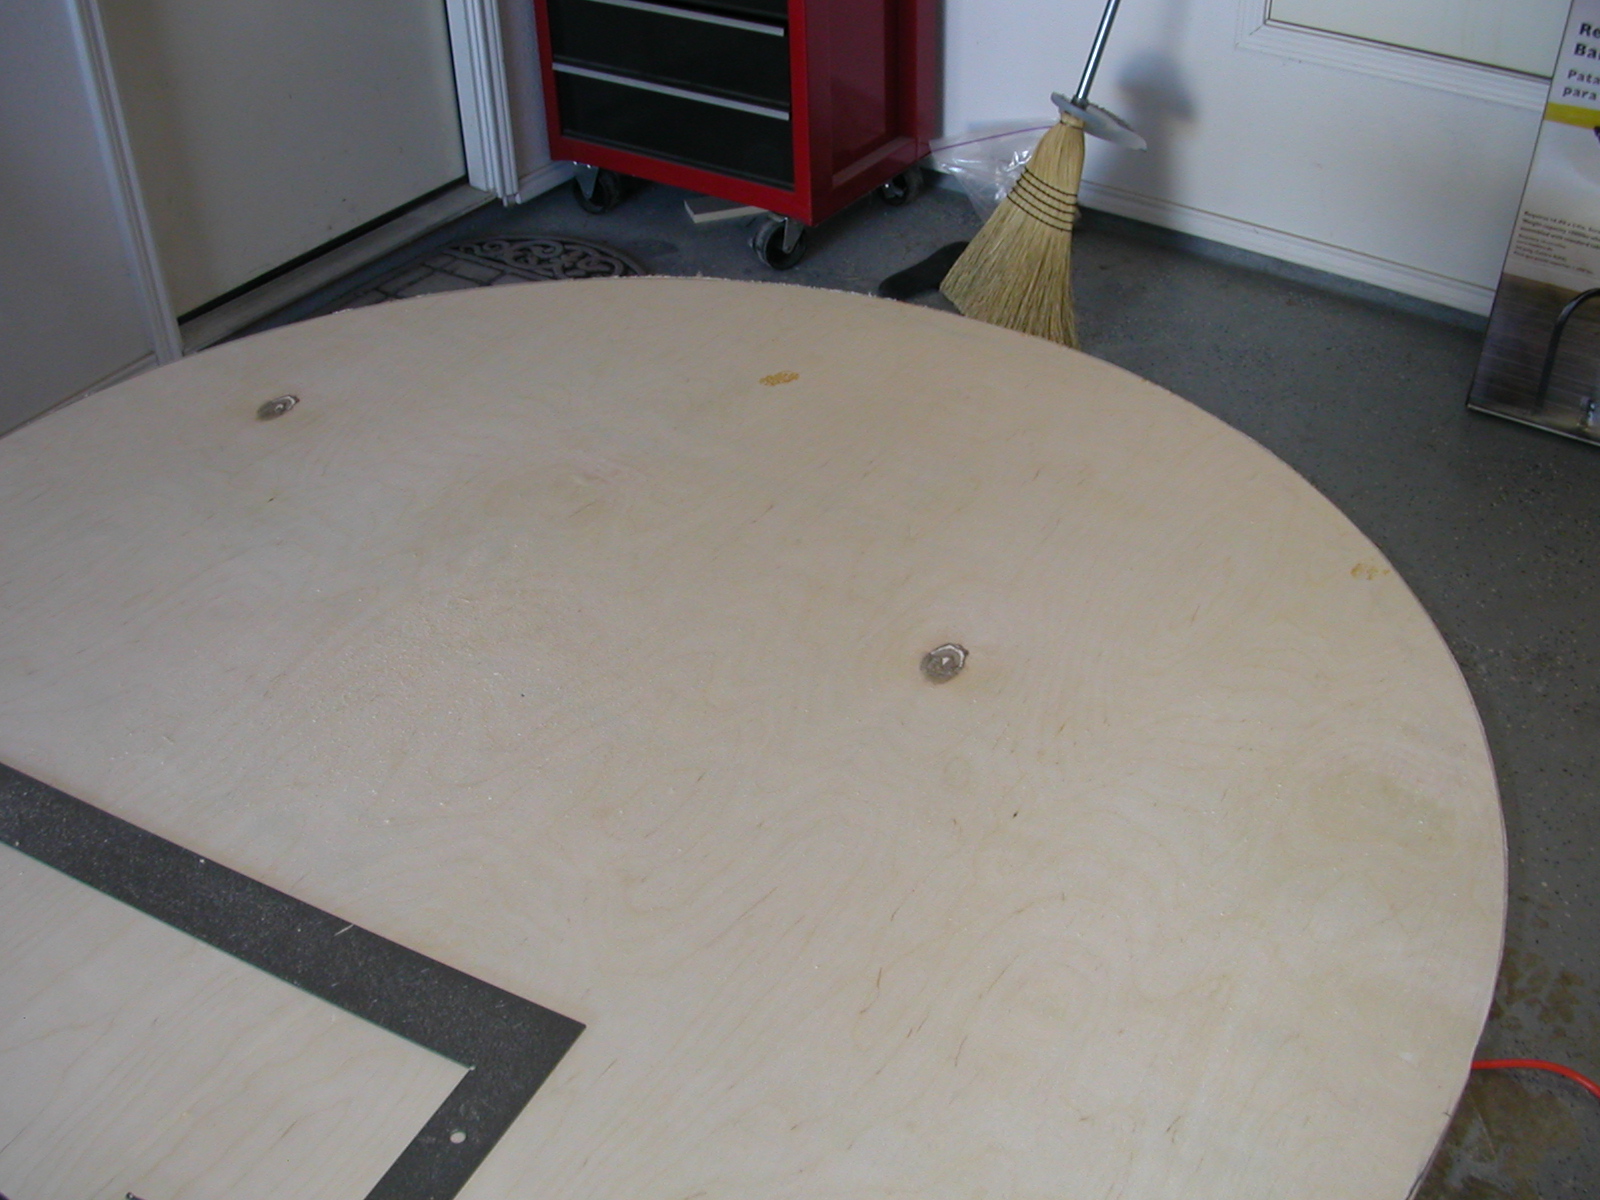
And here is our first board with both ends cut. Before moving on, it is very important to mark one end of the board on a side that is not visible. Do this on the same end of each piece so that you can easily put the puzzle back together. |

|
|
While we have this board on the sawhorses, it makes sense to go ahead and mark it up. Since it will be used for the top rail it will be marked all the way around at 4". Use more or less depending on your personal preference. |
| I want a 5" wooden surface without sacrificing a lot of playing surface realestate. We're marking the rail now but we're not going to cut it until later. |
|
|
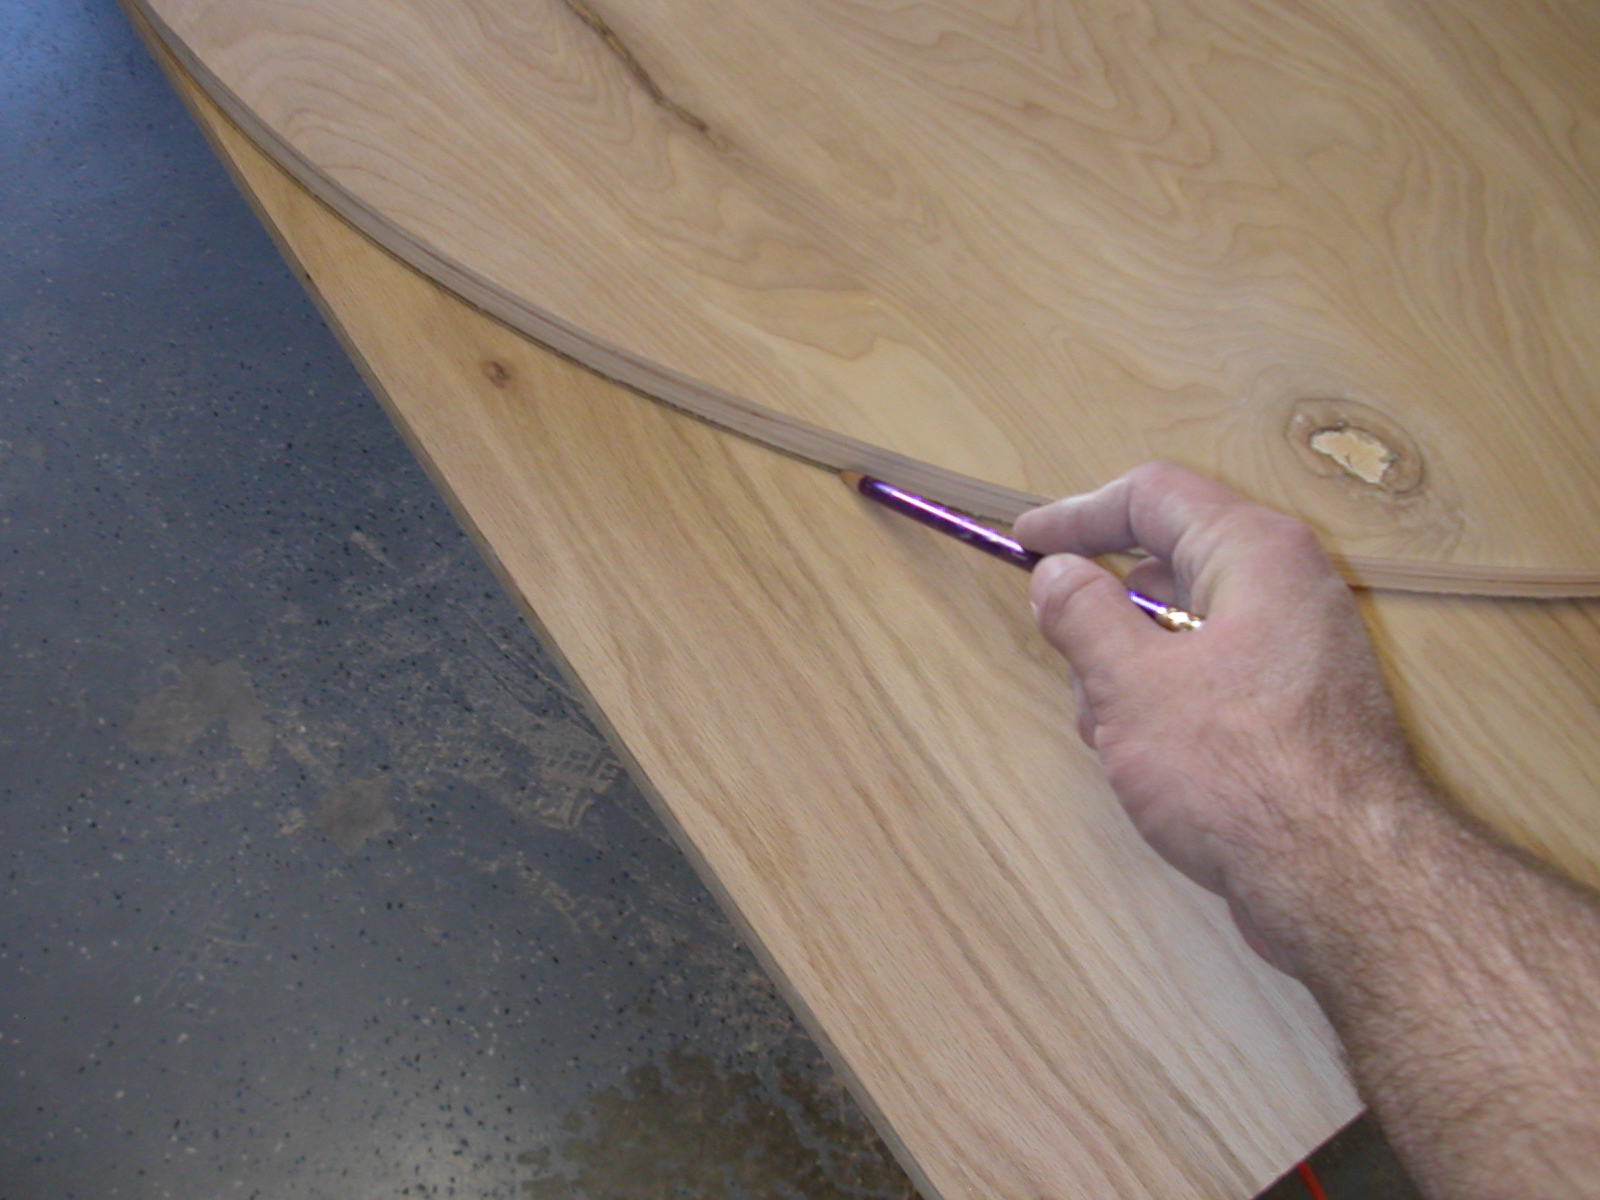
Board #1 is up next. Marking this one is a little easier, just lay the board we just cut on top of it and
mark around the outside. Be extra careful with every cut you make on this board. It is the only board
that doesn't get covered up, and it needs to look good, even the parts that aren't showing.
After making the same cuts we made on the previous board, we need to mark the lower rail. I chose a 1.5" lower rail. Choose your favorite technique, and mark this off. |
| As I cut, I applied clamps to keep the rail from crashing to the ground, or ripping apart as it started to sag after being cut. |
|
|
Once the rail has been cut, set it aside, we'll need it later. |
|
Now it's time to measure the racetrack. I want mine to be 5" wide, so I measured from the outside edge.
There is some tricky math here, so get your calculator ready. 4" rail + 5" racetrack = 9". Now subtract
off the lower rail portion we already cut away: 9" - 1.5" = 7.5". Your calculations might differ slightly
depending on what size you elected to go with.
Mark your rail all the way around at the size you have chosen; I chose to use a metal ruler this time. Now might be a good time to go ahead and cut this board, but I decided to save that joy for later. I wanted a little more practice before I made what will be the most important cut of this project. The inside edge of the racetrack is the only jig saw cut that will show in the final product. |
|
|
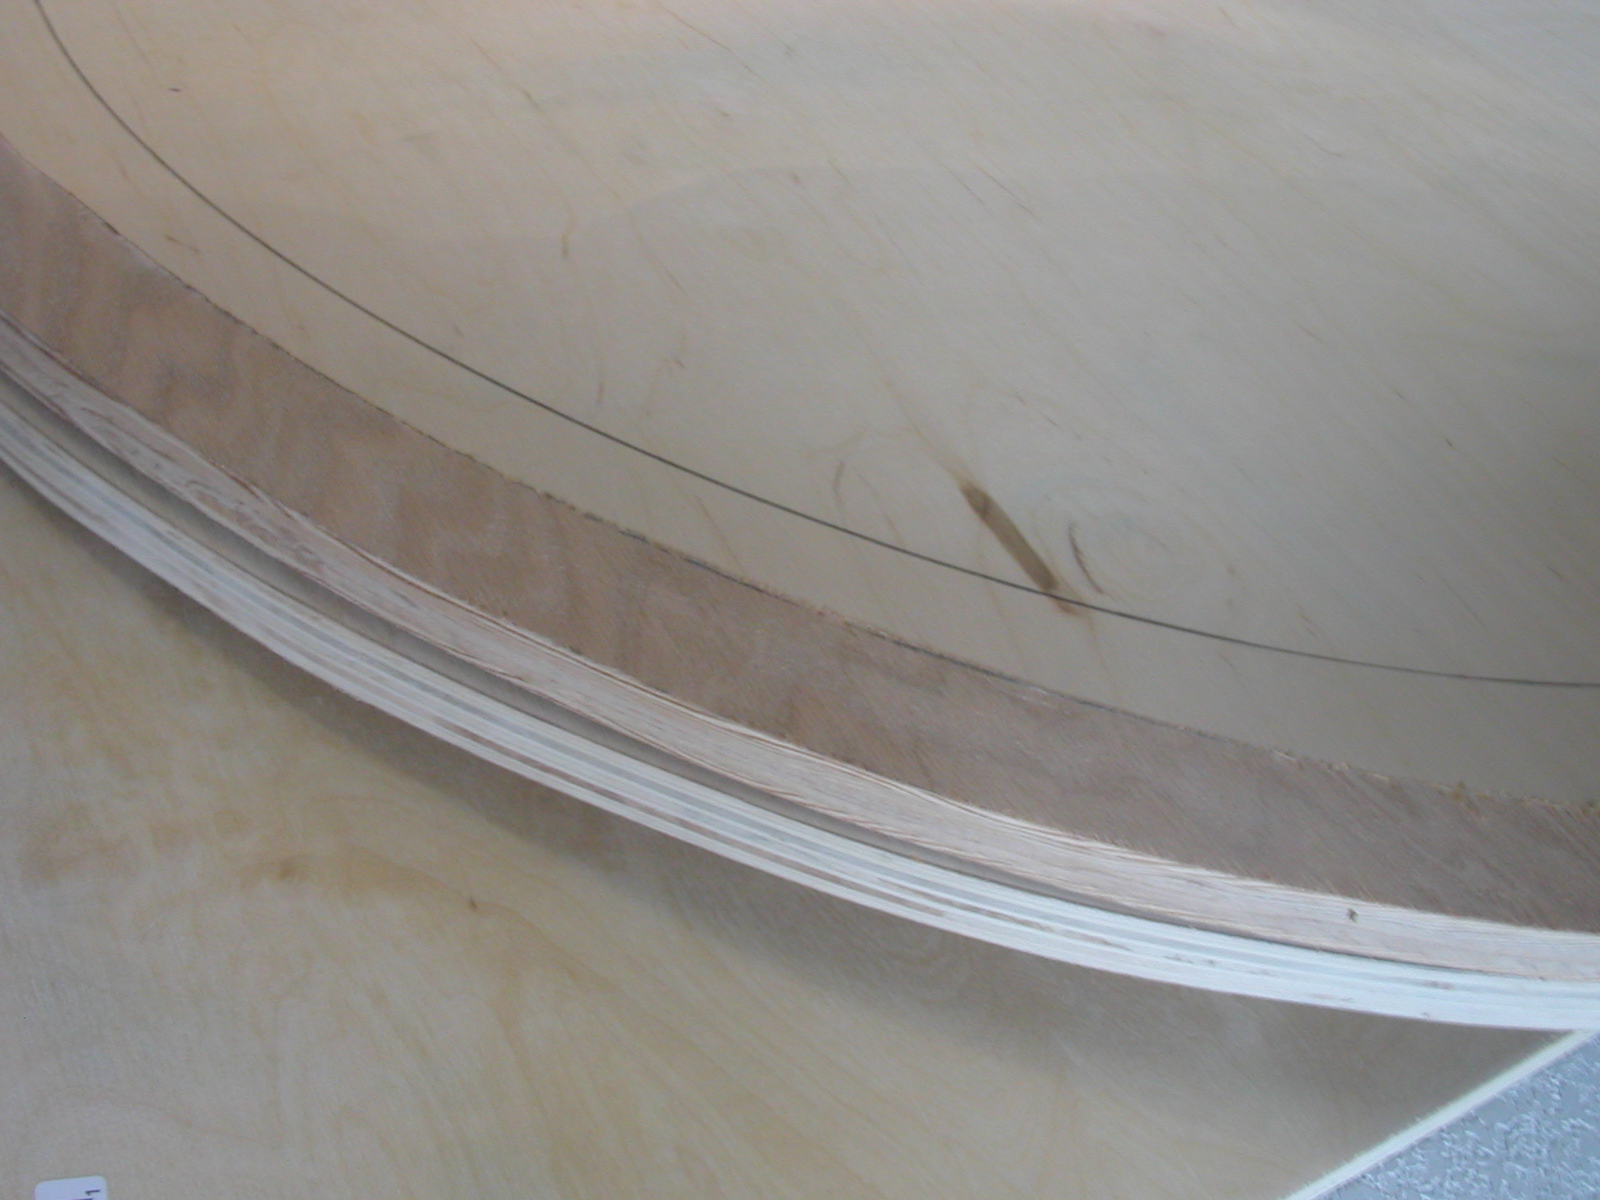
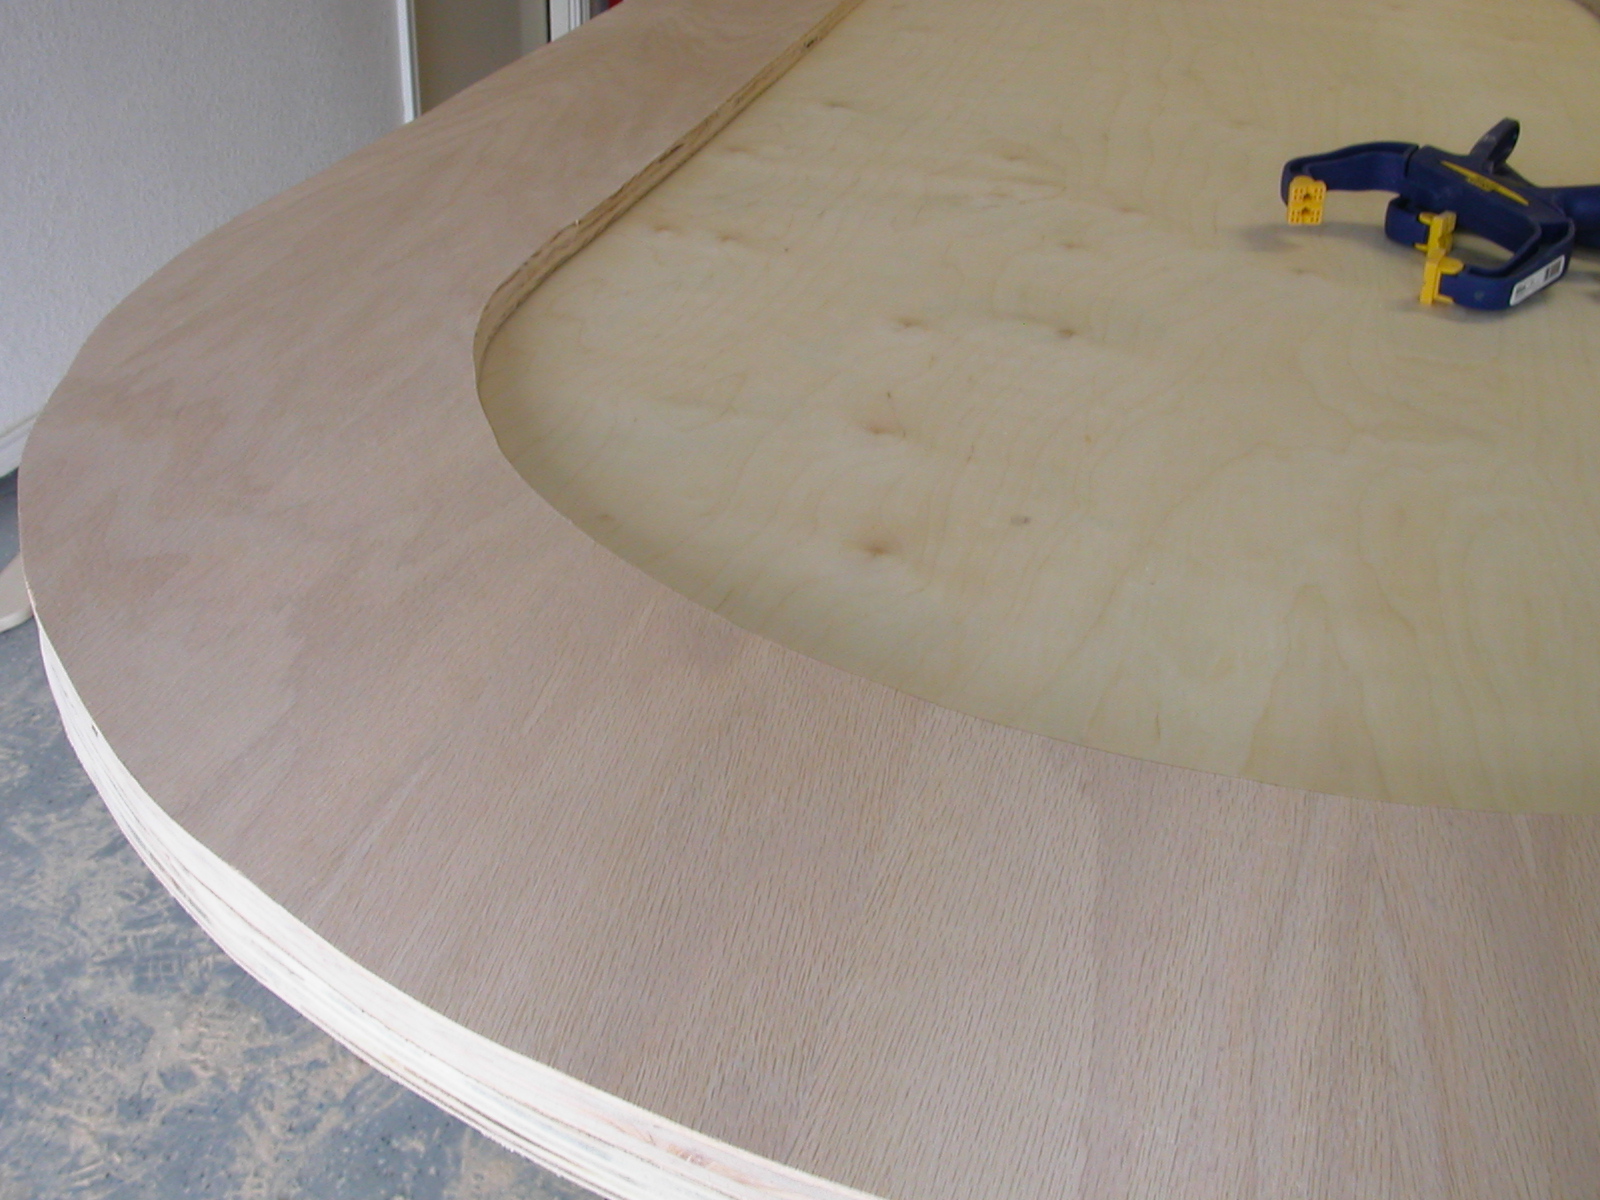
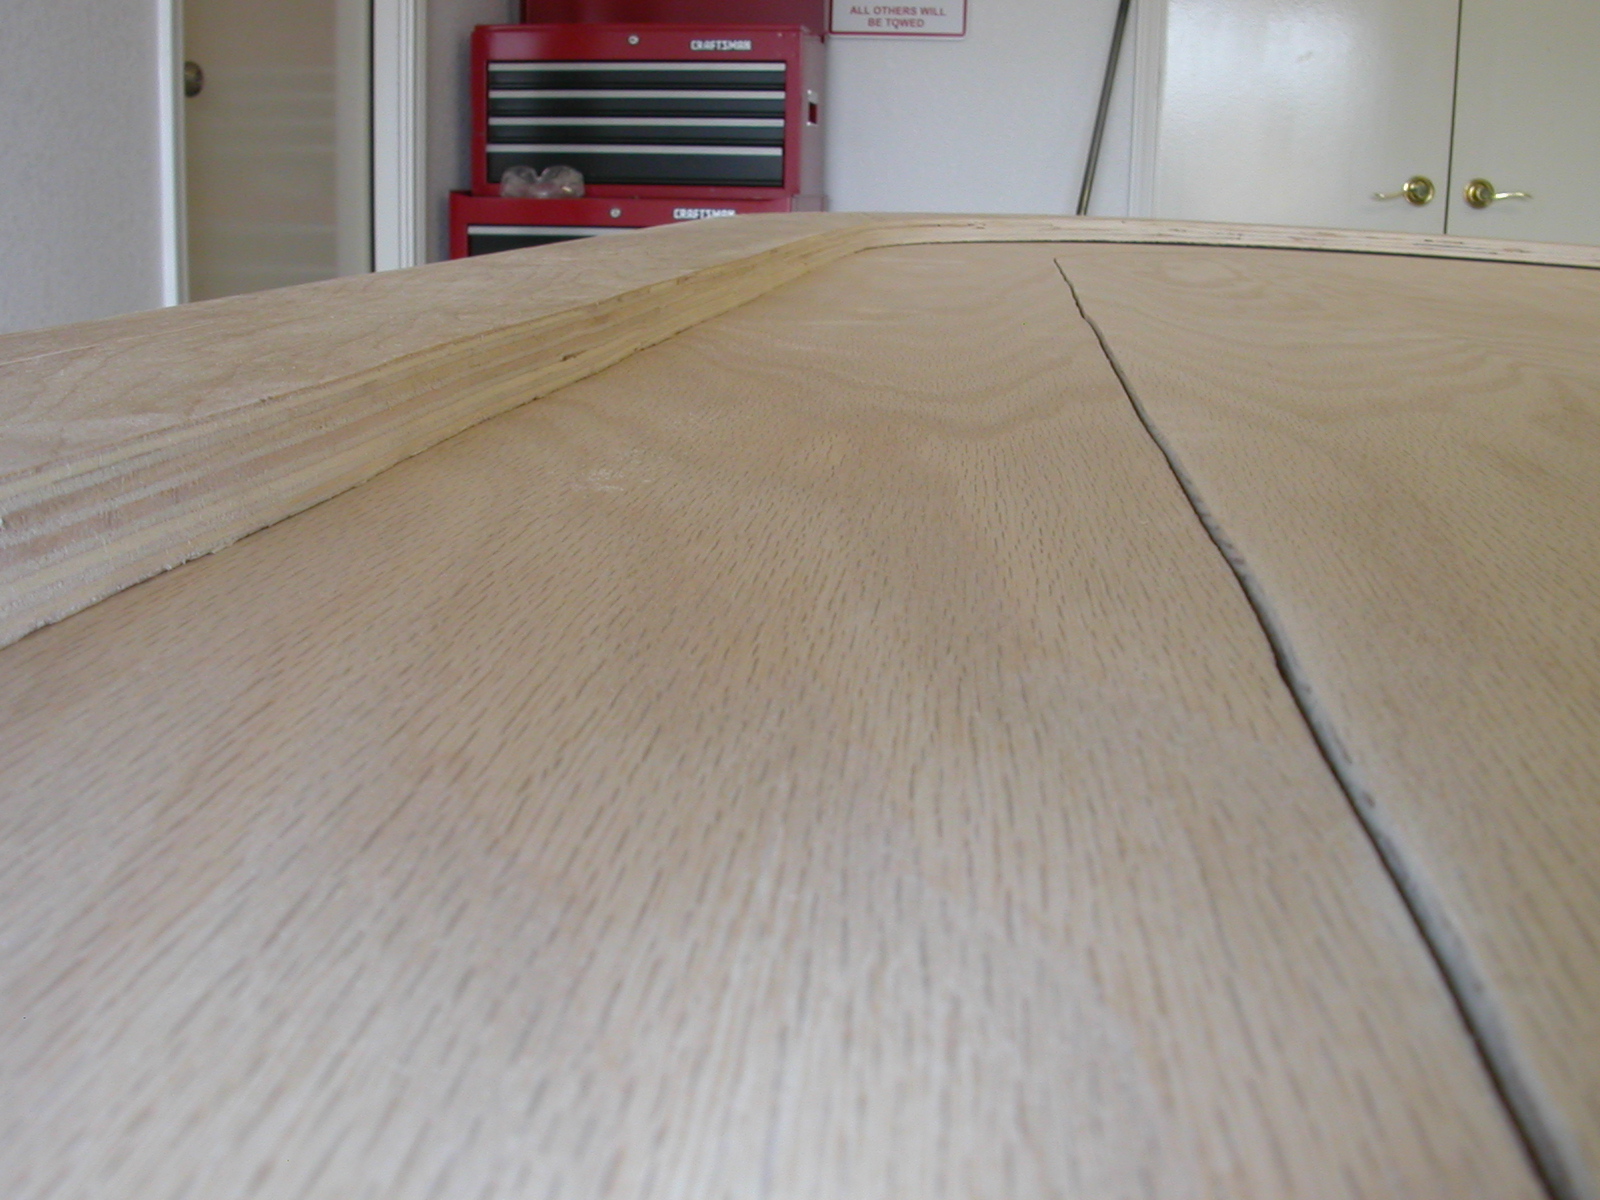
Here is a look at the bottom rail next to the piece that will become the top rail. |
A closeup shows that they are not perfect, but they don't have to be because later they will be covered with foam and vinyl. Once they are attached, go back and sand a bit if you don't like how it looks. You can clearly see the line we will use to cut out the top rail. |
|
|
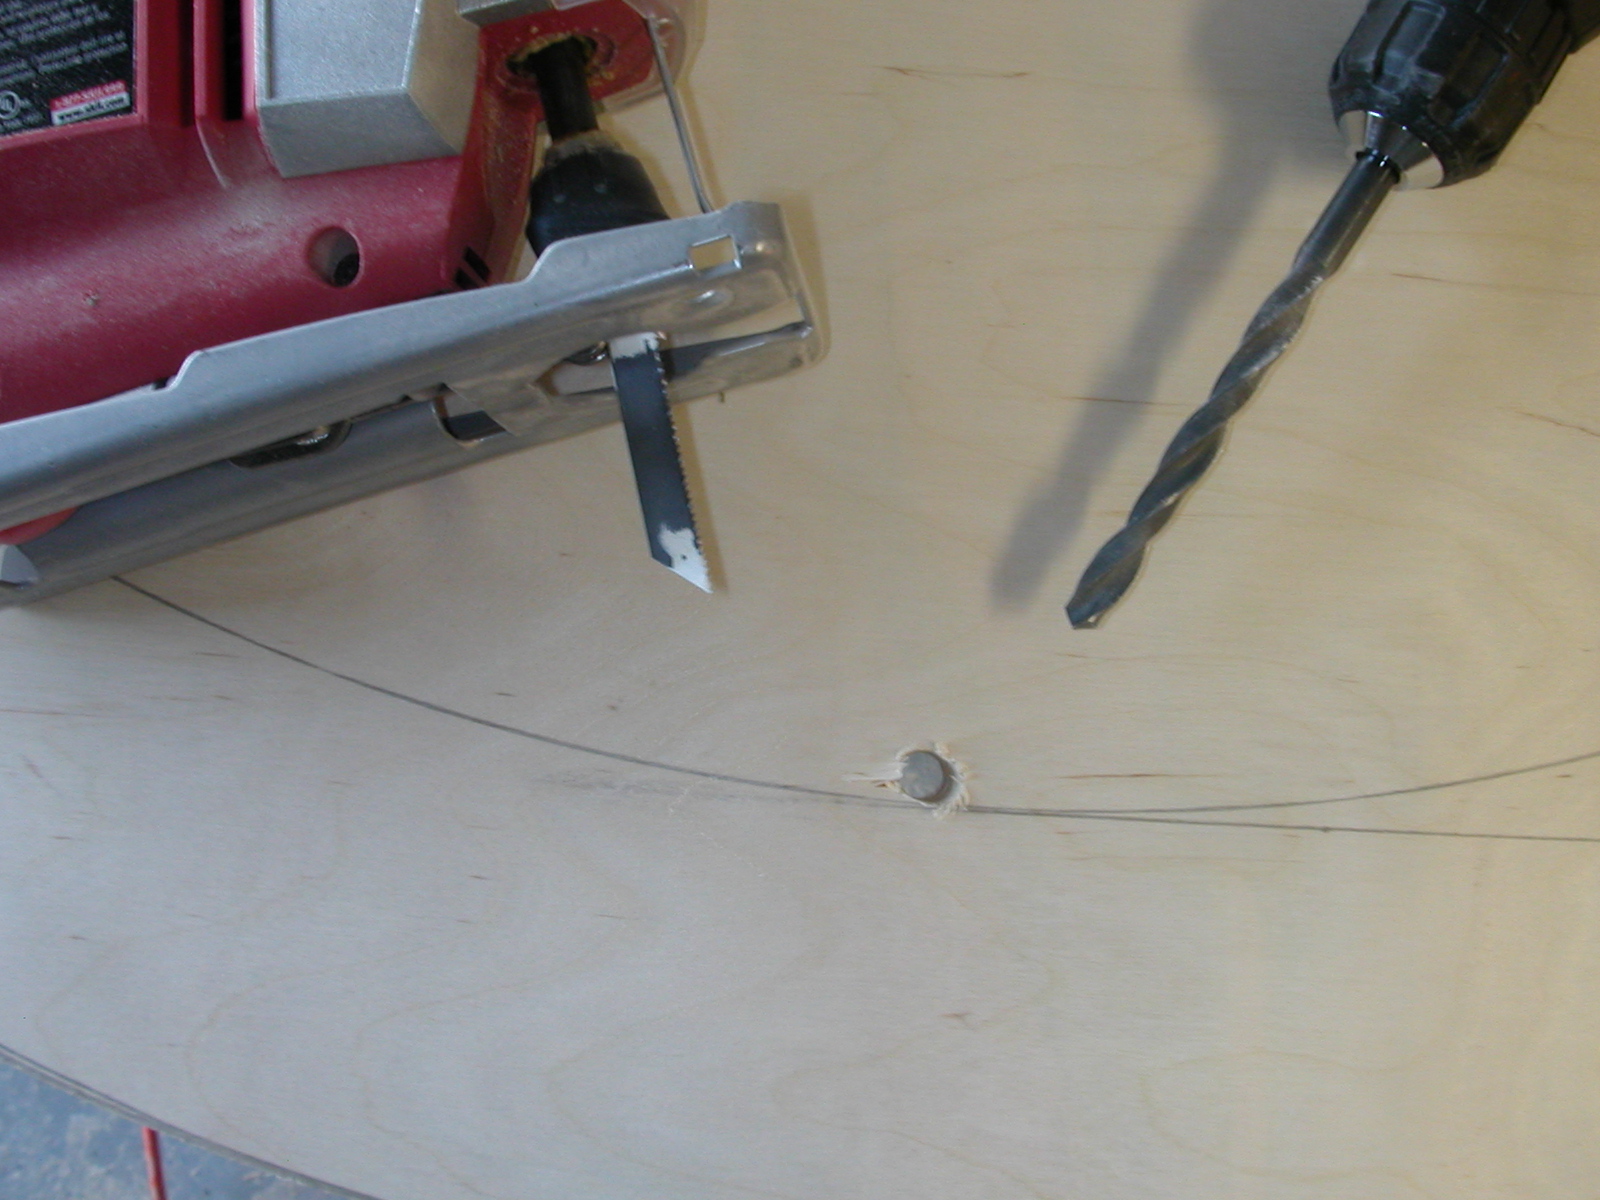
The best way I could find to start this cut is to drill a hole on the inside that will accomodate the saw bit. This allows me to start the cut on a piece that is not used, and preserve a clean cut on the rail. |
The piece we cut the top rail from can now be set aside, it will not be used on the table. The next step is to attach the lower rail and the upper rail together. Start by lightly sanding, should just take a minute to go over the entire surface we will be gluing. Now go back over it with a rag and wipe off any dust. Remember to use your marks and line up both pieces how they will eventually be glued. Apply the glue and set the pieces together how you want them. |
|
|
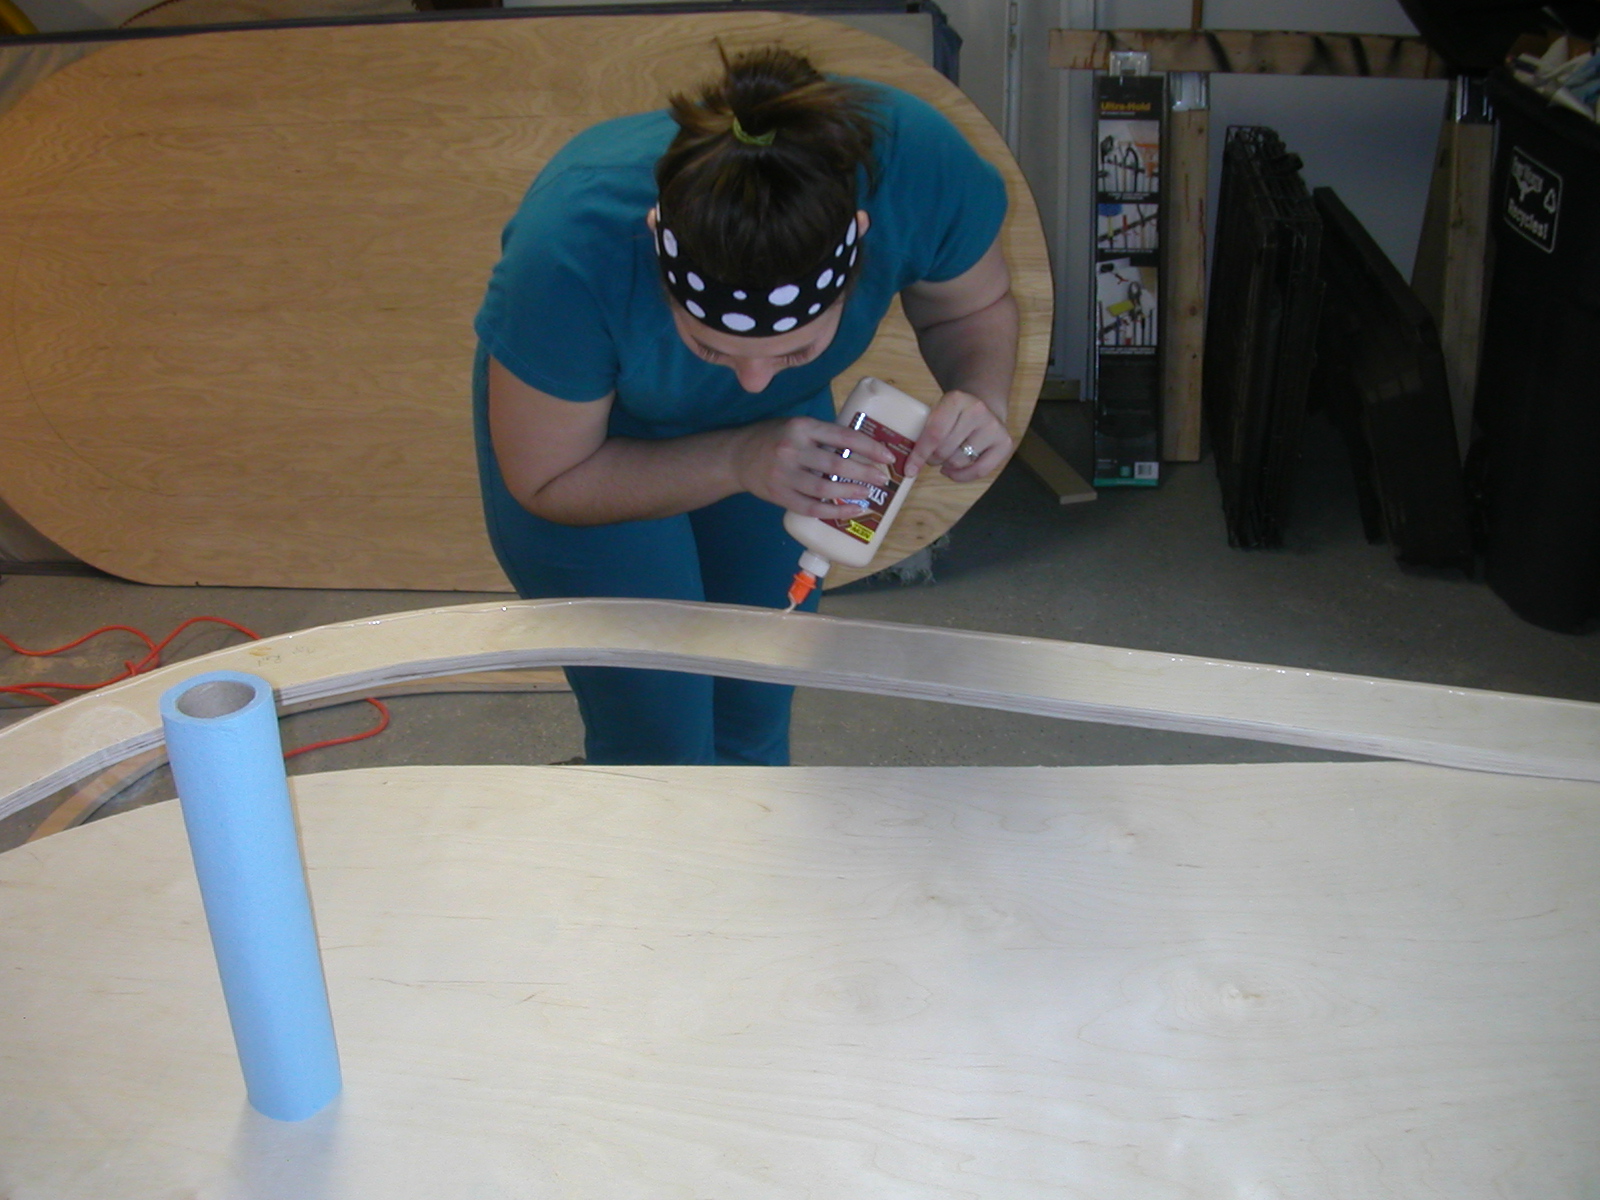
My wife demonstrates proper gluing technique. Elmers makes a great wood glue, and there are several others available. Check your local hardware store. |
| Take plenty of time to go around the rail and make sure it is pressed together, and aligned how you want it. As you go, apply clamps and wipe away excess glue. |
|
|
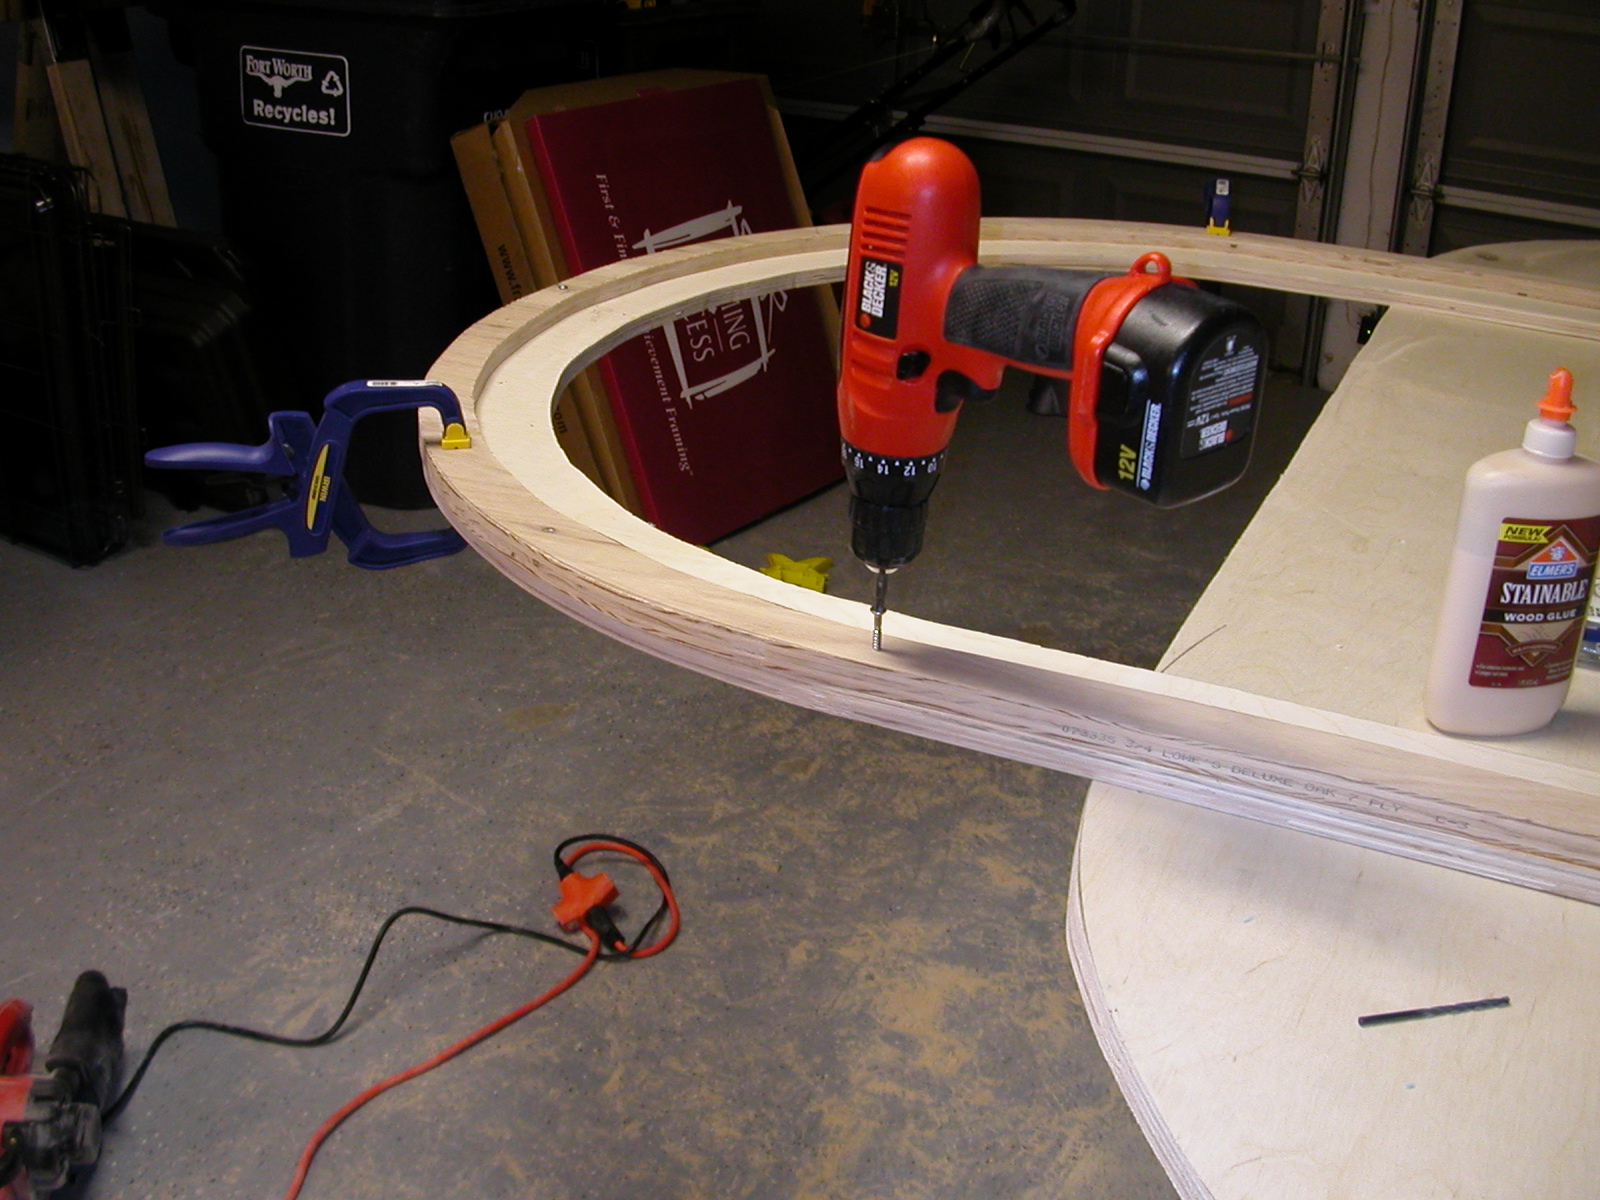
Let the glue dry for at least half an hour. Refer to the bottle just in case it should set longer. Leave the clamps on for security while you perform the next step. Wood screws should now be used to attach the top rail to the bottom rail. The best way is to drill a pilot hole slightly smaller than your wood screw. I used a total of 8 screws spaced regularly to make the attachement. |
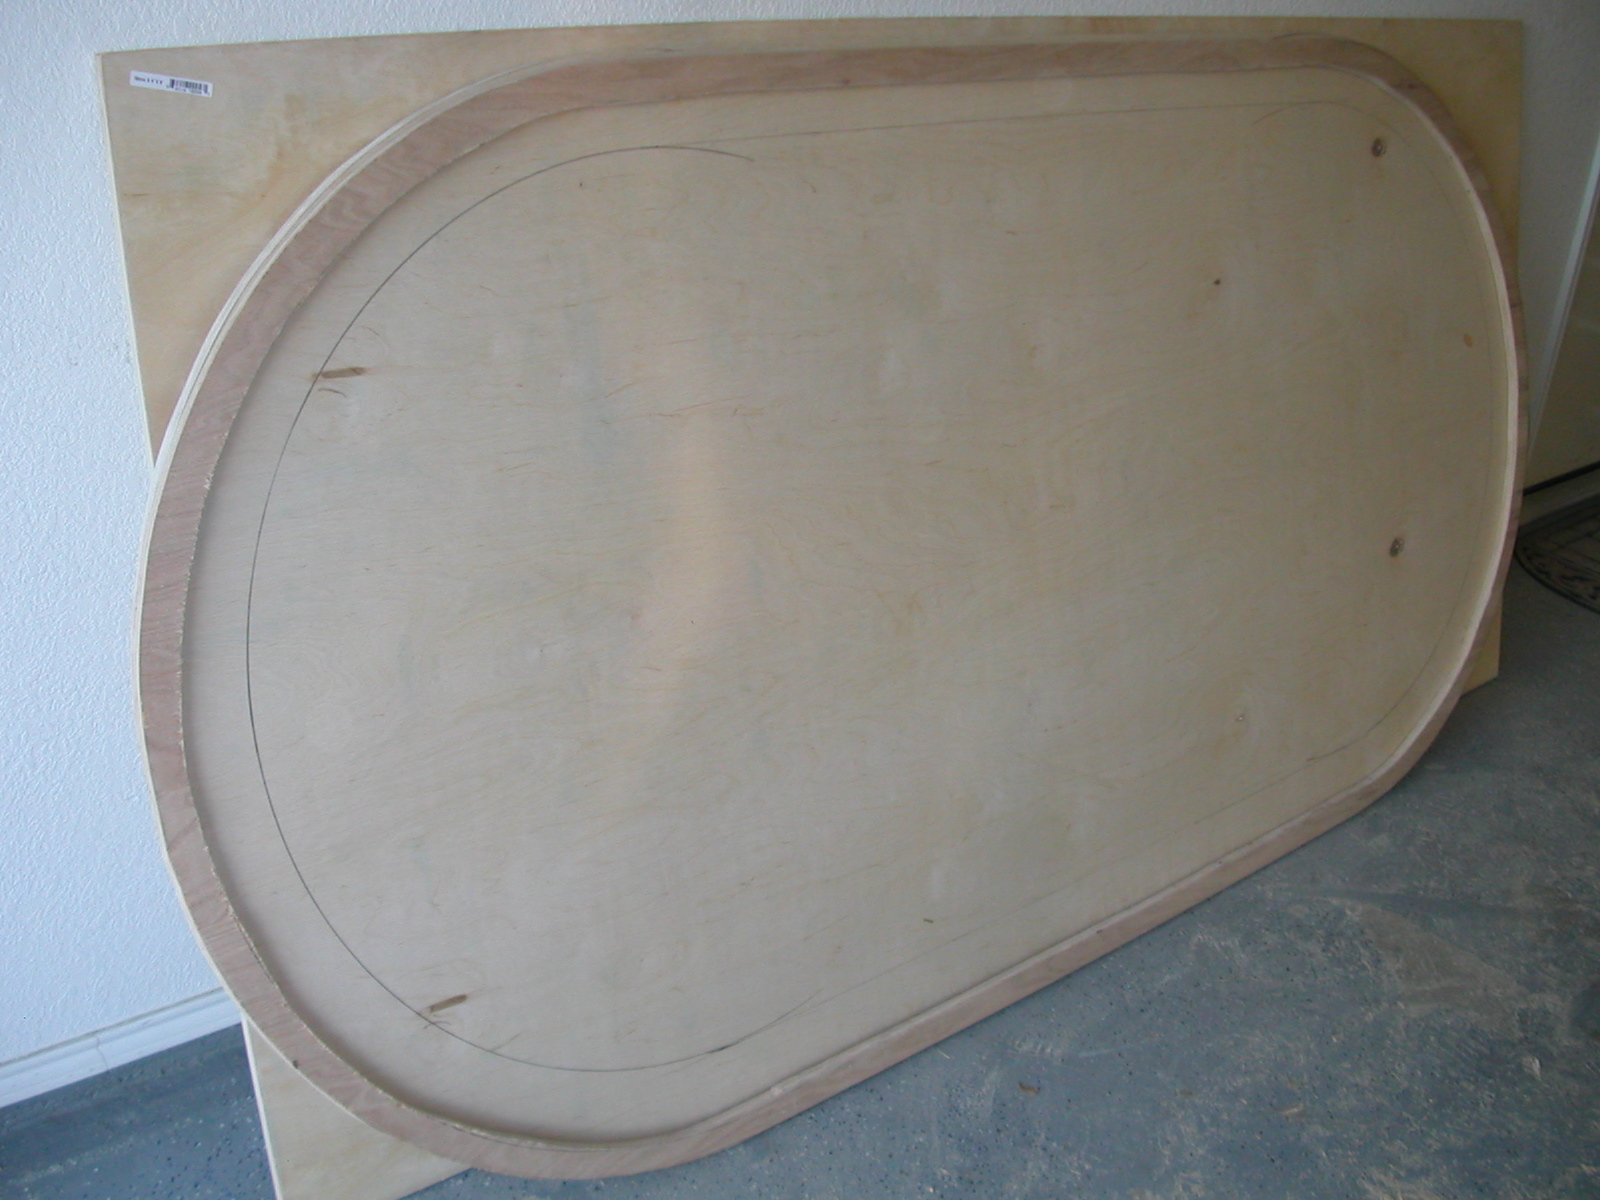
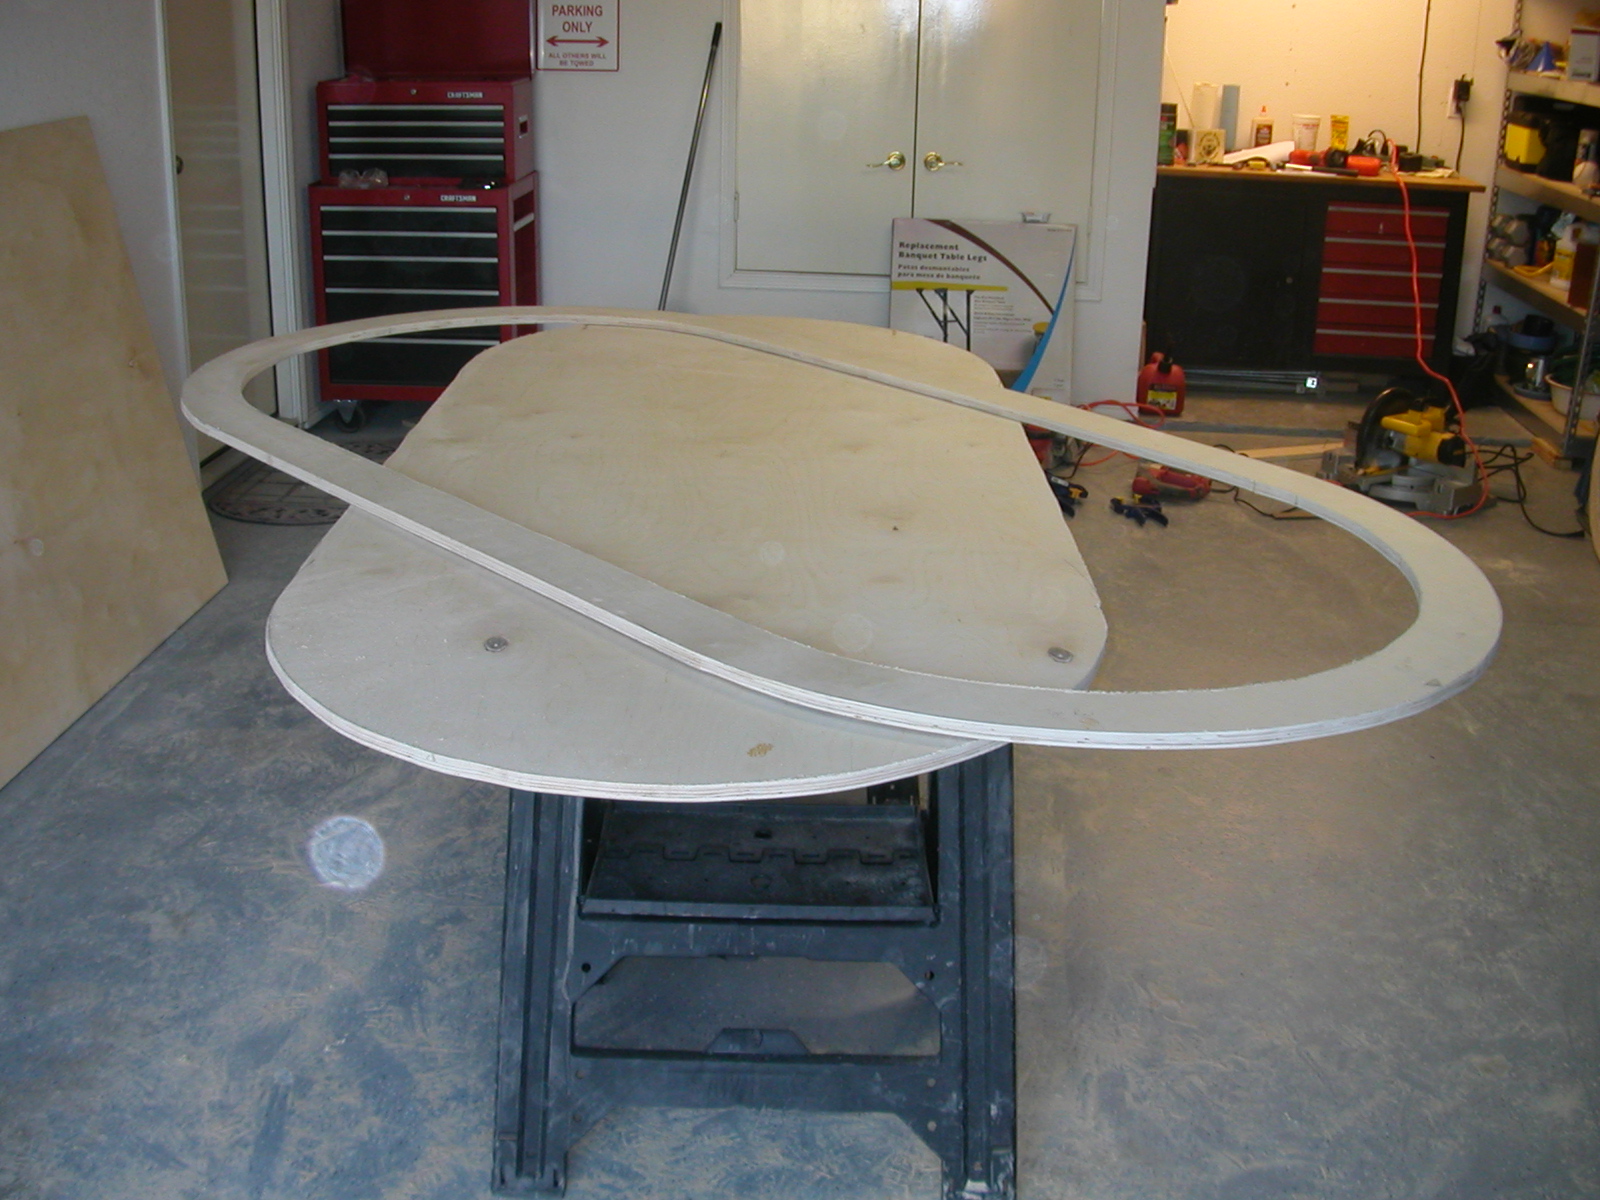
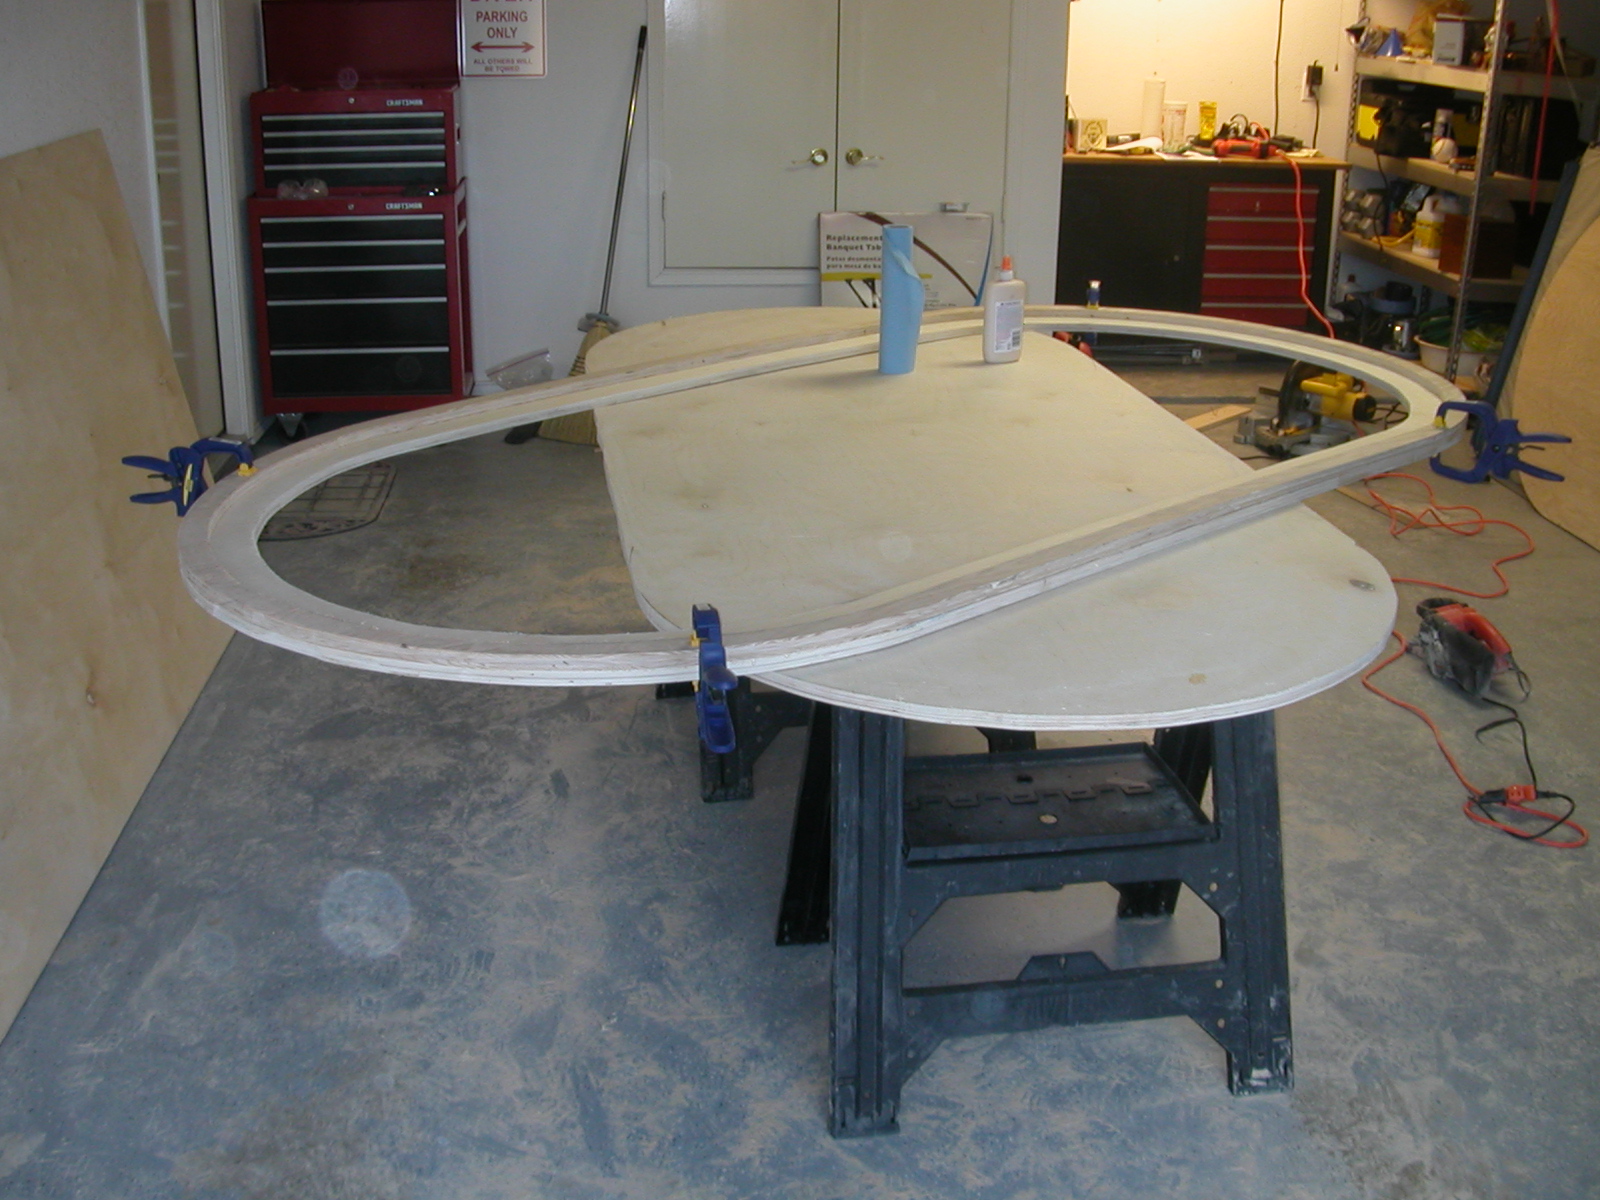
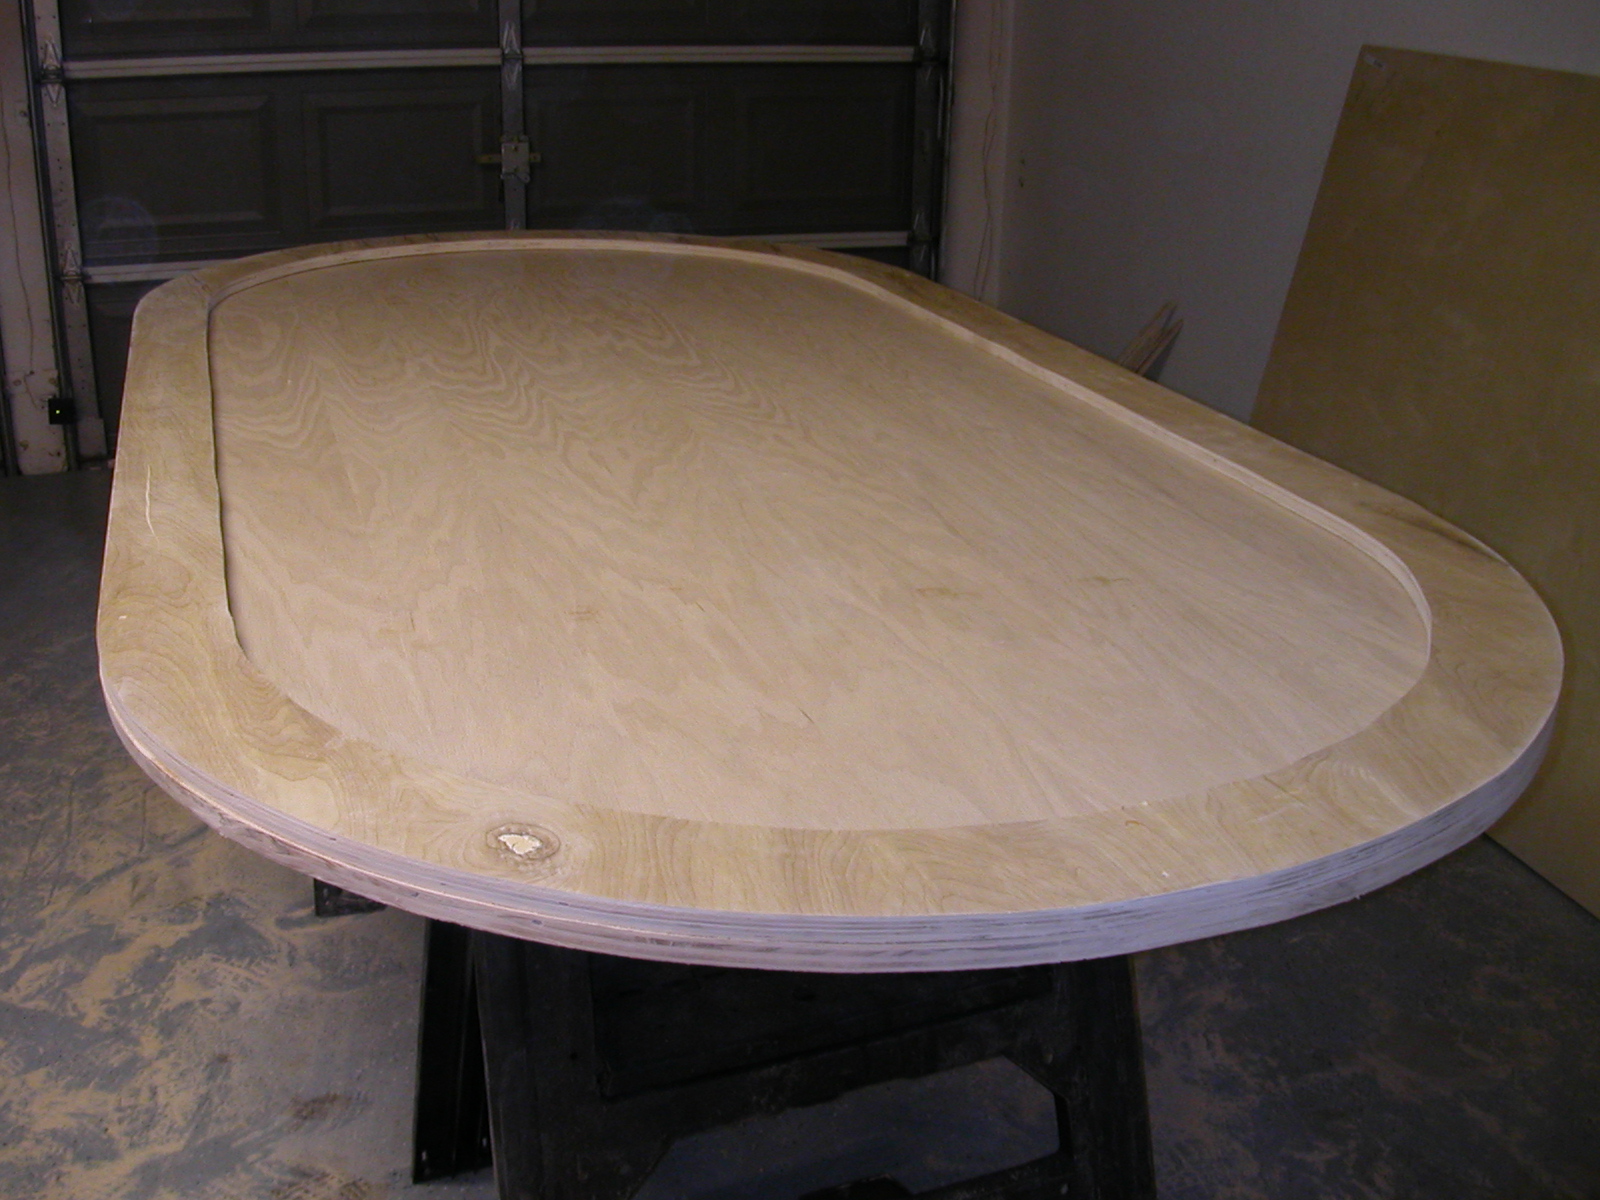
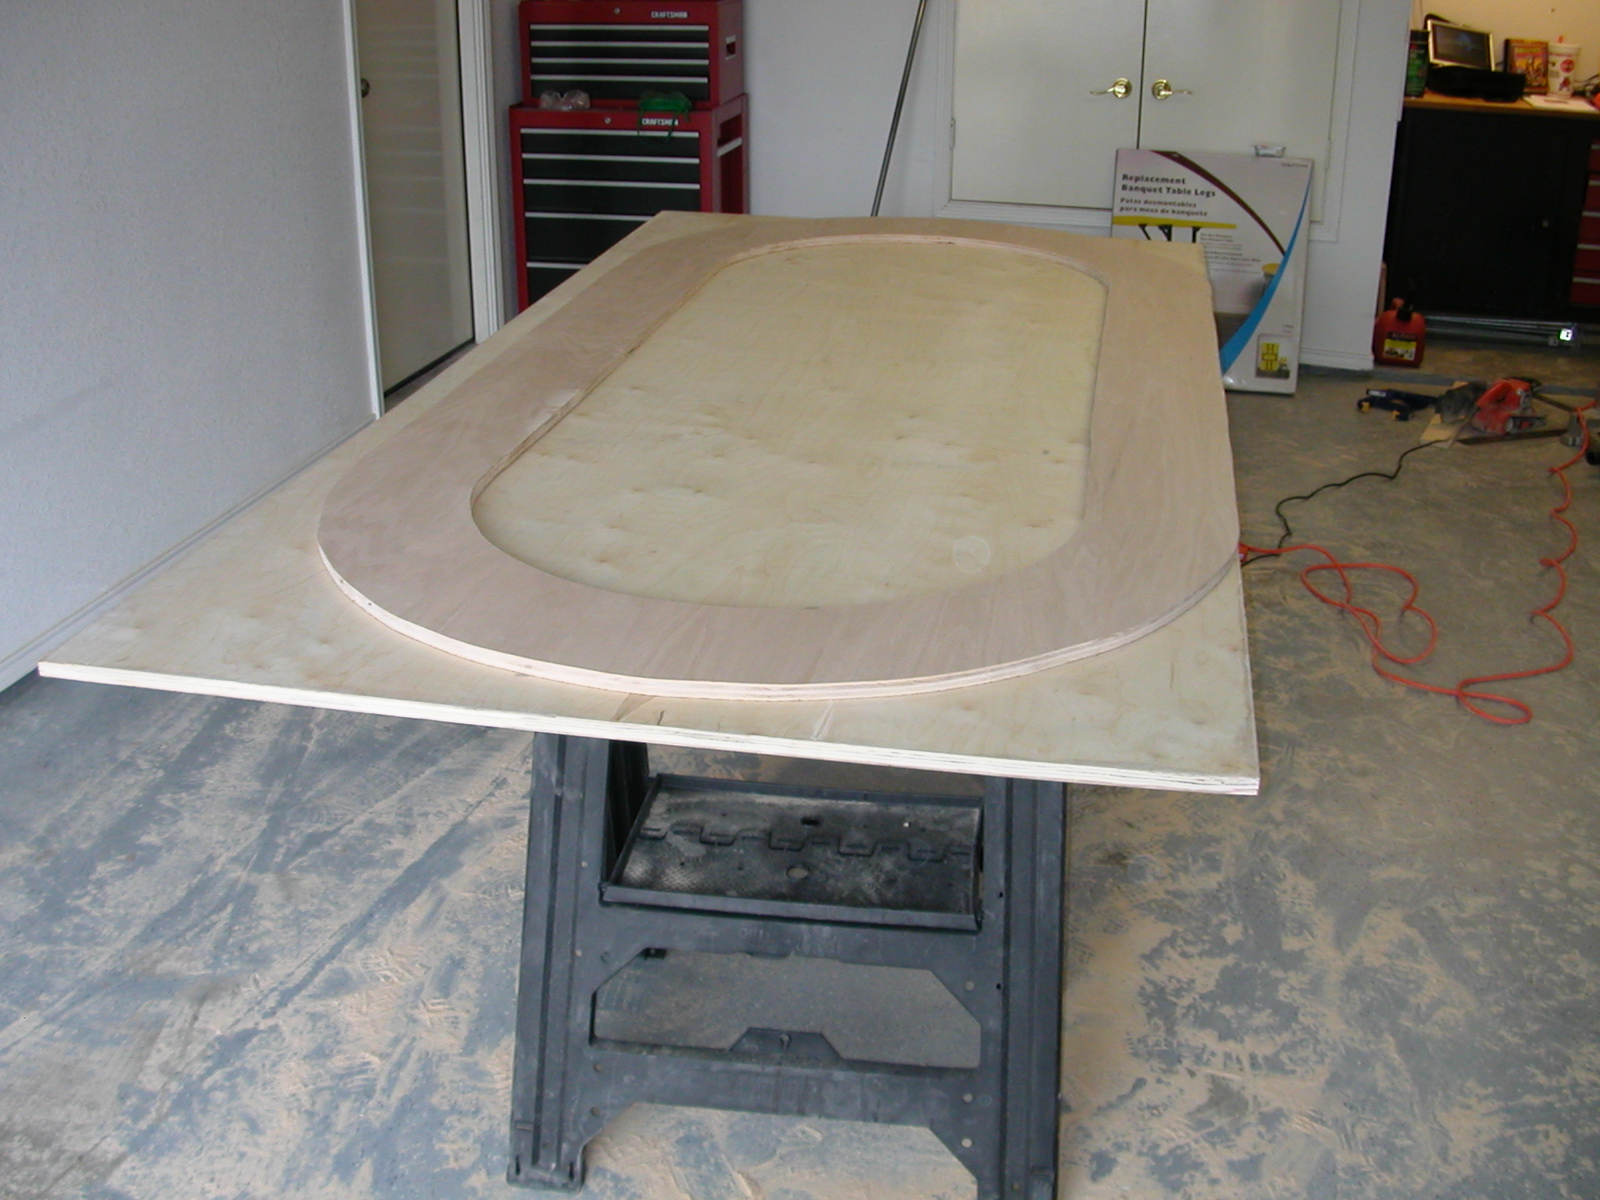
| Here is a view of the table on the saw horses with the attached rail resting on the racetrack. The next step will be to cut the racetrack away from the center piece. |
|
|
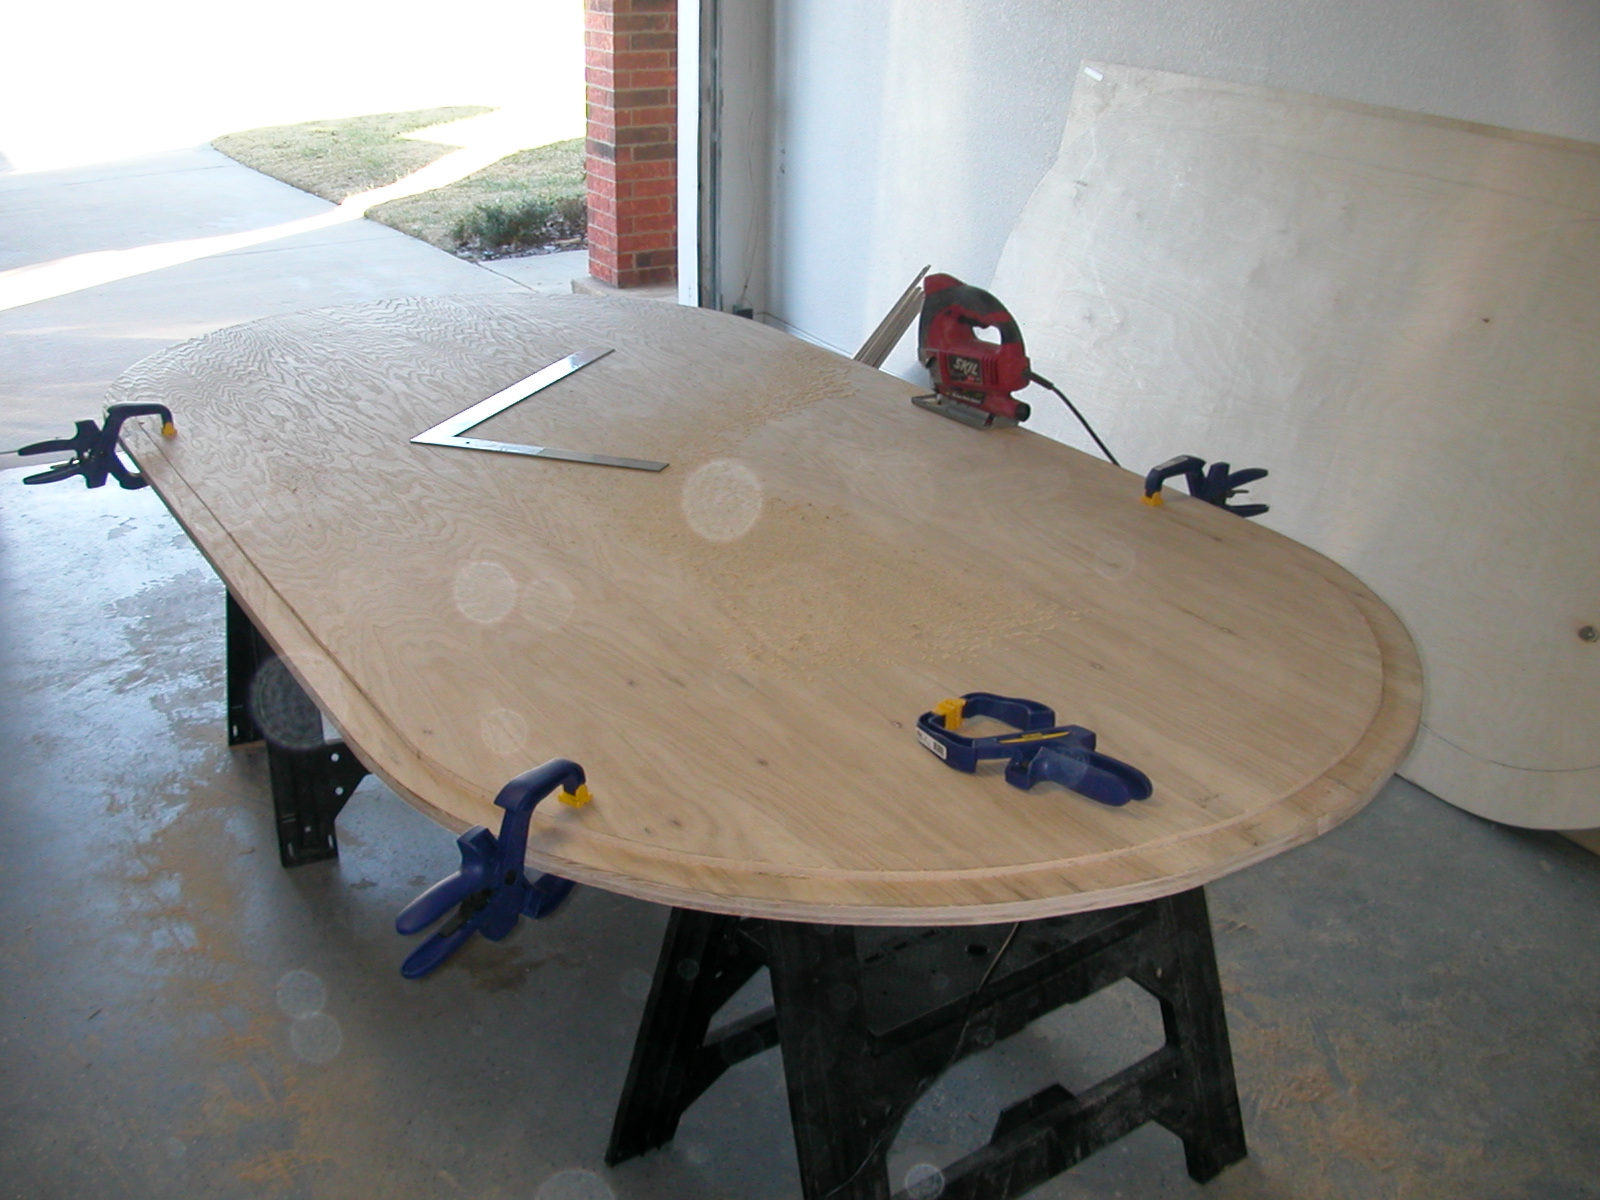
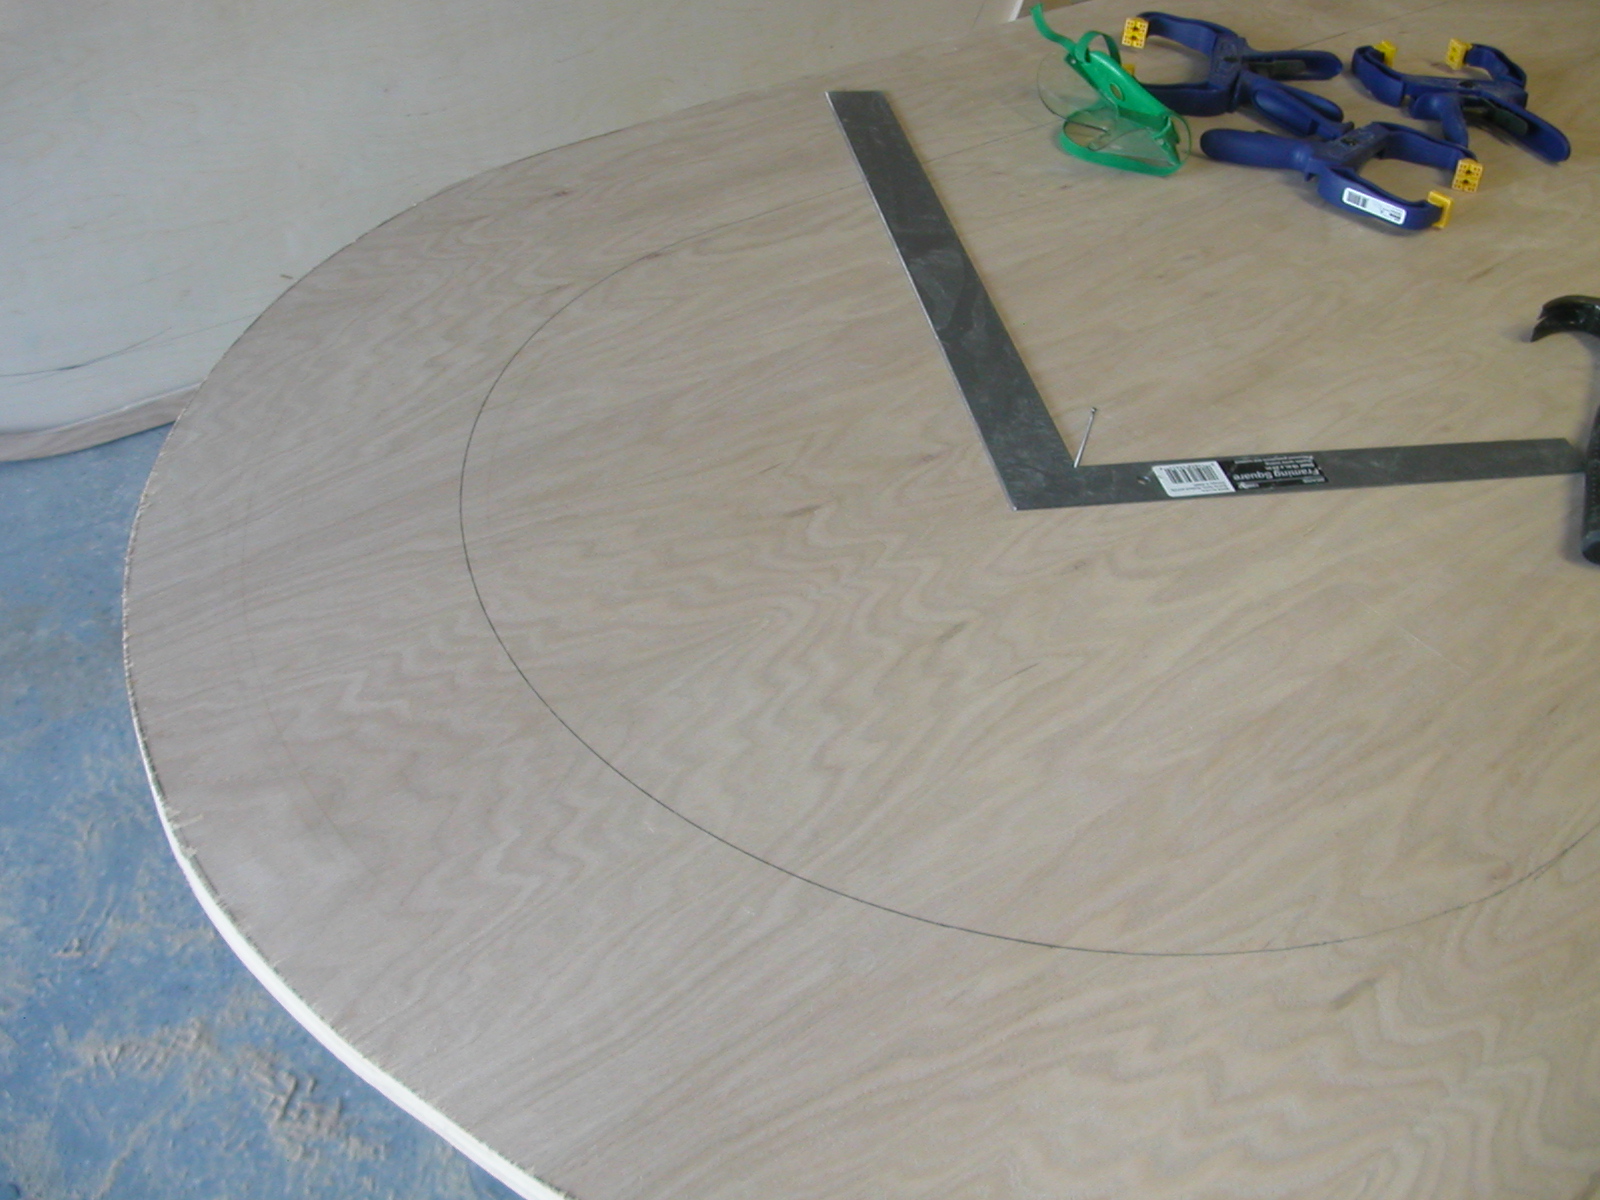
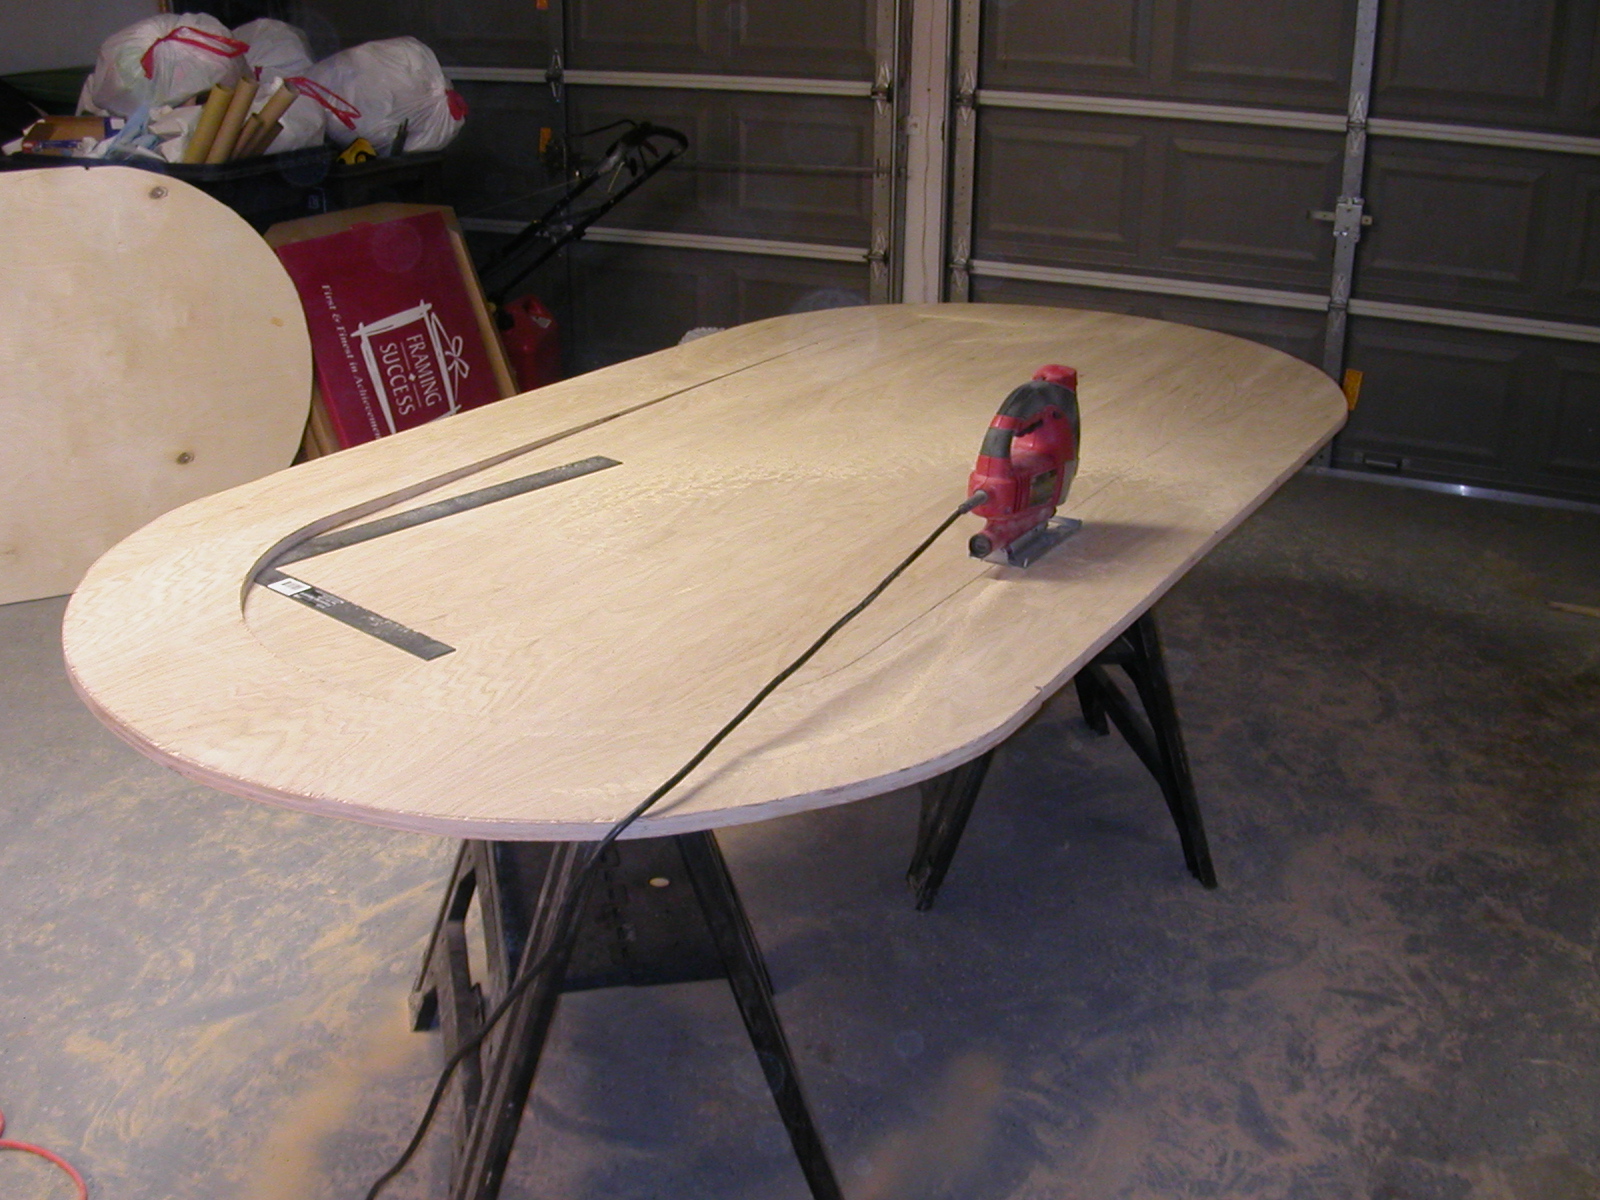
This is the most important cut you will make. Take your time on this one as it will be out there for all the world to see. Start with the same technique as before, drill a hole on the insert side close to the line where the cut will be made. The hole should be big enough for the saw blade. From the hole proceed with the cut. As the racetrack starts to sag, use something to make sure it does not fall. In the picture you can see I used my L Square, and later I used the clamps I had handy to hold up the racetrack as I completed the cut. Make this cut on the outside of the pencil mark. This will allow any markings to be covered by the felt, and now out on your finished racetrack surface. |
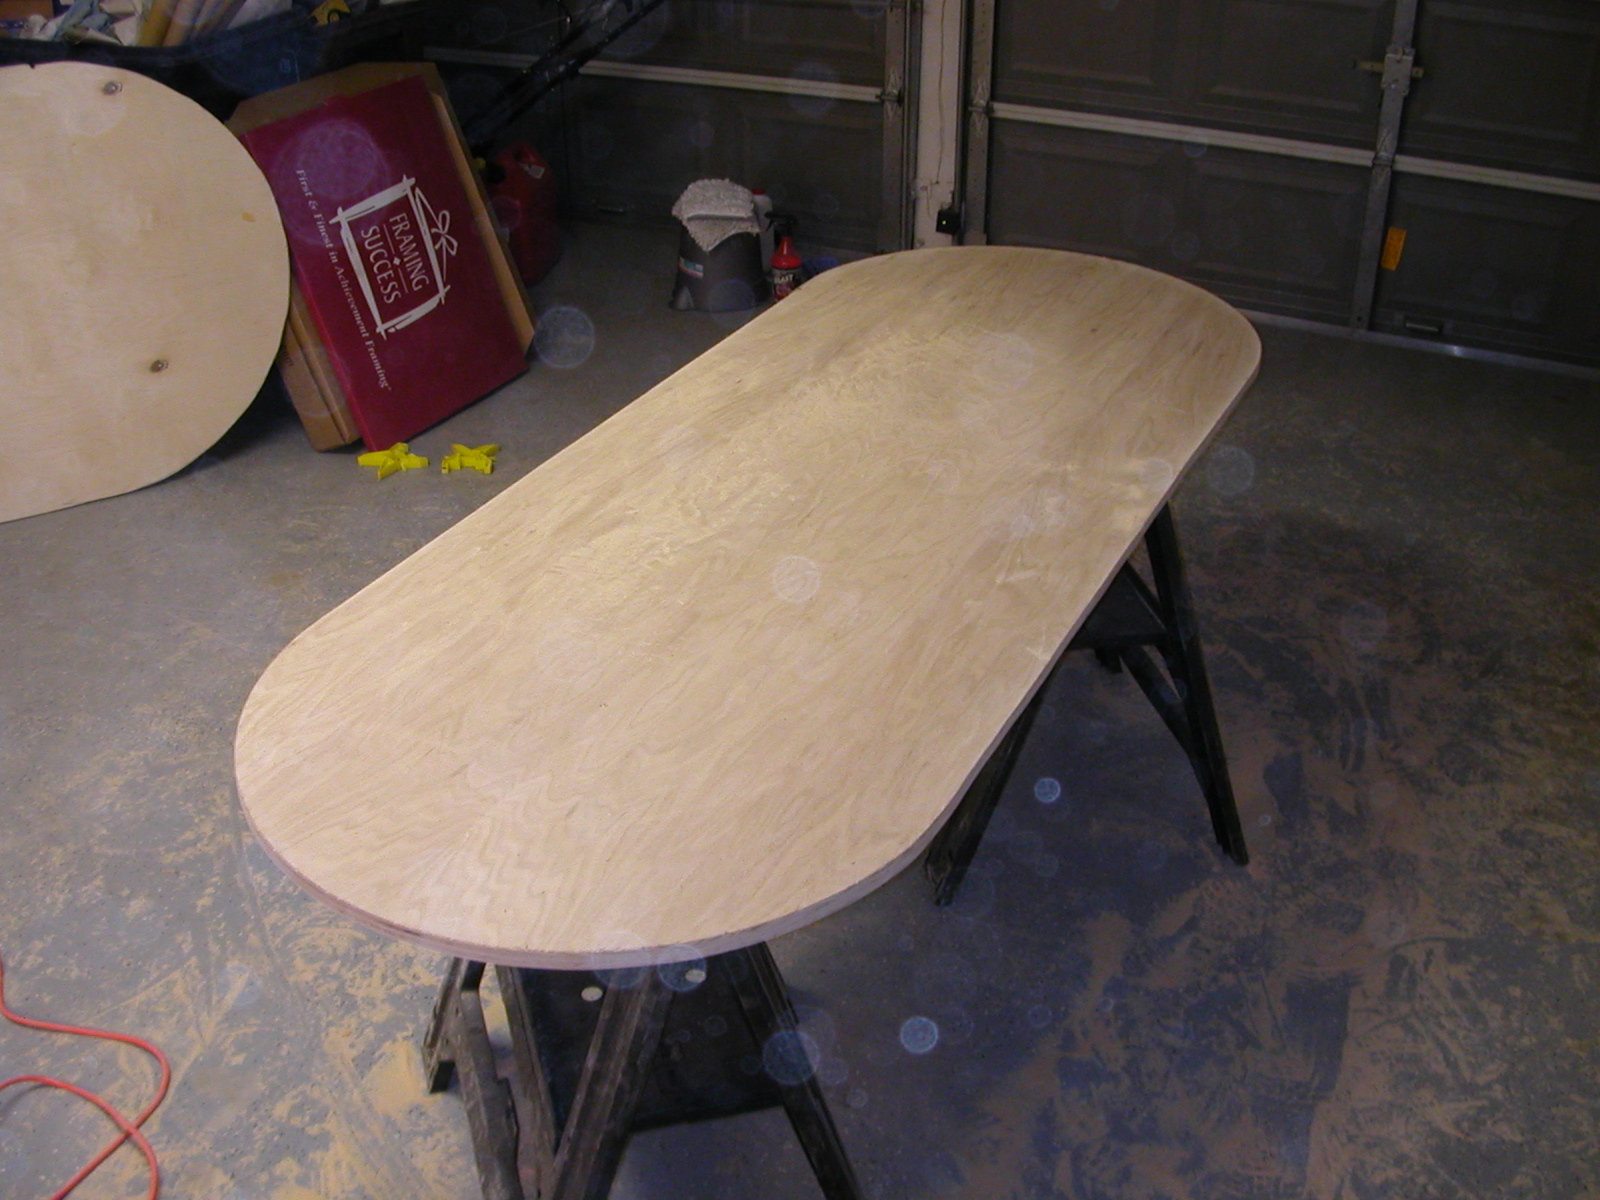
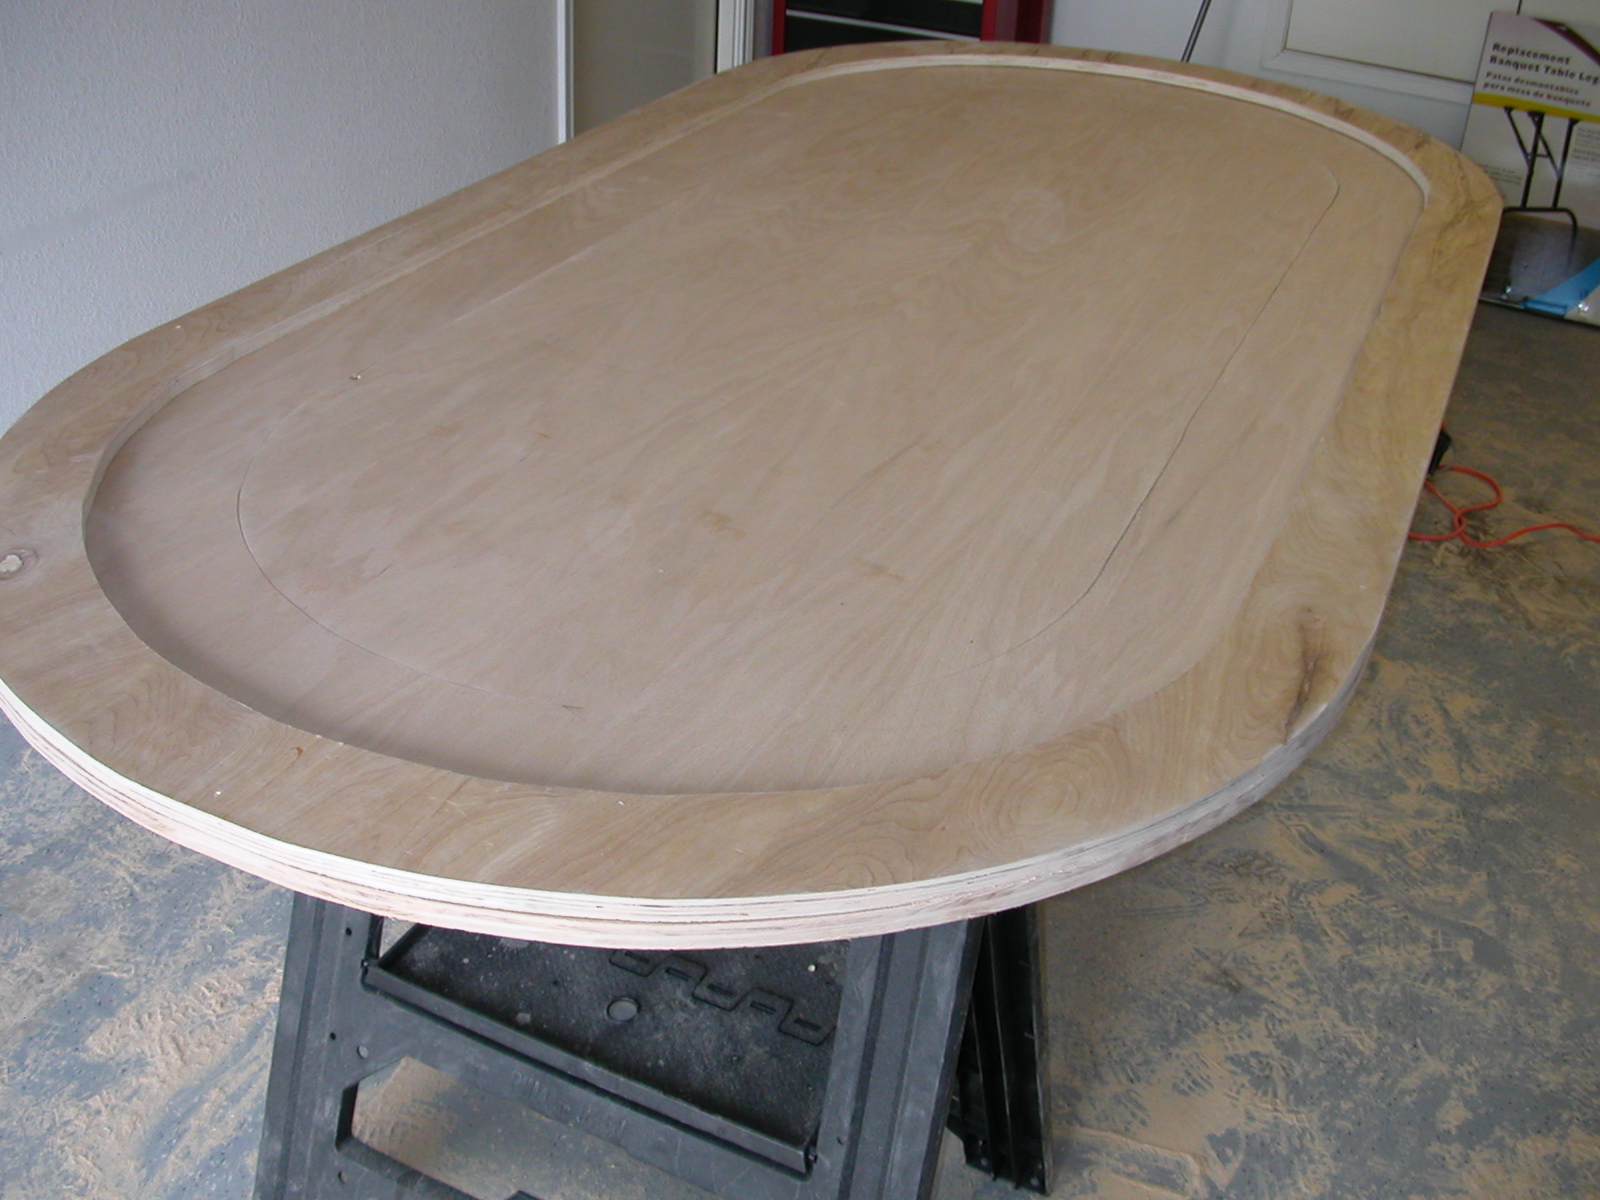
| Here is the insert with the racetrack cut away. |
|
|
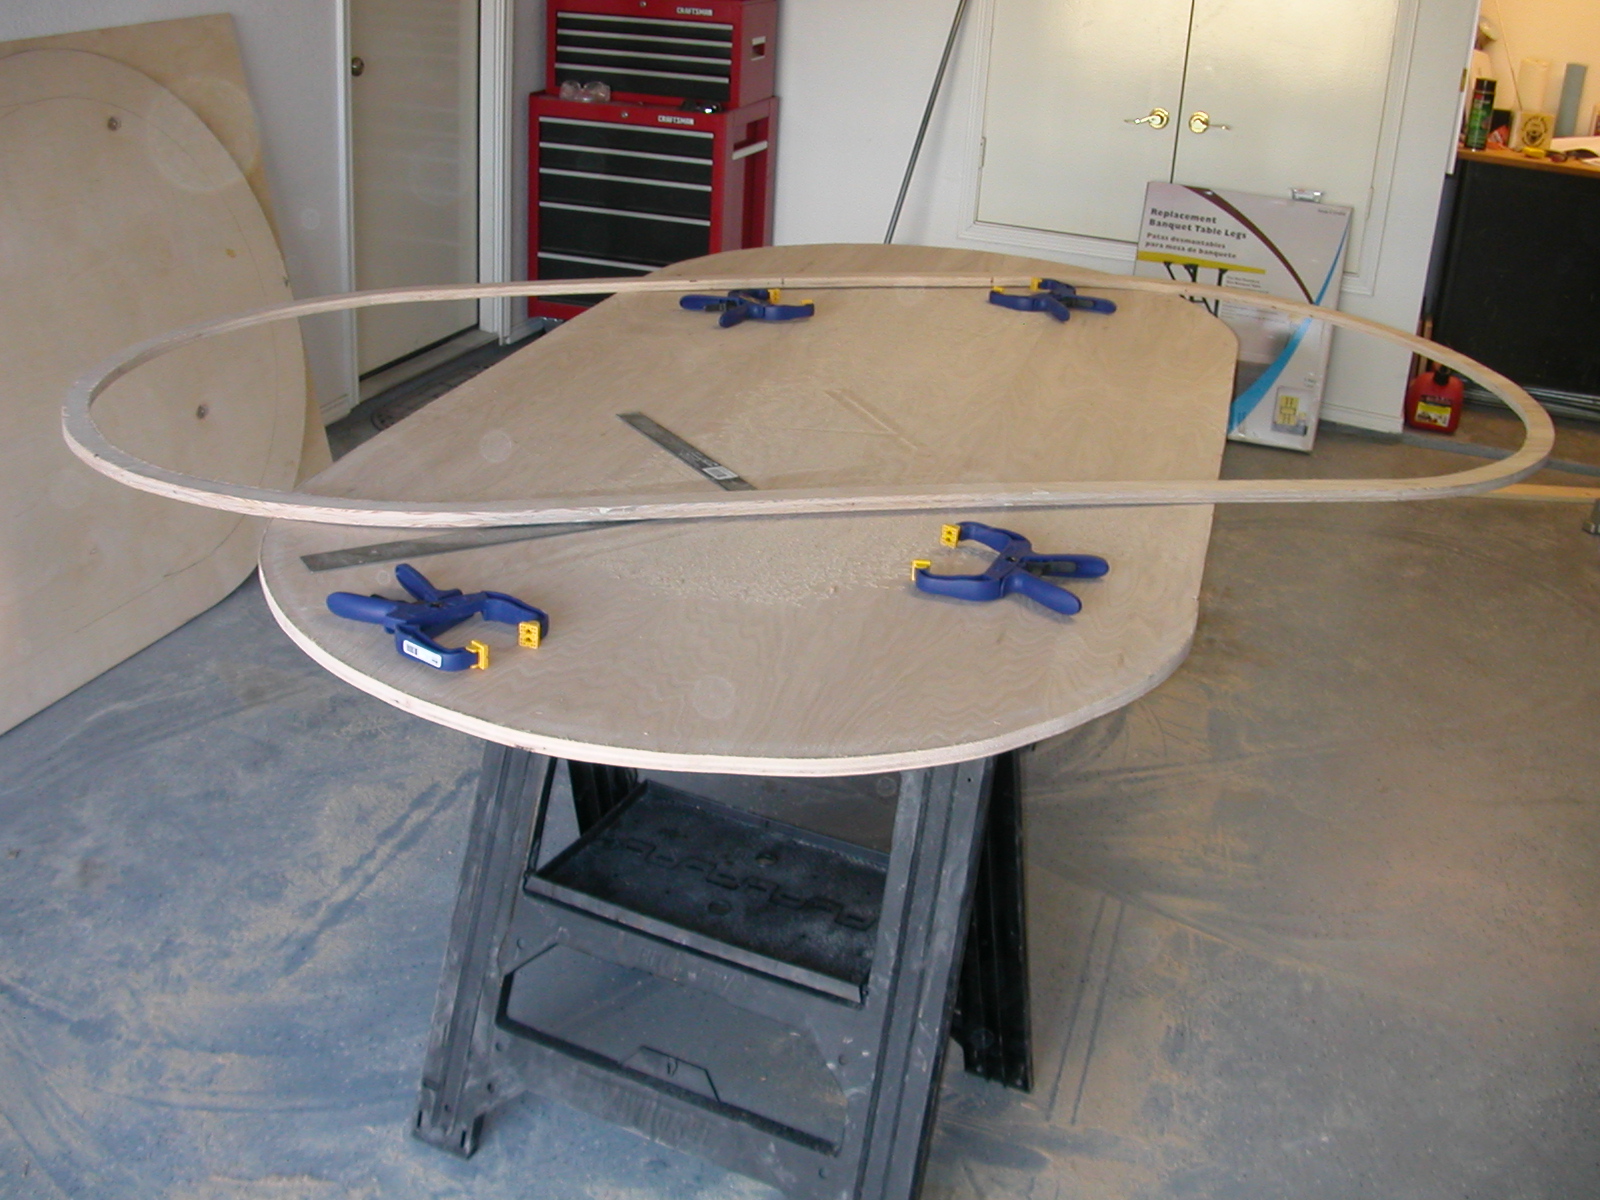
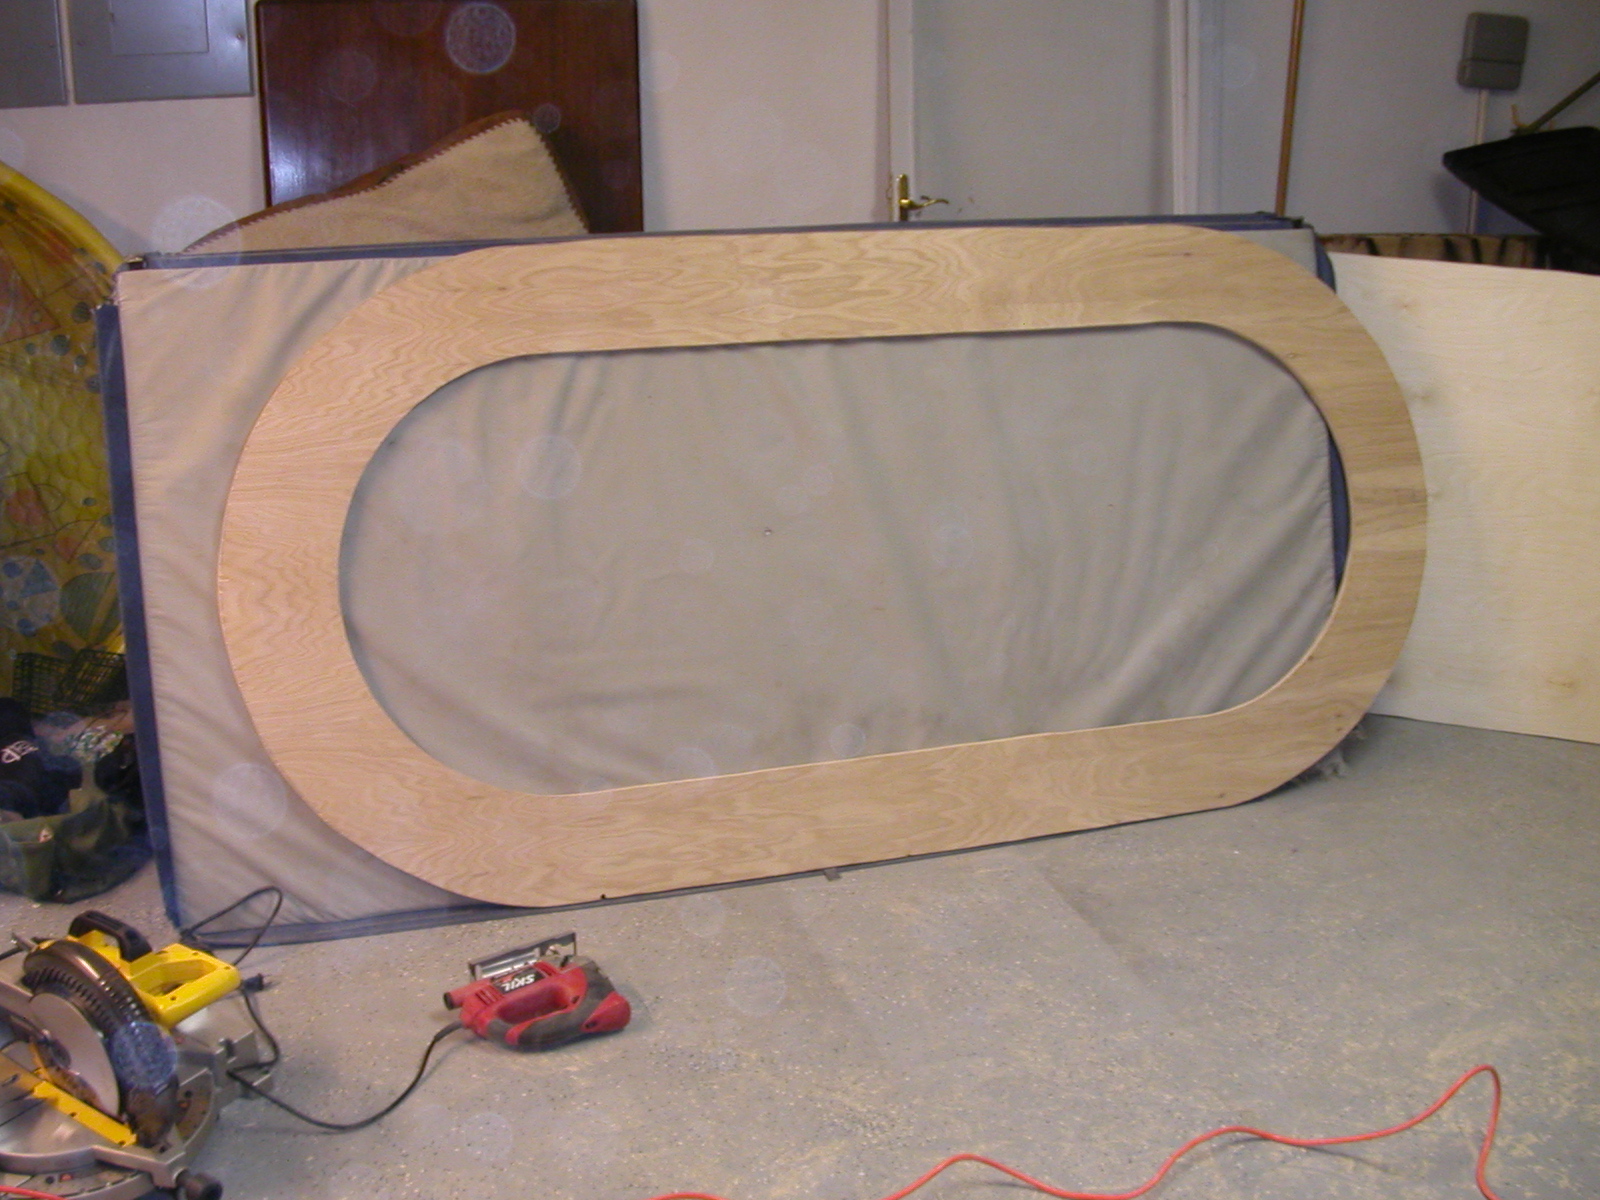
Here is the racetrack |
Now it's time to cut the base board. This will be board #3. To make this cut, simply trace around the outside of the racetrack. This cut should be made straight through your pencil mark. Don't forget to mark the baseboard on the end corresponding to the mark on the underside of the racetrack. |
|
|
Here is the racetrack on top of the cut baseboard. |
| Now with the rail on. |

|
|
And with the insert in |
| A closeup of the three parts |
|