The Rail |
|
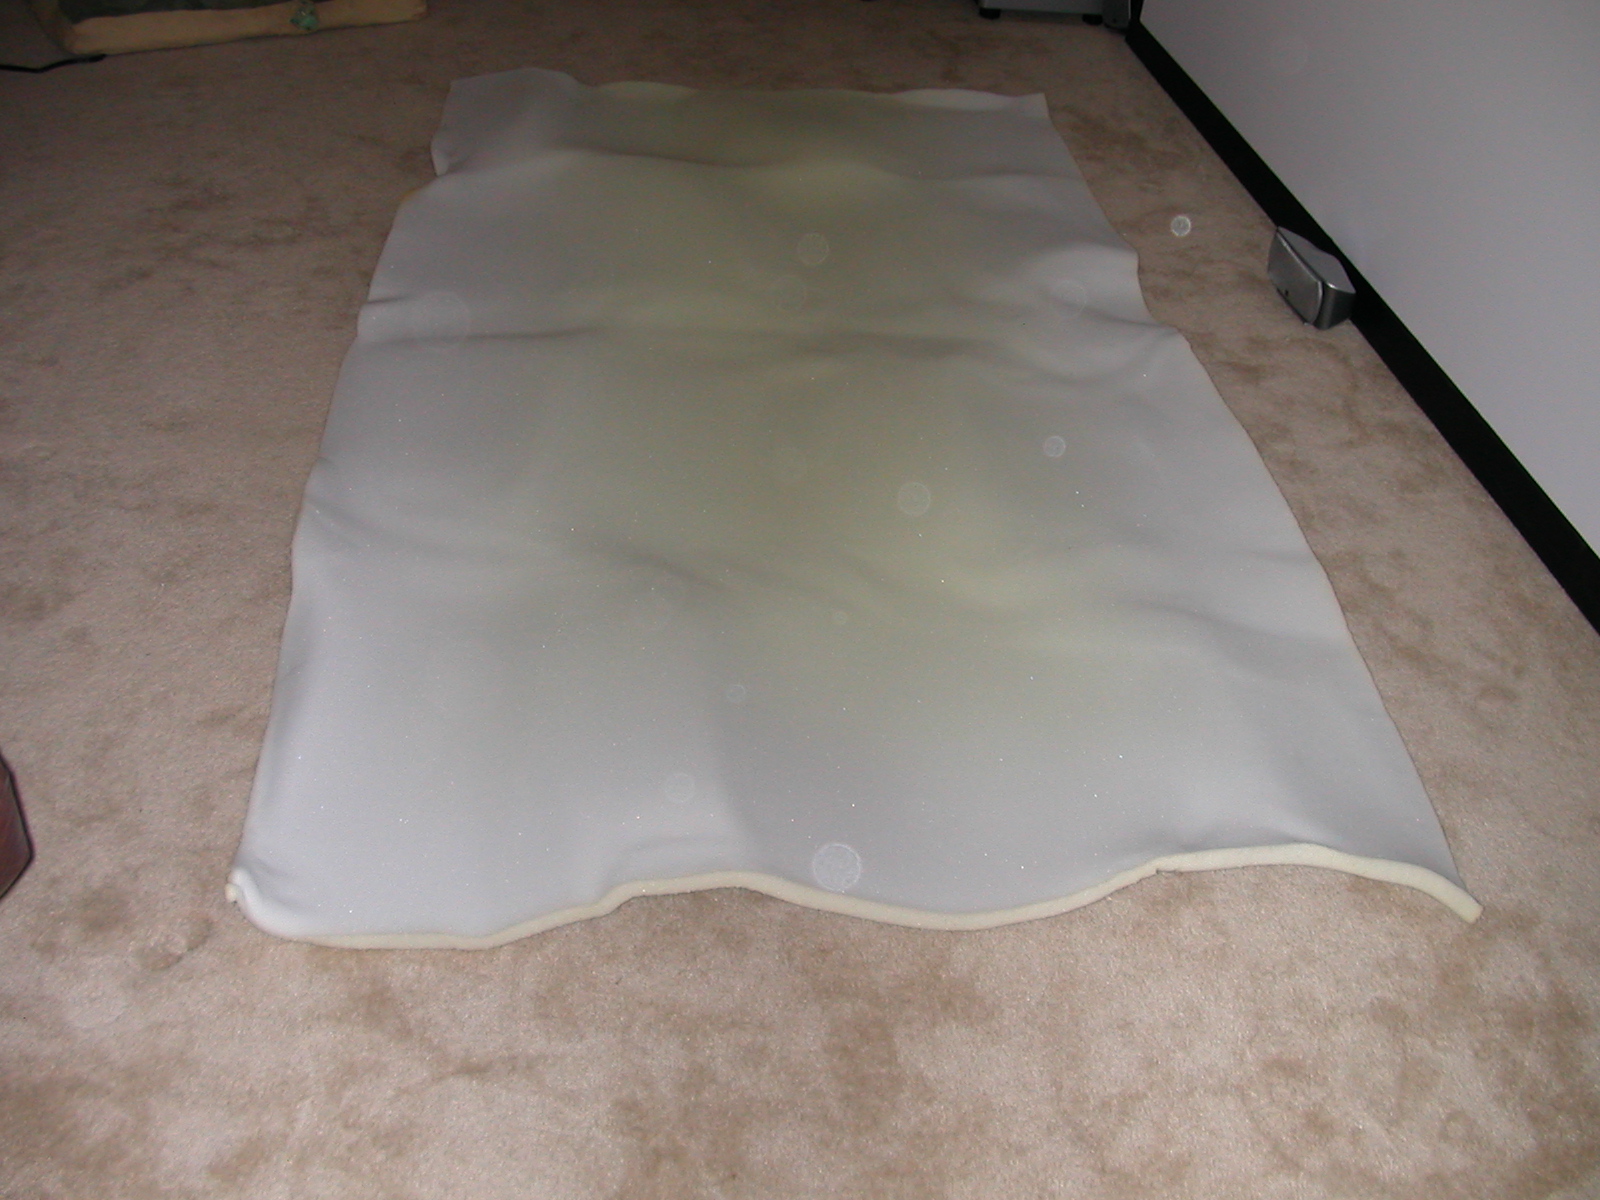
| With the 2 rail pieces securely attached, it's not time to begin padding and covering the rail. Take your 3/4" foam, and spread it out on the floor. |
|
|
Next, cut away the excess, but make sure you leave a couple of inches, so we can make it wrap around the edges. |
| Be sure to cut inside and out. |

|
|
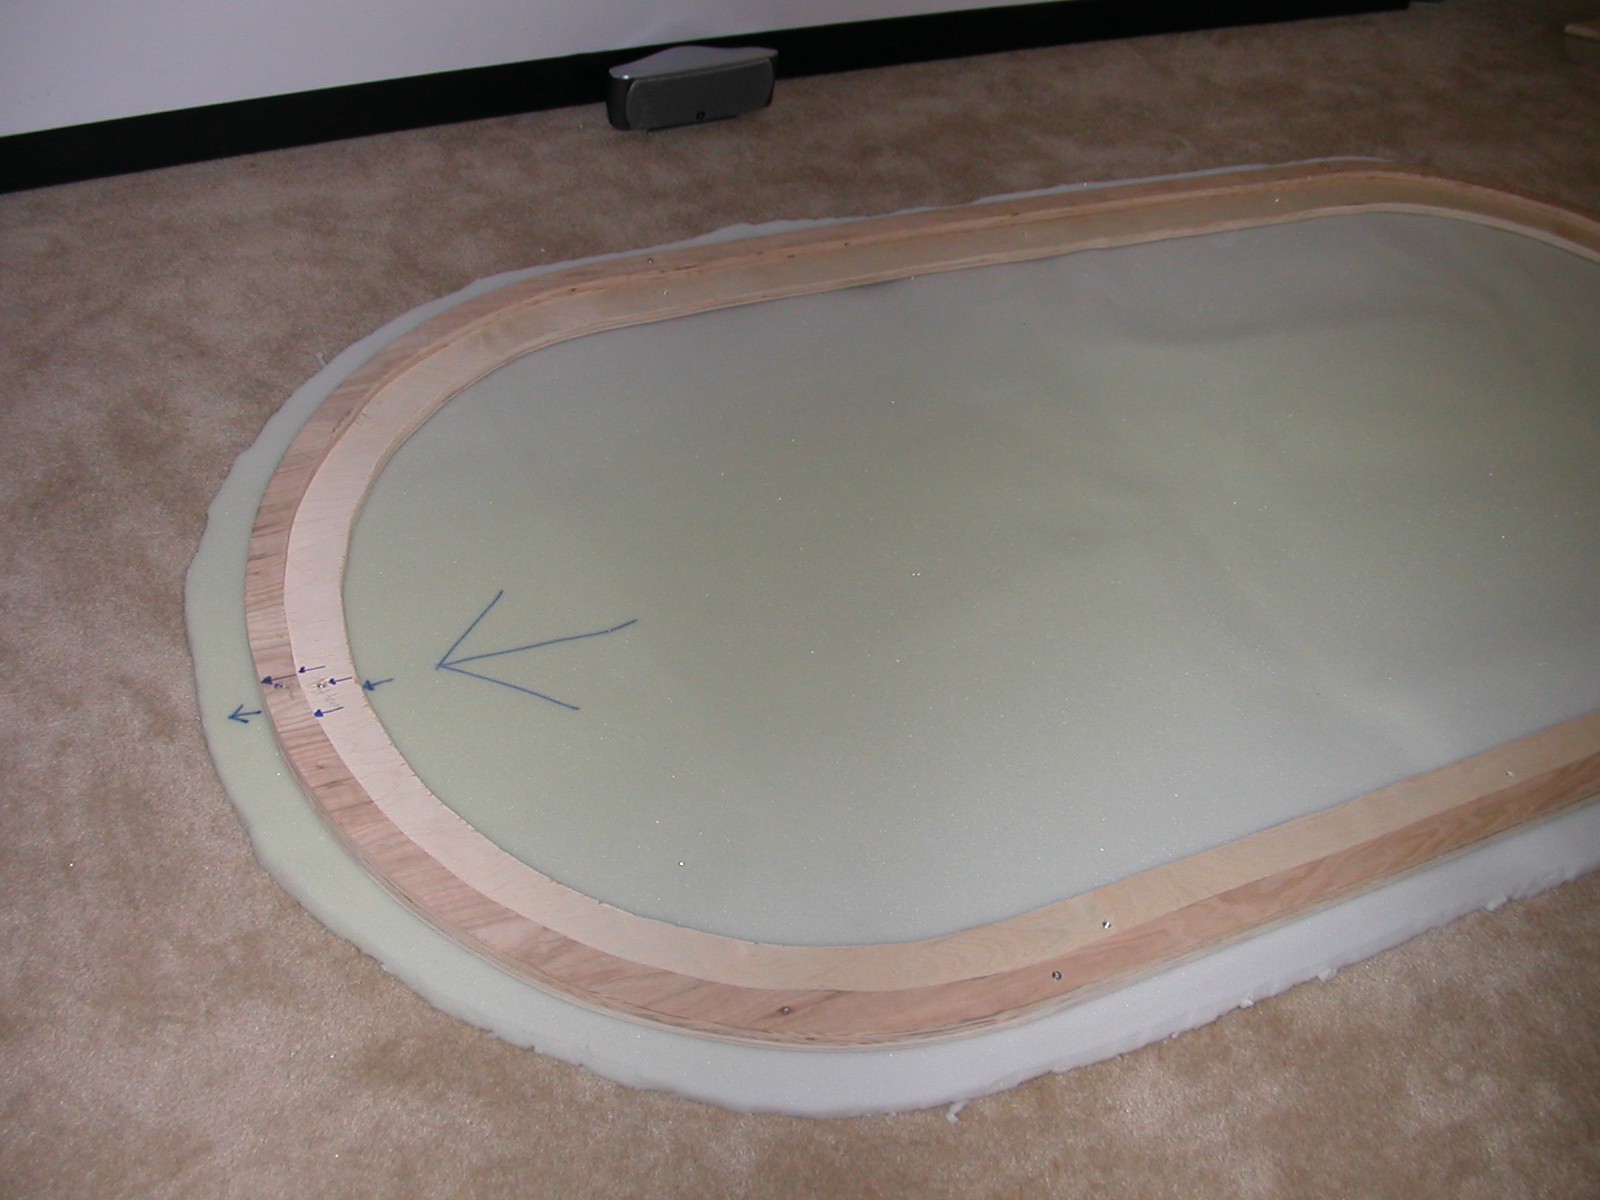
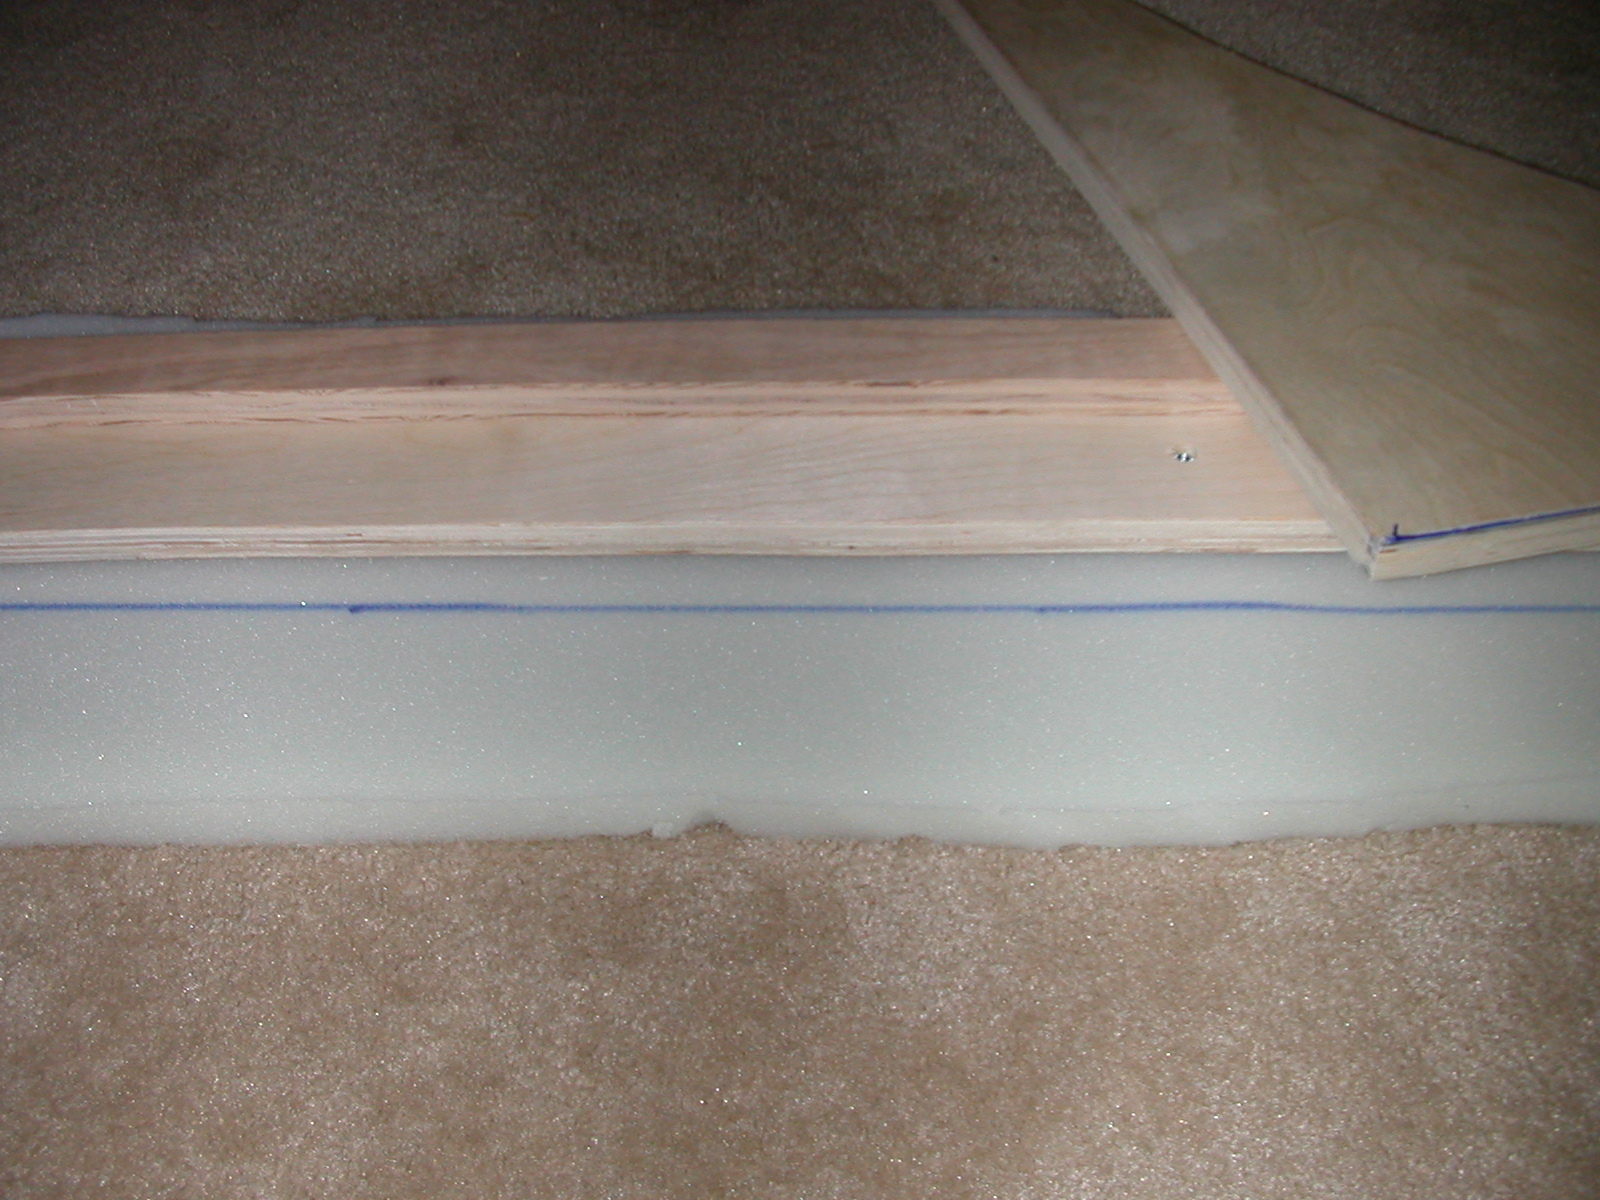
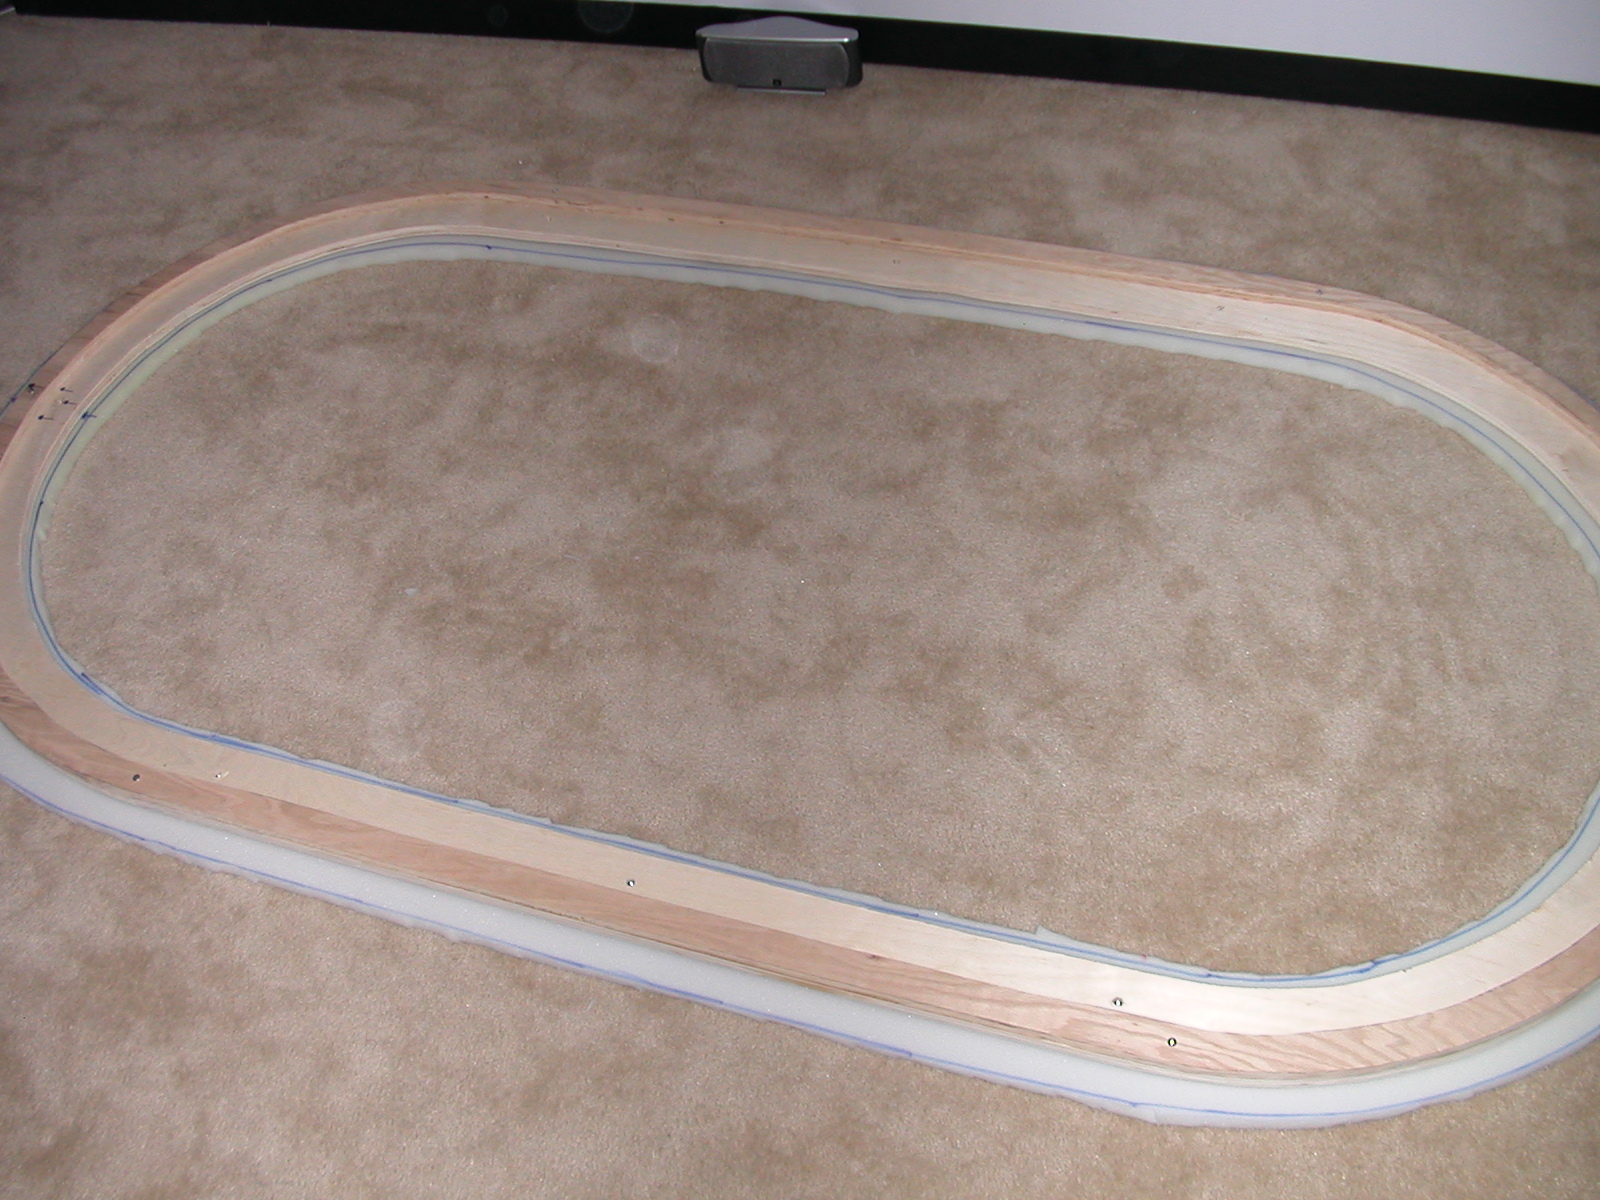
On the inside use one of your 3/4" boards to make a line all the way around. This will allow the foam to wrap around the inside, but not too far. |
| Since the outside comes down farther, you need about 1.5". To make this easy, I nailed two of my 3/4" boards together. |

|
|
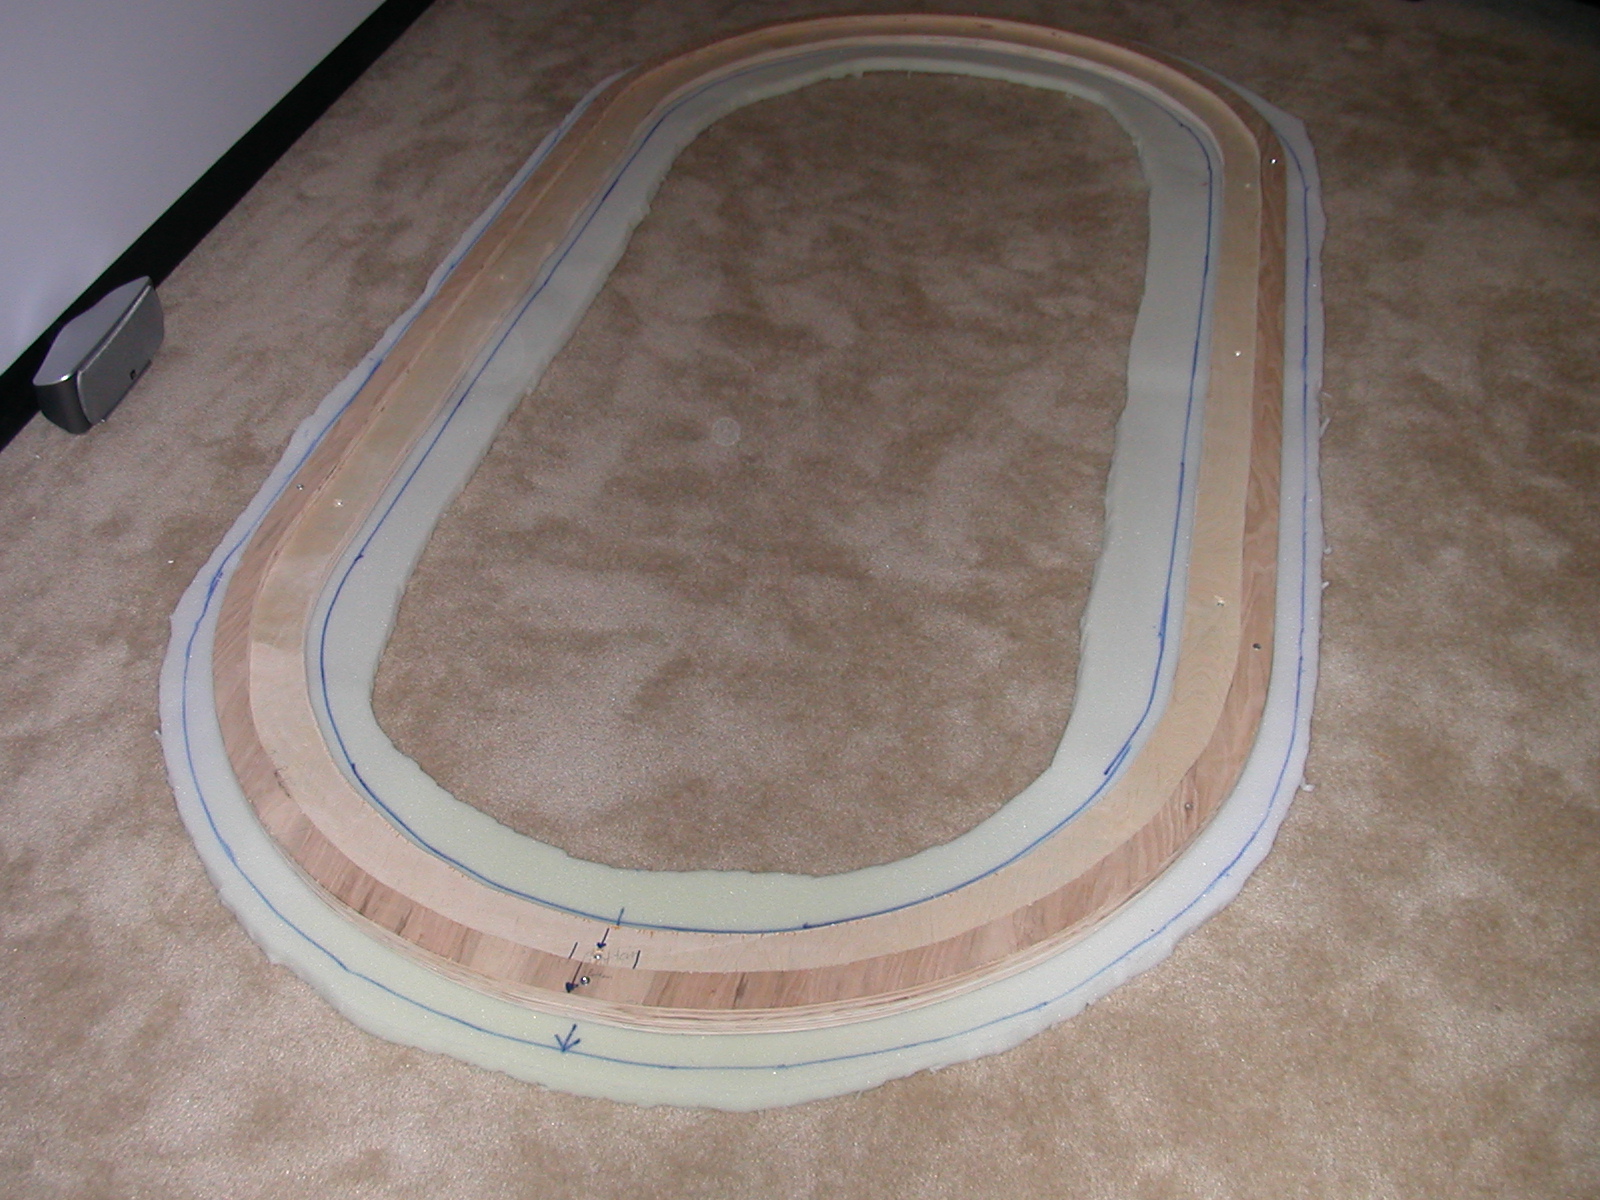
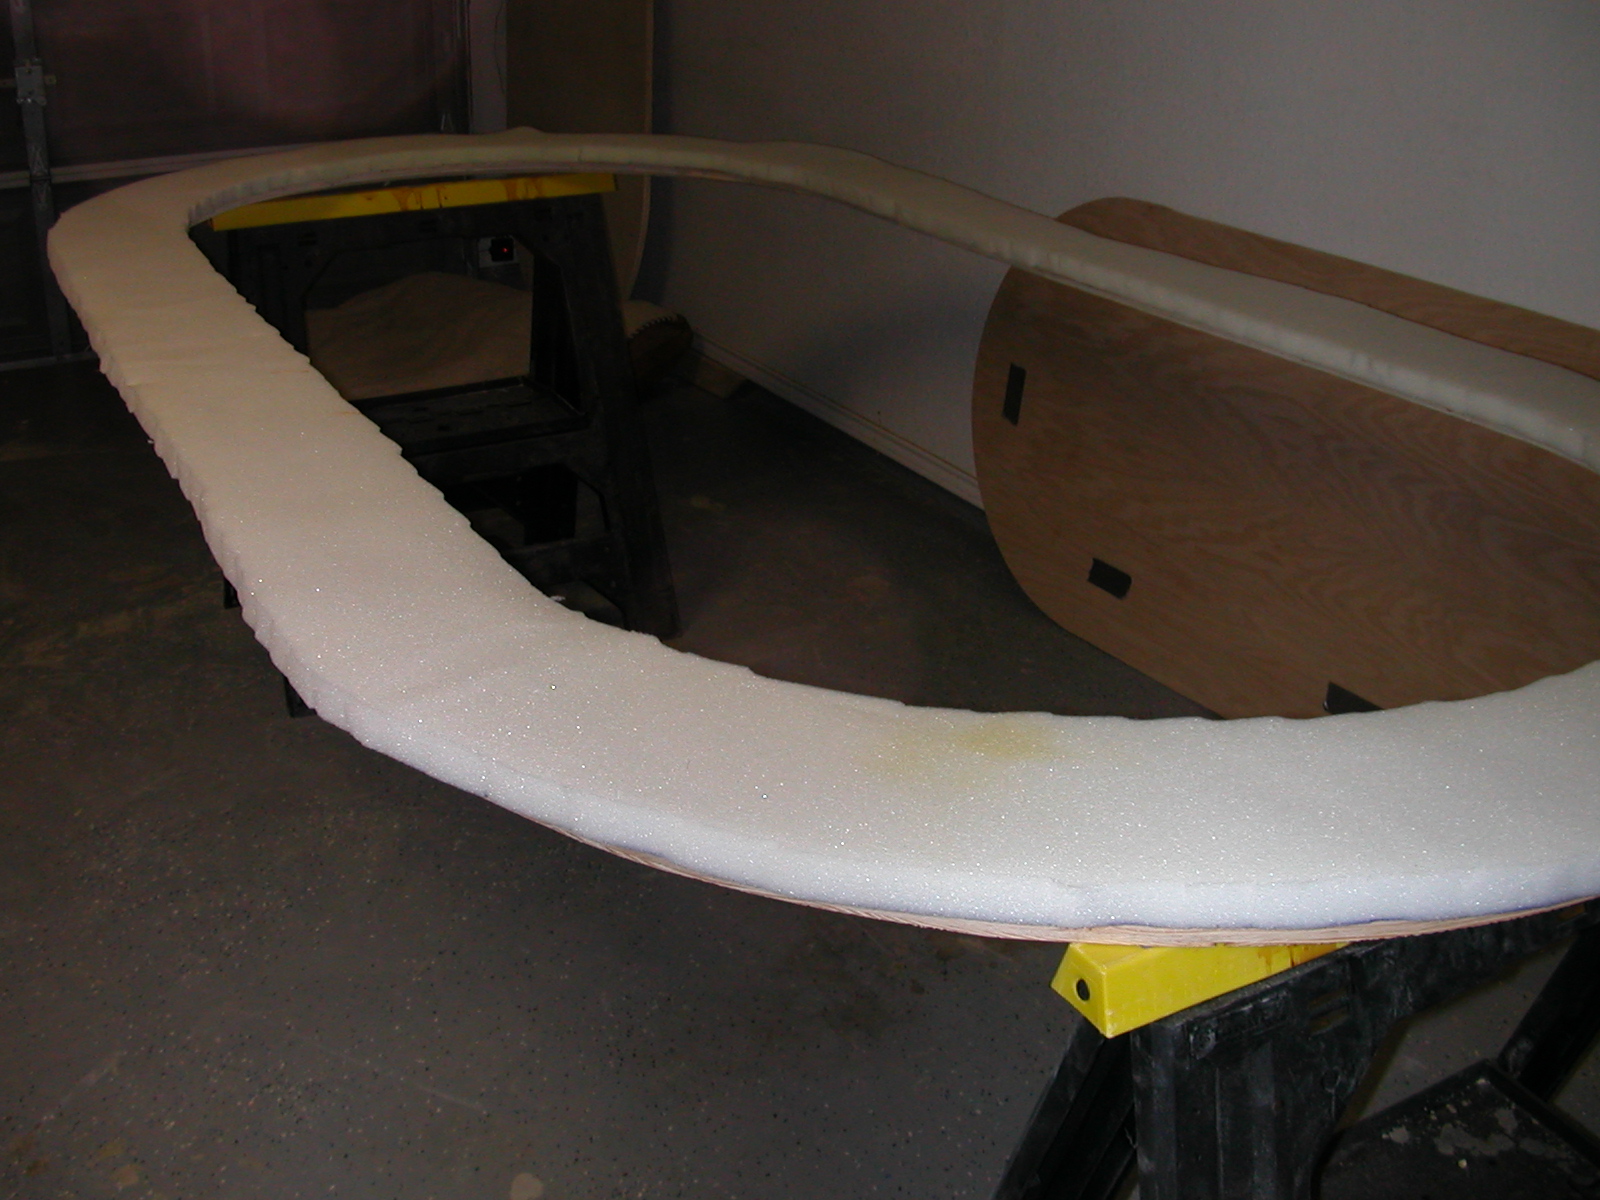
Here is a look at the foam marked up all the way around |
| After the excess is stripped away. I used scissors, but a razor blade would probably also do the trick. |
|
|
I don't have a lot of pictures here, but to attach the foam to the rail, place the rail face up, and cover it with a spray adhesive. Give it a little time to get nice and tacky. Slowly roll the foam onto the rail. Take special care to make sure that it is on even, and lines up with your inside and outside marks. Also, try not to stretch the foam. You don't want to get down to the far end and have 6" of extra foam left. |
Allow half an hour or so for the adhesive to dry. Spread your vinyl out on the floor, and place the rail upside down on top of it. |
|
|
Fold the vinyl over one end, and begin to staple it. I recommend being very liberal with the staples. Go outwards in both directions. As you go, pull the vinyl in towards the previous staples. It's ok to have a few wrinkles as long as they are on the bottom of the rail. You don't want them on the sides, and you definately don't want them on the top. |
| Be sure to pull the vinyl tight as you go. |
|
|
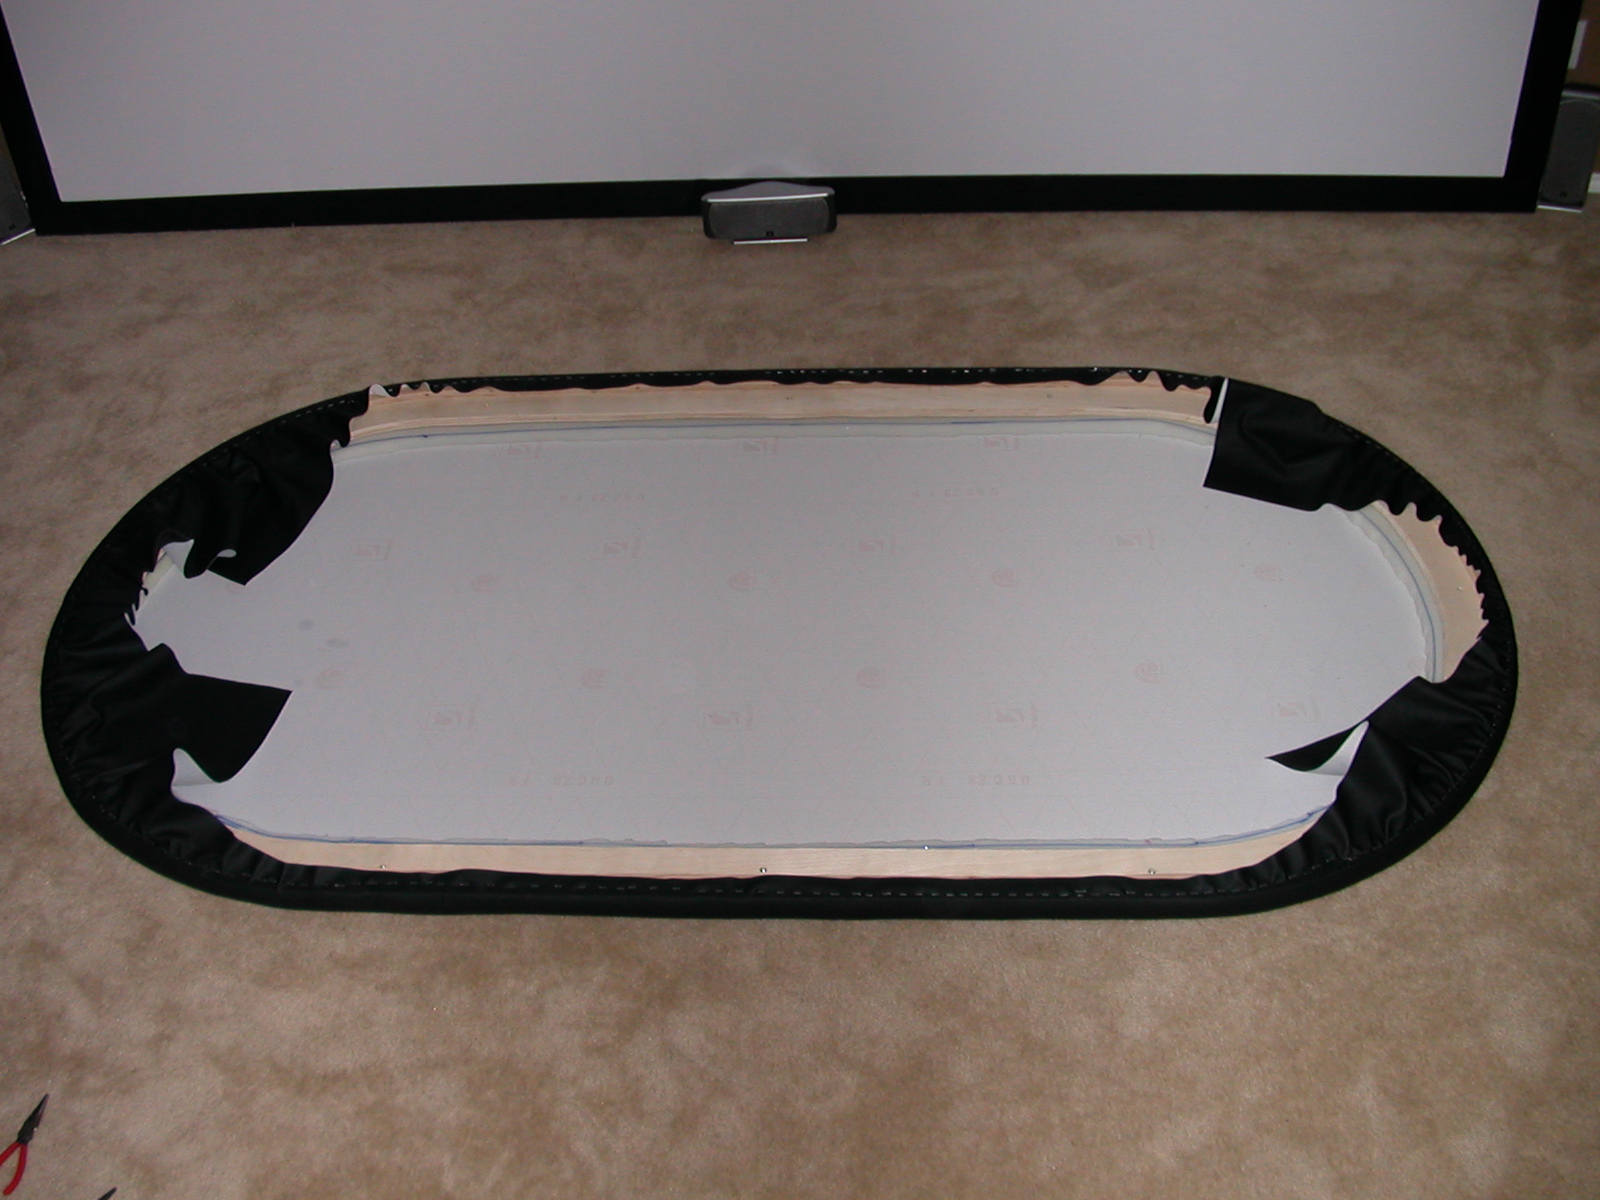
Once you've gone all the way around, the vinyl will be tight in the middle, and you'll basically have a giant drum head. |
| Trim away the excess with a razor blade. Probably want to trim on the inside of the staples. |
|
|
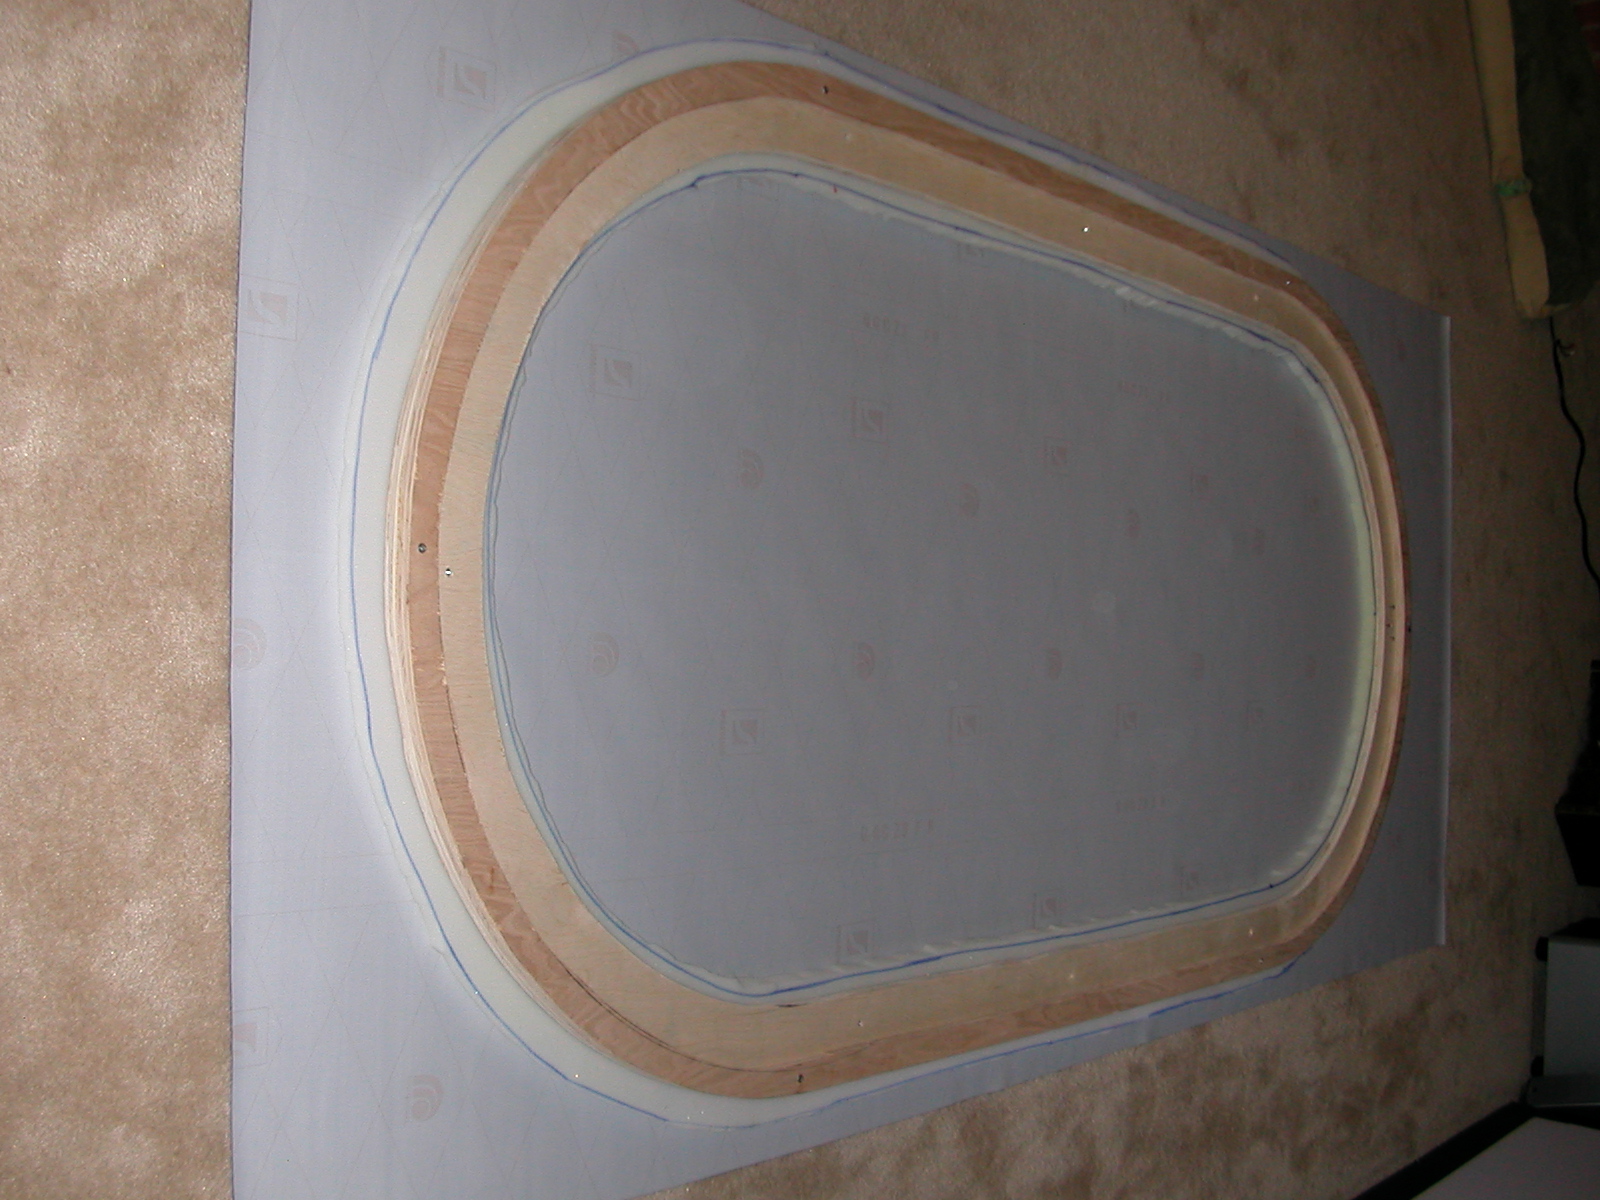
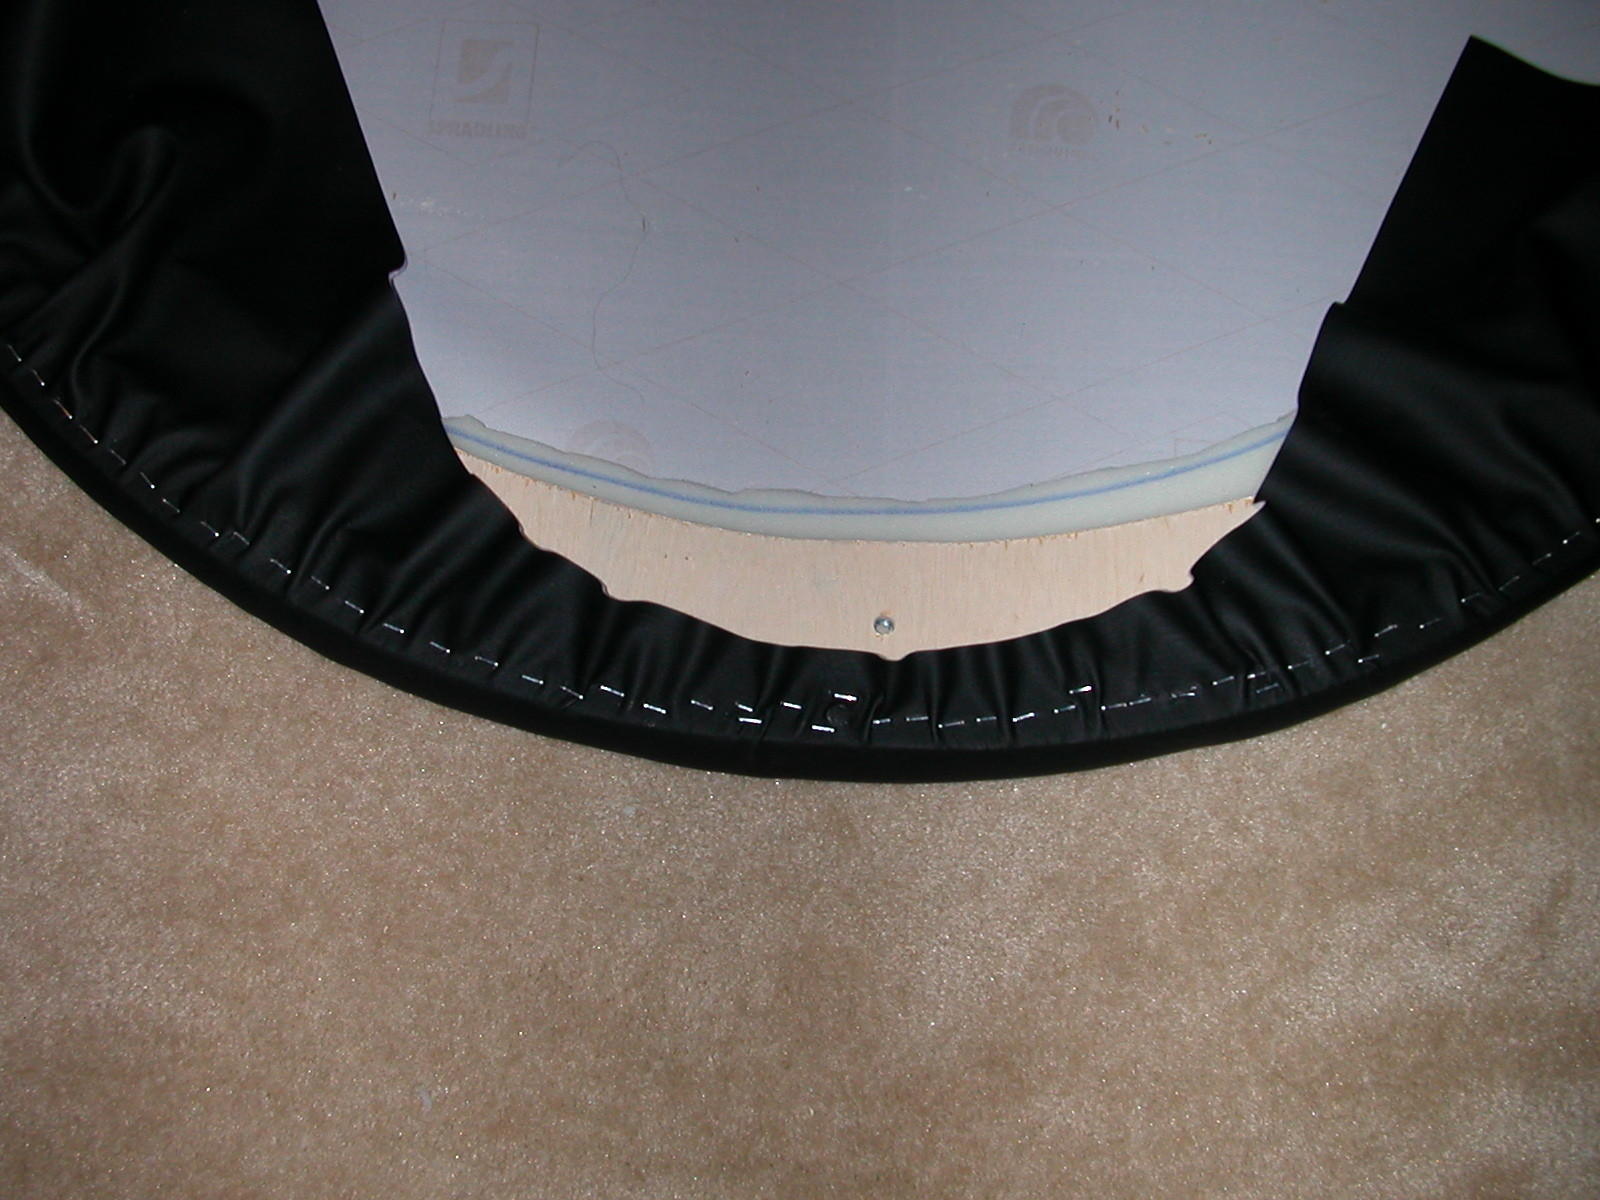
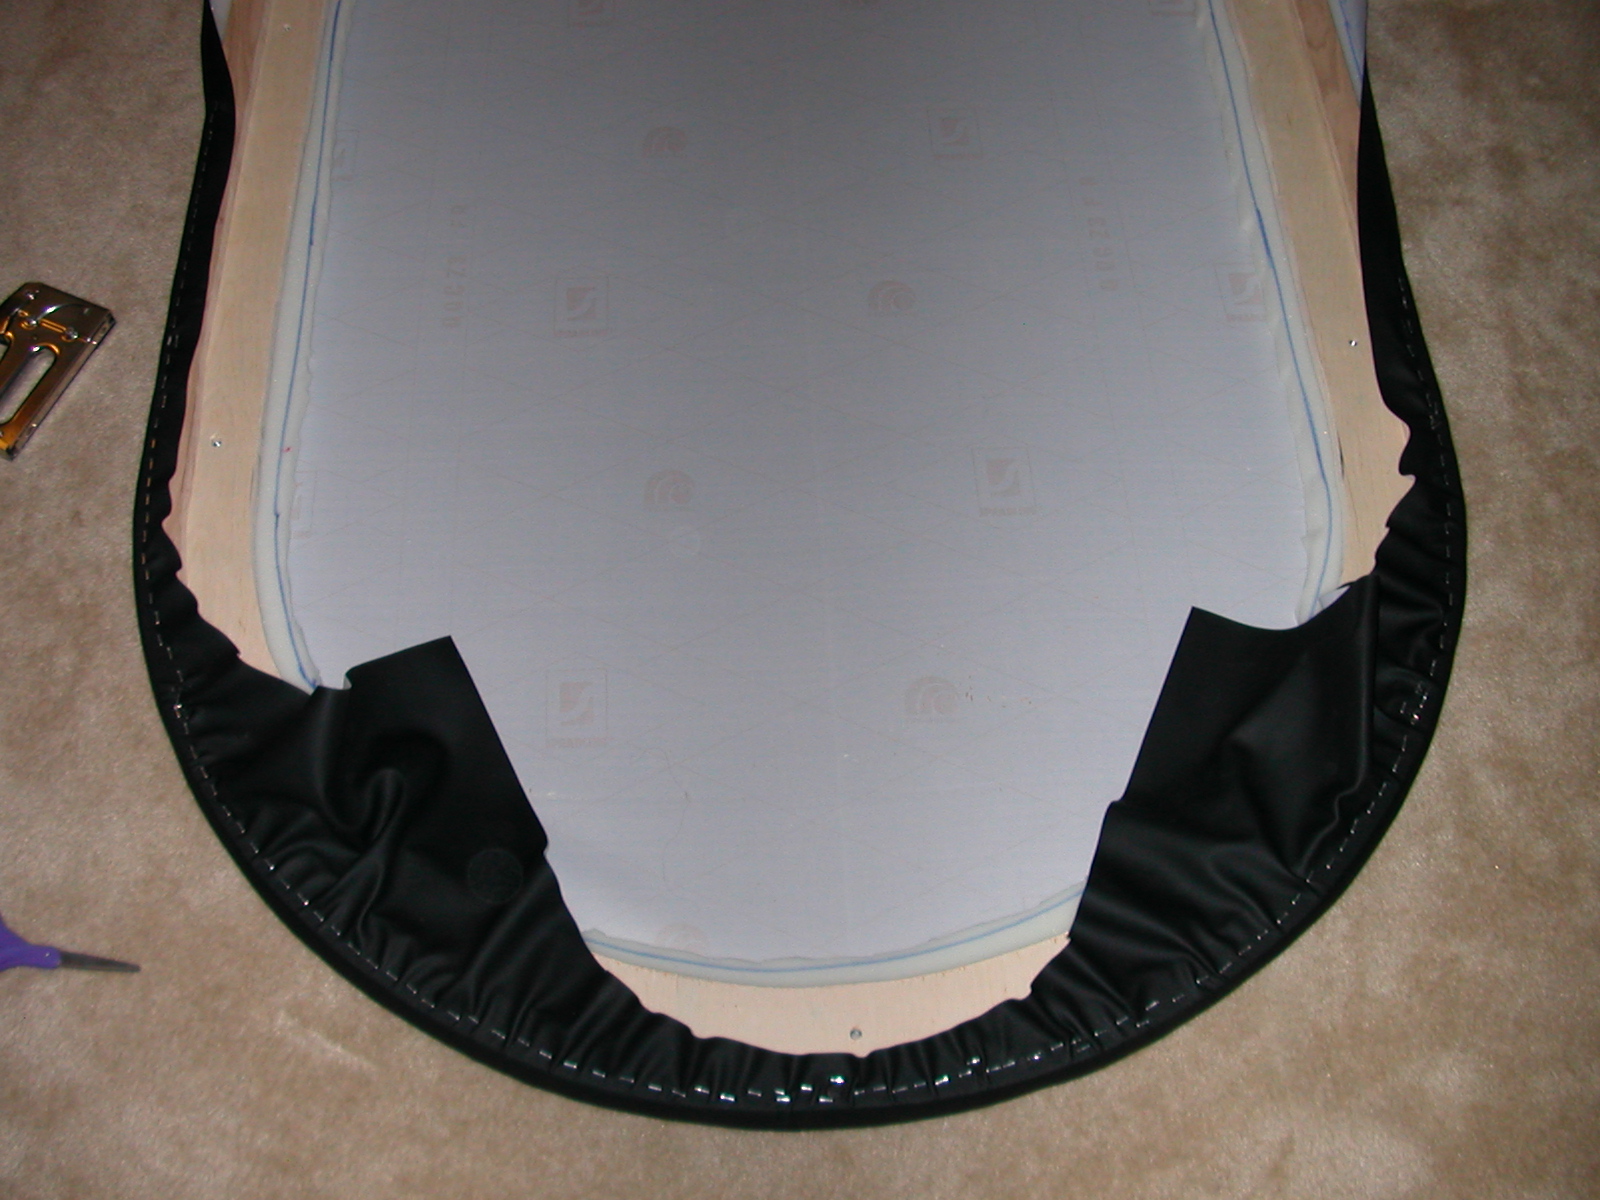
Next cut a rectangle out of the middle. Be sure and leave plenty of room to wrap the vinyl inwards on the inside. The hole should go down on both ends to the point where the table starts to arch. |
To make the arch easier, take your razor blade and make slits all originating from the center point of the arc (where your nail went when you made the arcs to cut your table earlier). These should be a few inches wide, getting narrower as you get closer to the sides of the table. Once the cuts are made, start in the middle, and staple outwards in both directions. Once you finish one end, do the other, and finish with the sides. |

|
|
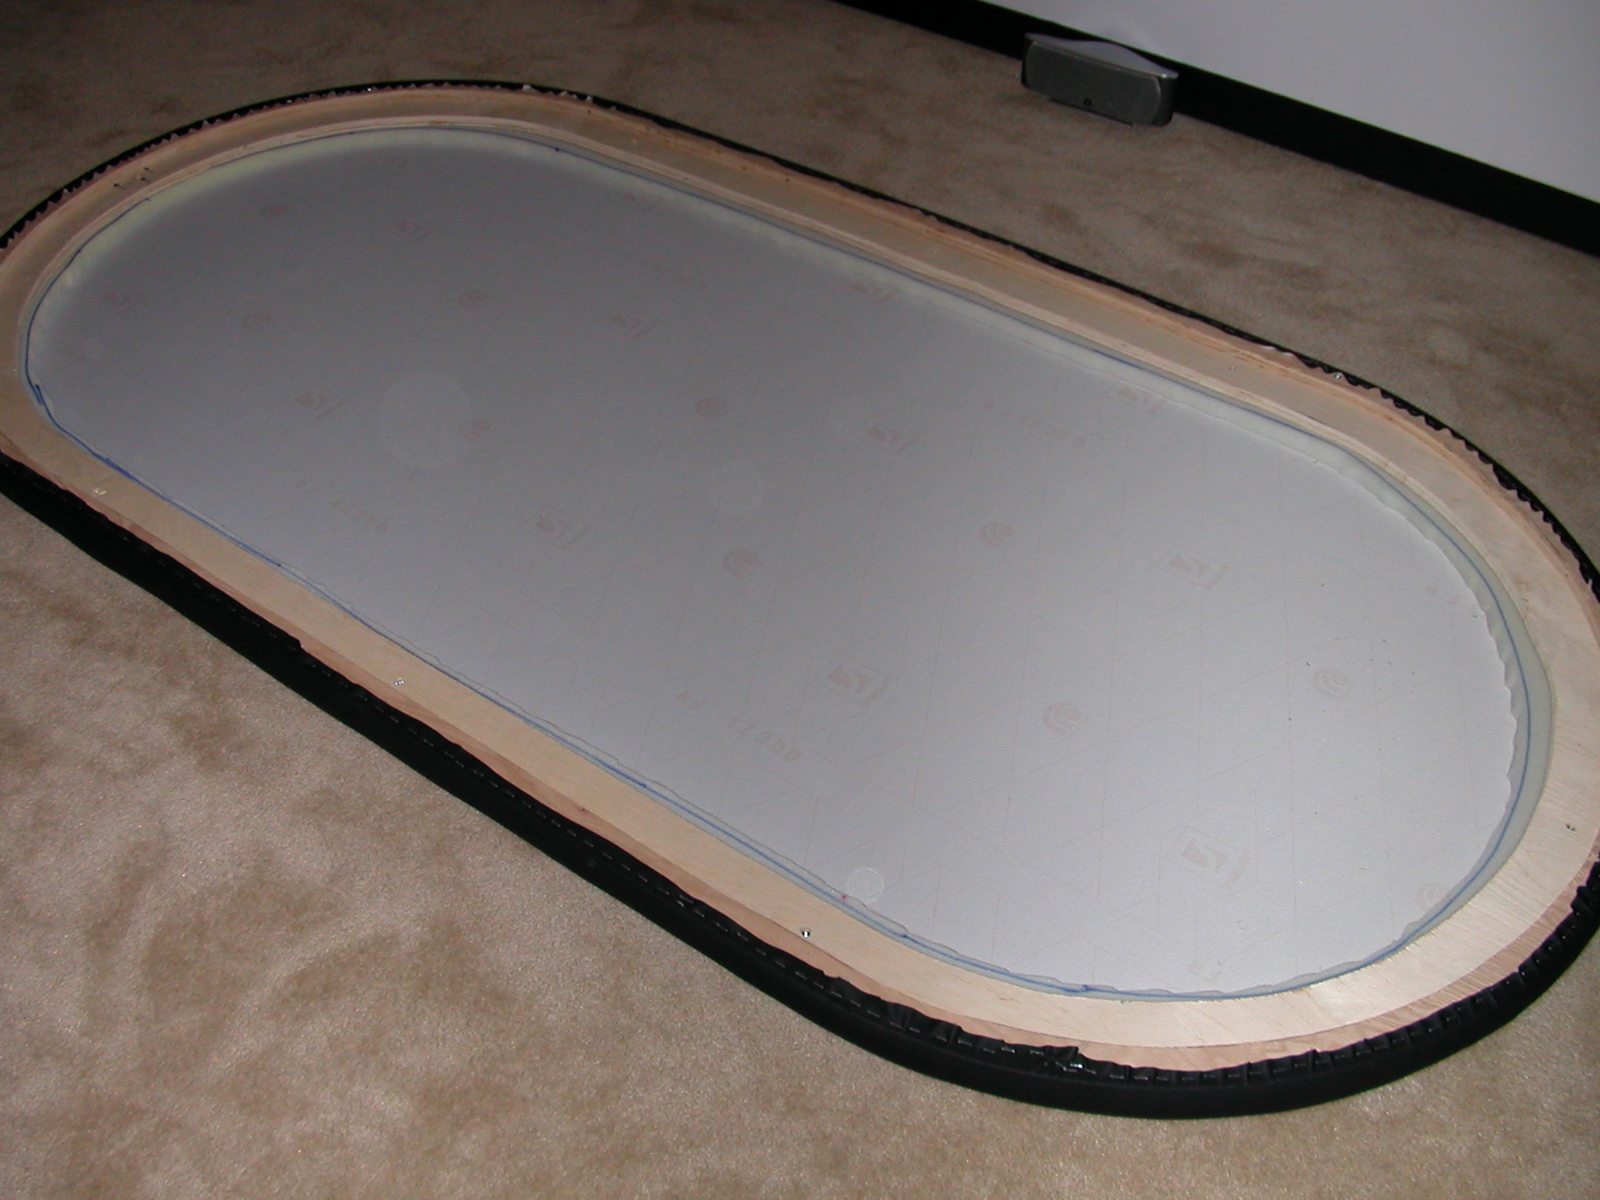
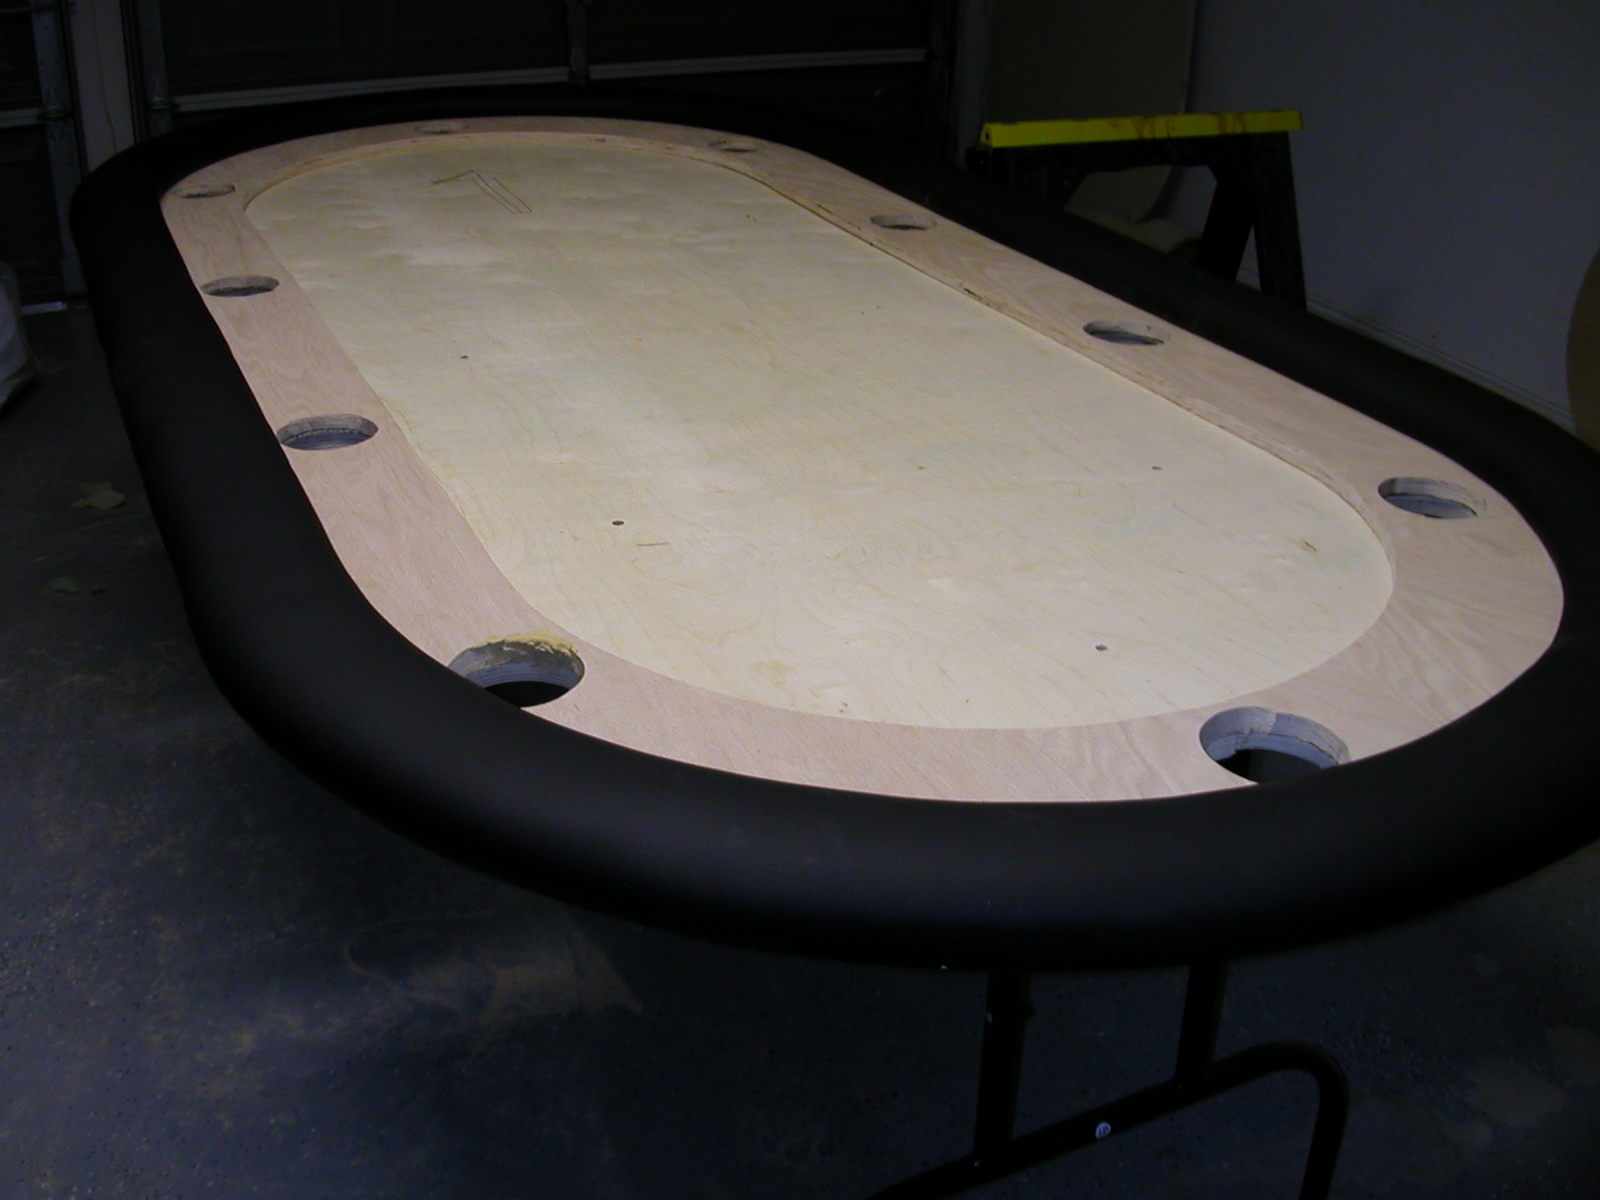
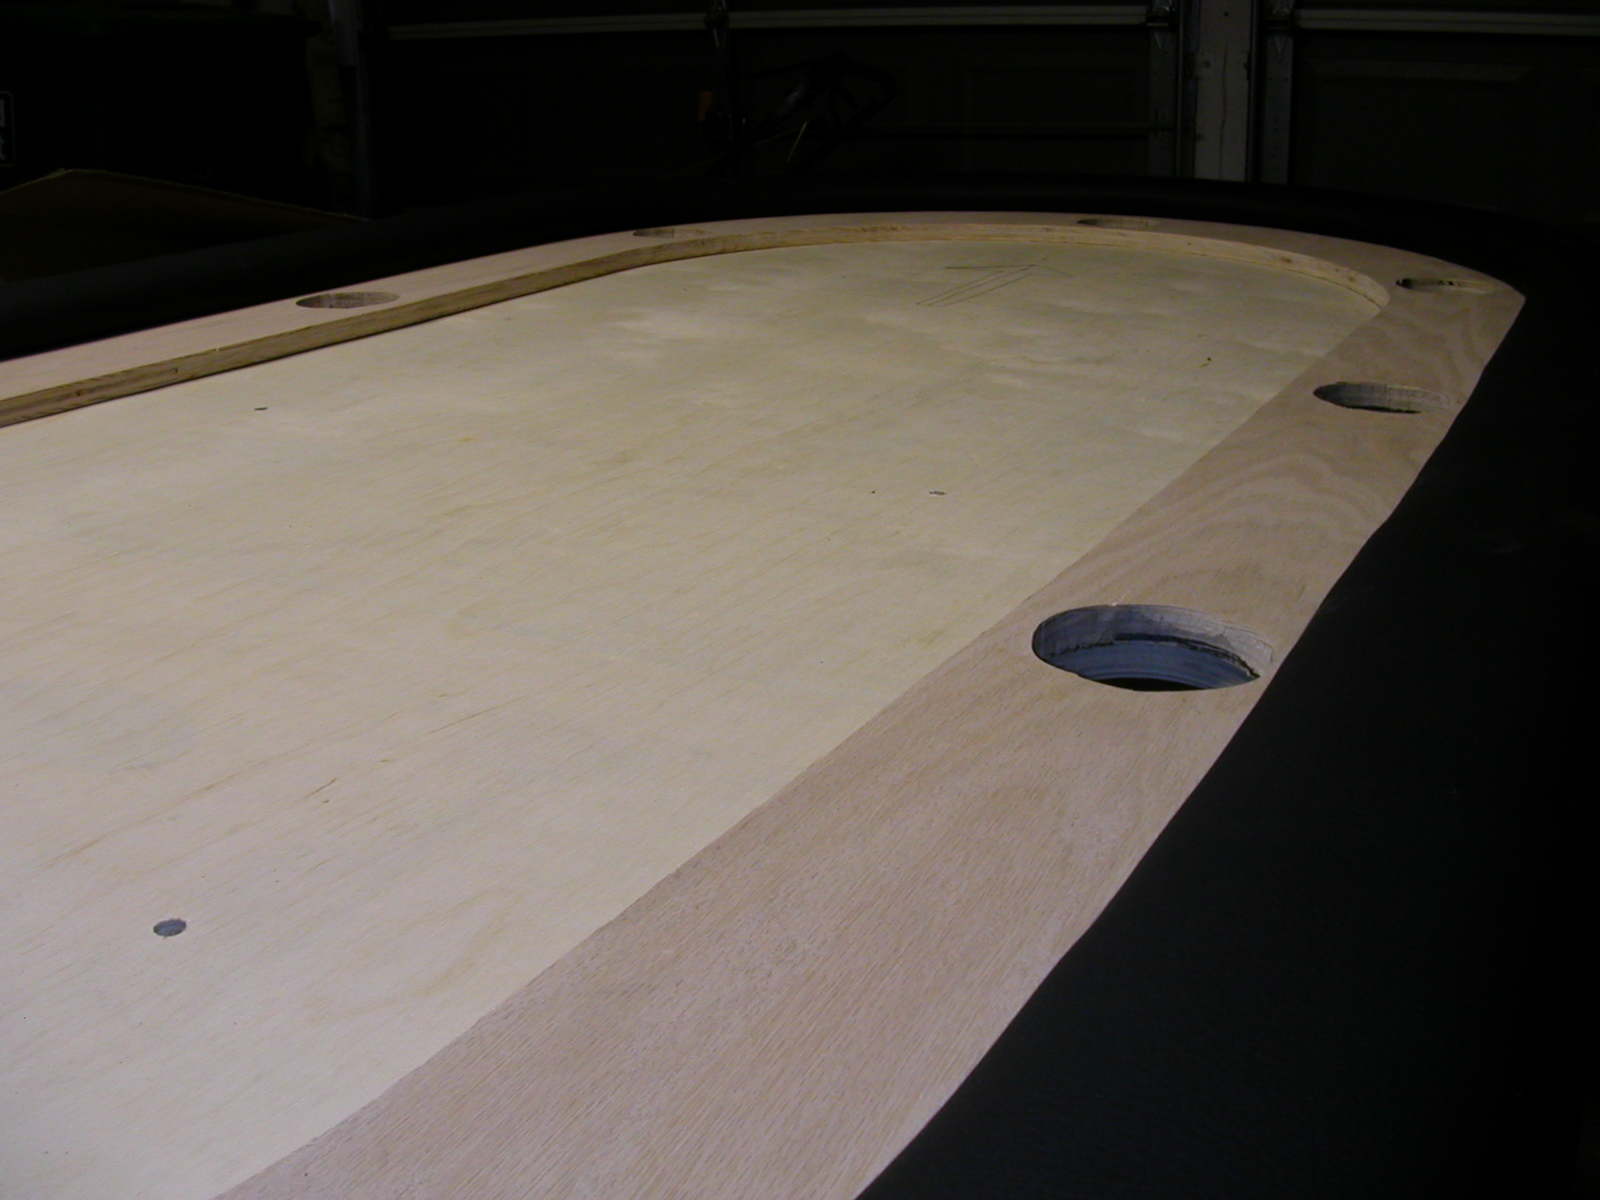
The finished rail should slide right on the table. Remember to uses your marks to make sure you're putting it on the right way. |
| Without the insert. |
|
|
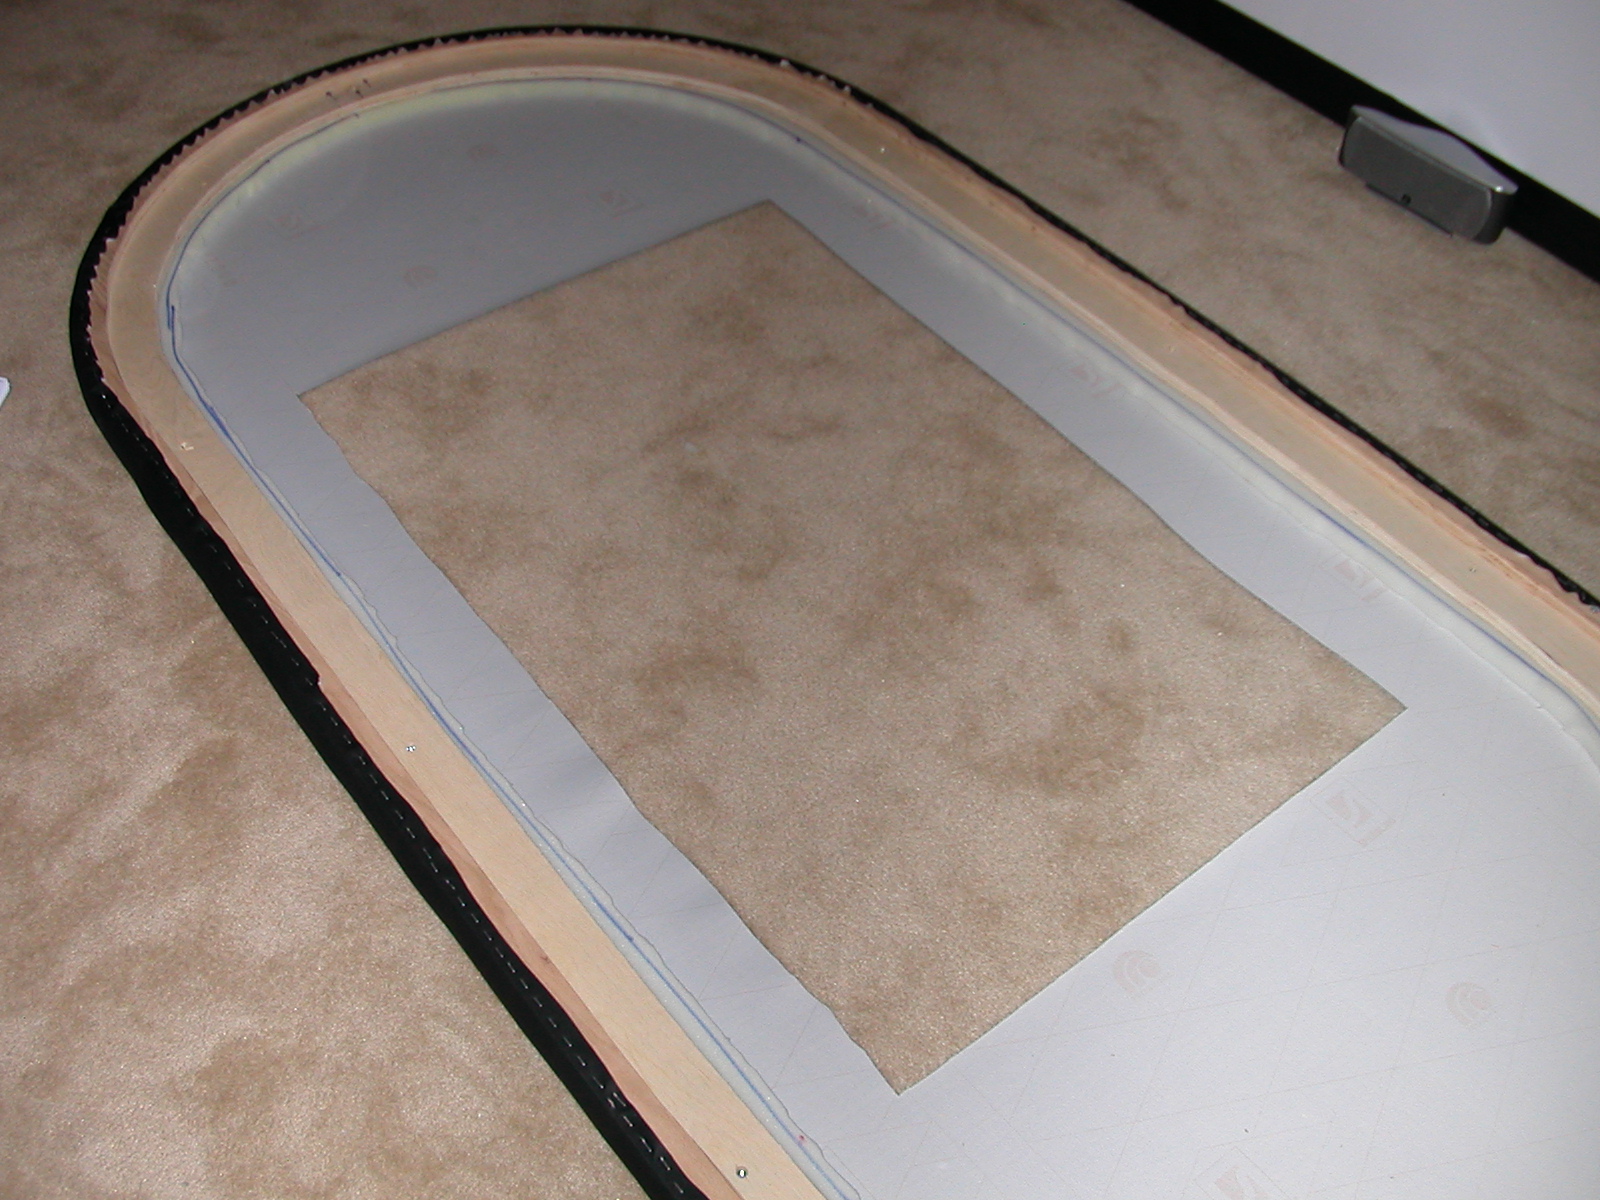
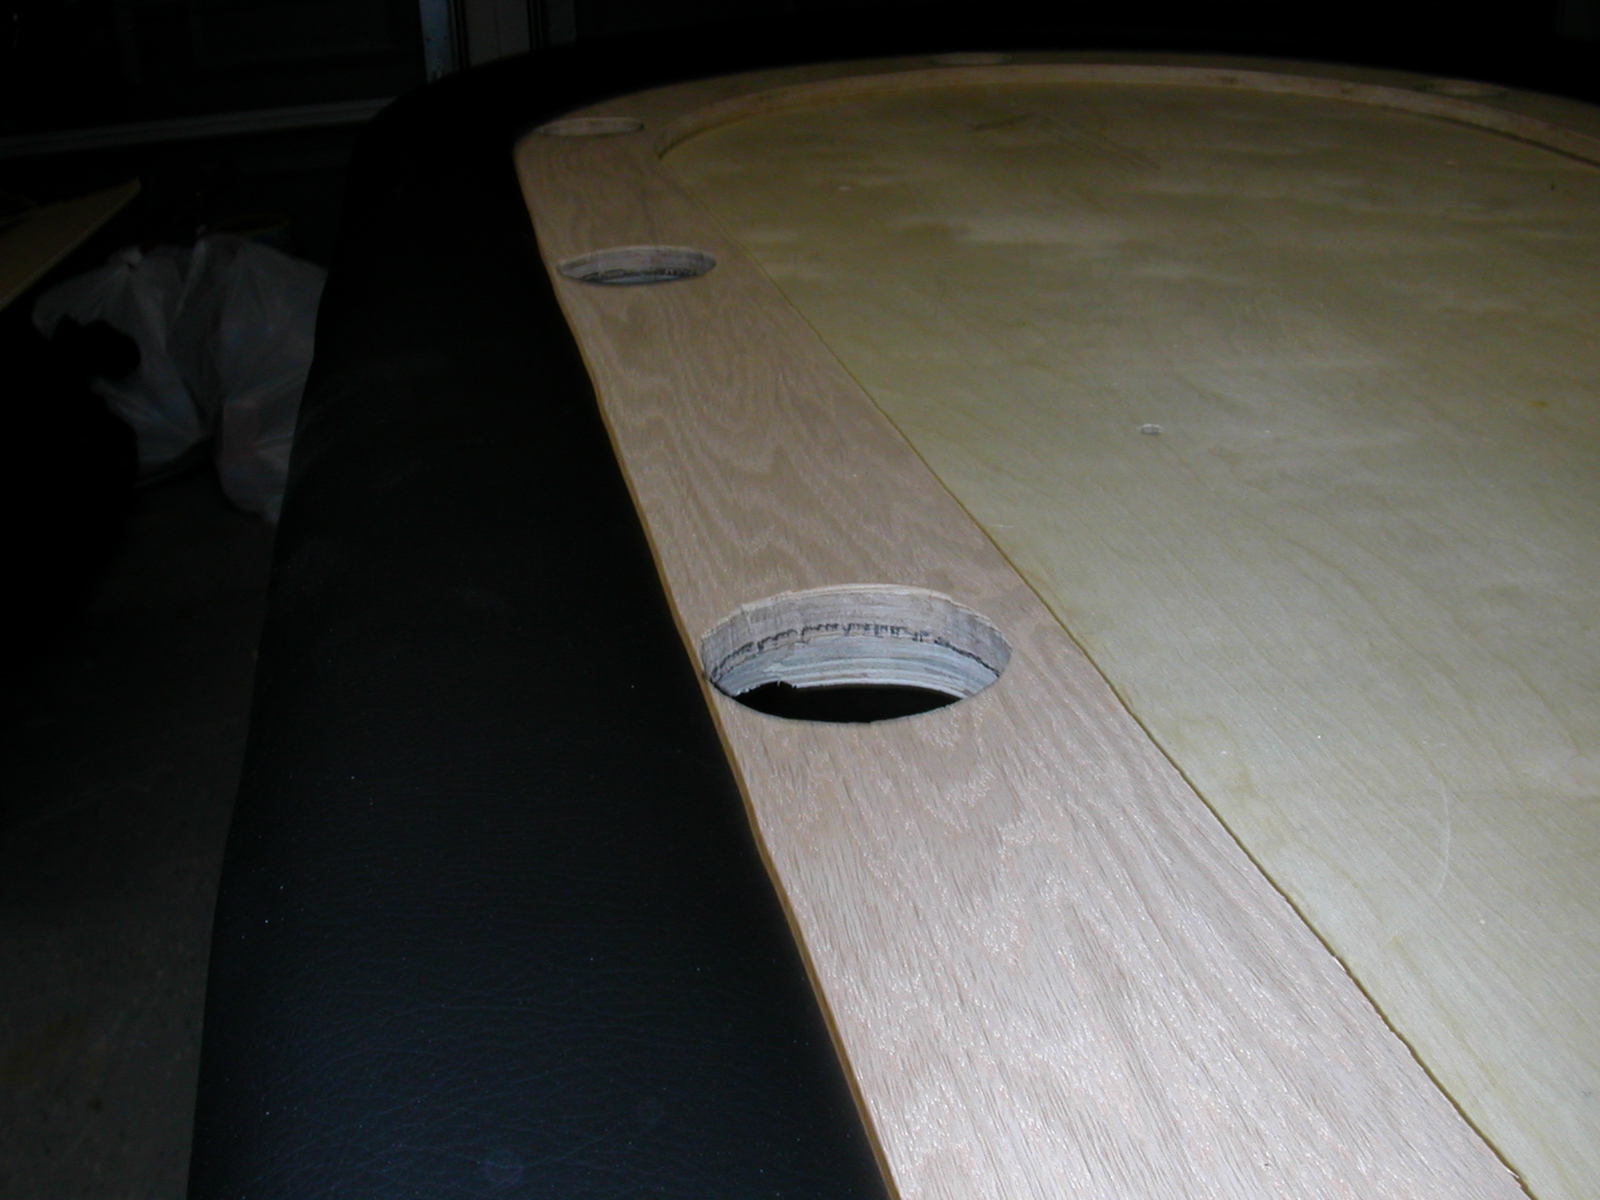
In this shot, you can see one of the holes which will be used to lock down the playing surface. |